My first vlog!

thumb.jpg

First of all I want to say I’m sorry, the plan was to update the blog once a week and I missed publishing a post last Friday. I do however hope the reason is good enough for you to let it pass this time. The reason was because I was recording my first vlog! I then hoped to have it ready for Saturday and thought that one day late was ok. But as this was the first time, I gravely underestimated how long it would take to edit it (as I’m a bit of a perfectionist and it was a loooong time since I edited a video for real) and suddenly it became Monday.

But here it is, my first vlog! I Hope you enjoy. Also, if you have any feedback, just leave a comment below.

One geeky detail

For those who don’t know, I’m a bit of a geek, and by “a bit” I mean a huge geek, in many different ways. I also like to show that to people, but as I mostly use button up shirts and love classic style I “can’t” use geeky t-shirts. Instead I’m always on the hunt for small, geeky accessories that I can use with suits. The most common ones are of course cufflinks, pocket squares, pins and ties. Even though I think a geeky tie often is a bit too much. Using a geeky detail also takes of the edge of it all and makes it look less corporate.

My favorite detail is this pair of Darth Vader cufflinks with the Imperial emblem on the other side. Do you have any favorite geeky accessory?

A new favorite budget pen - The TWSBI ECO

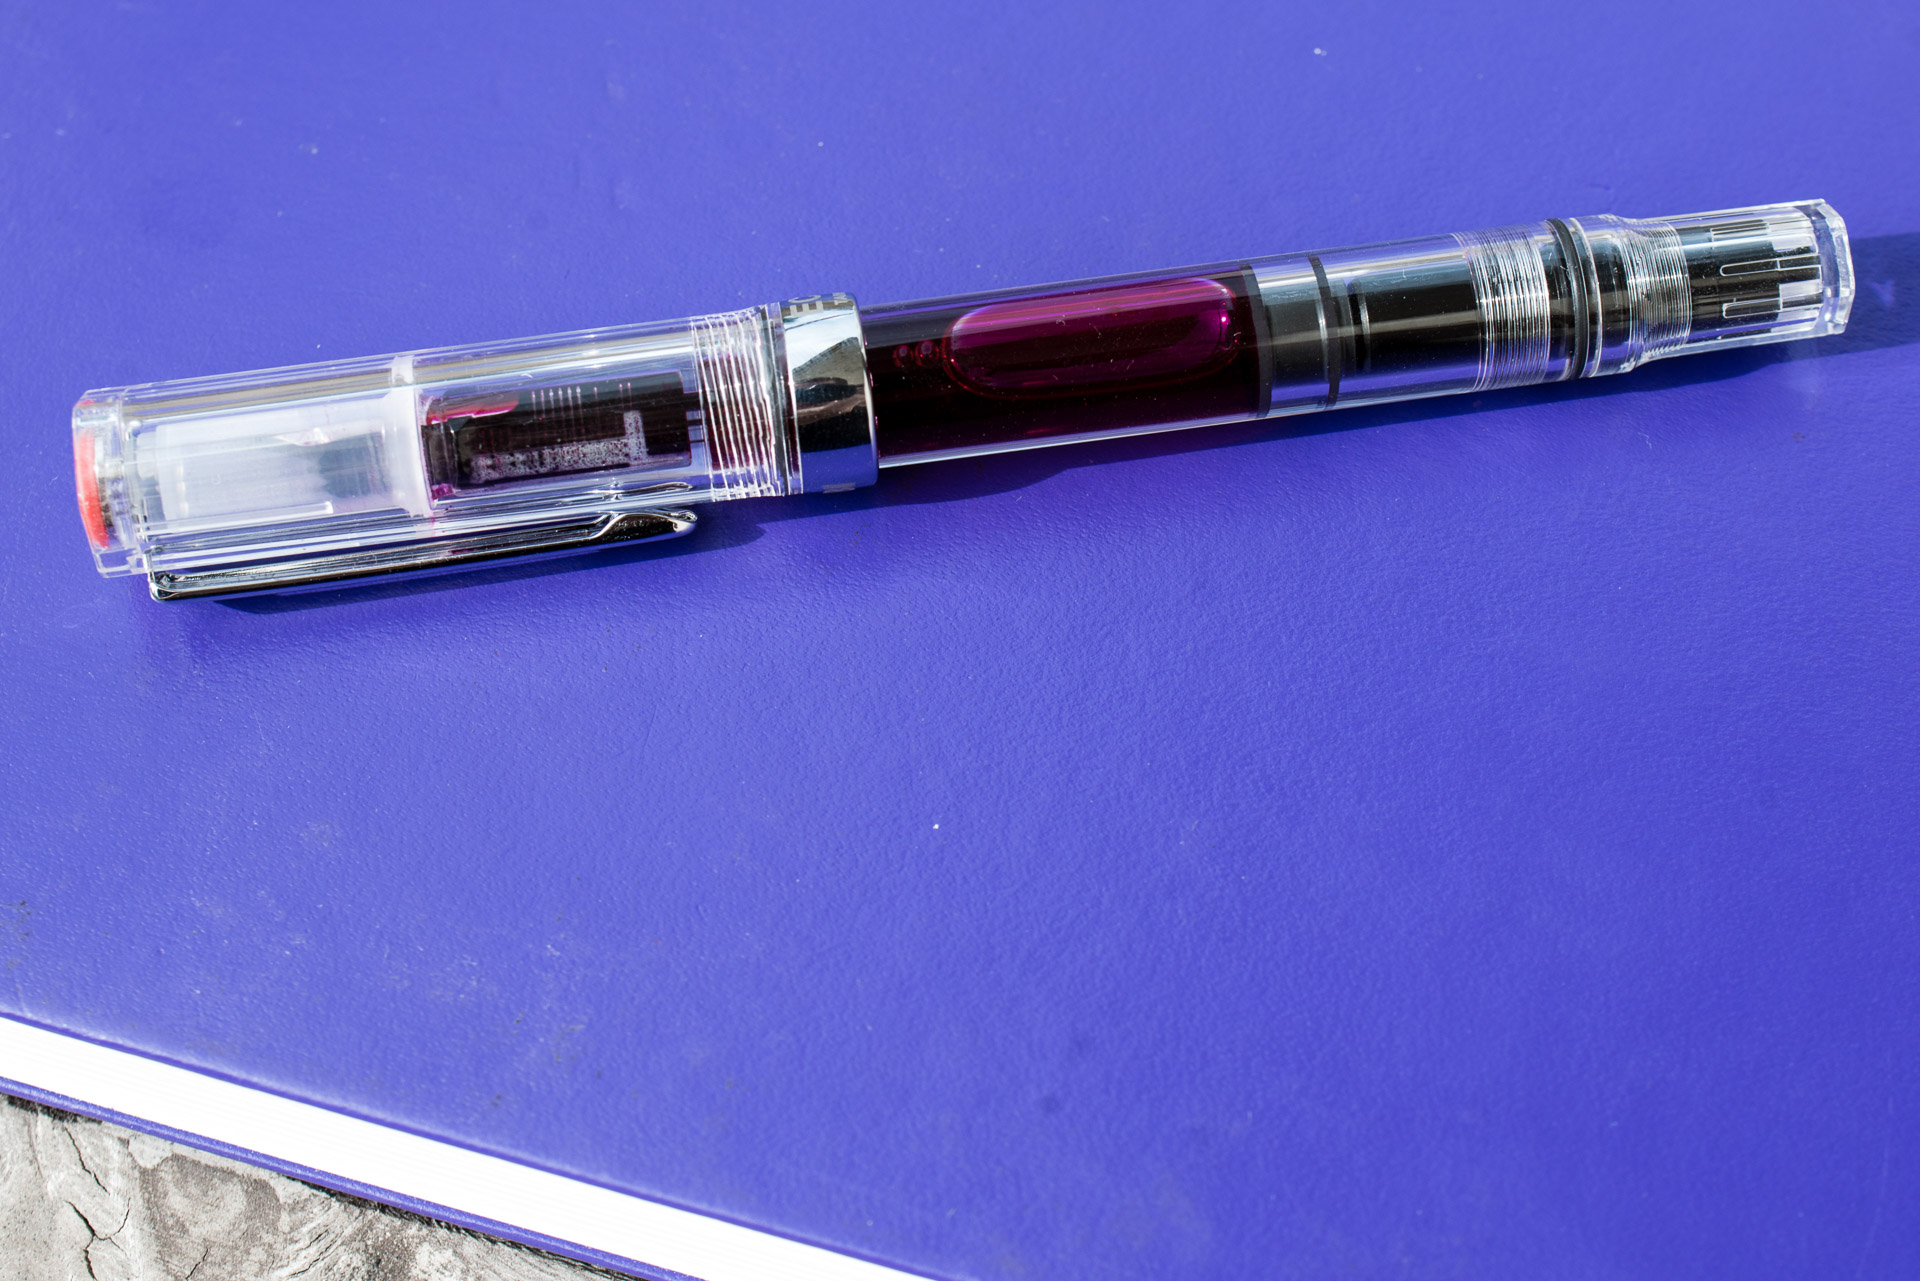
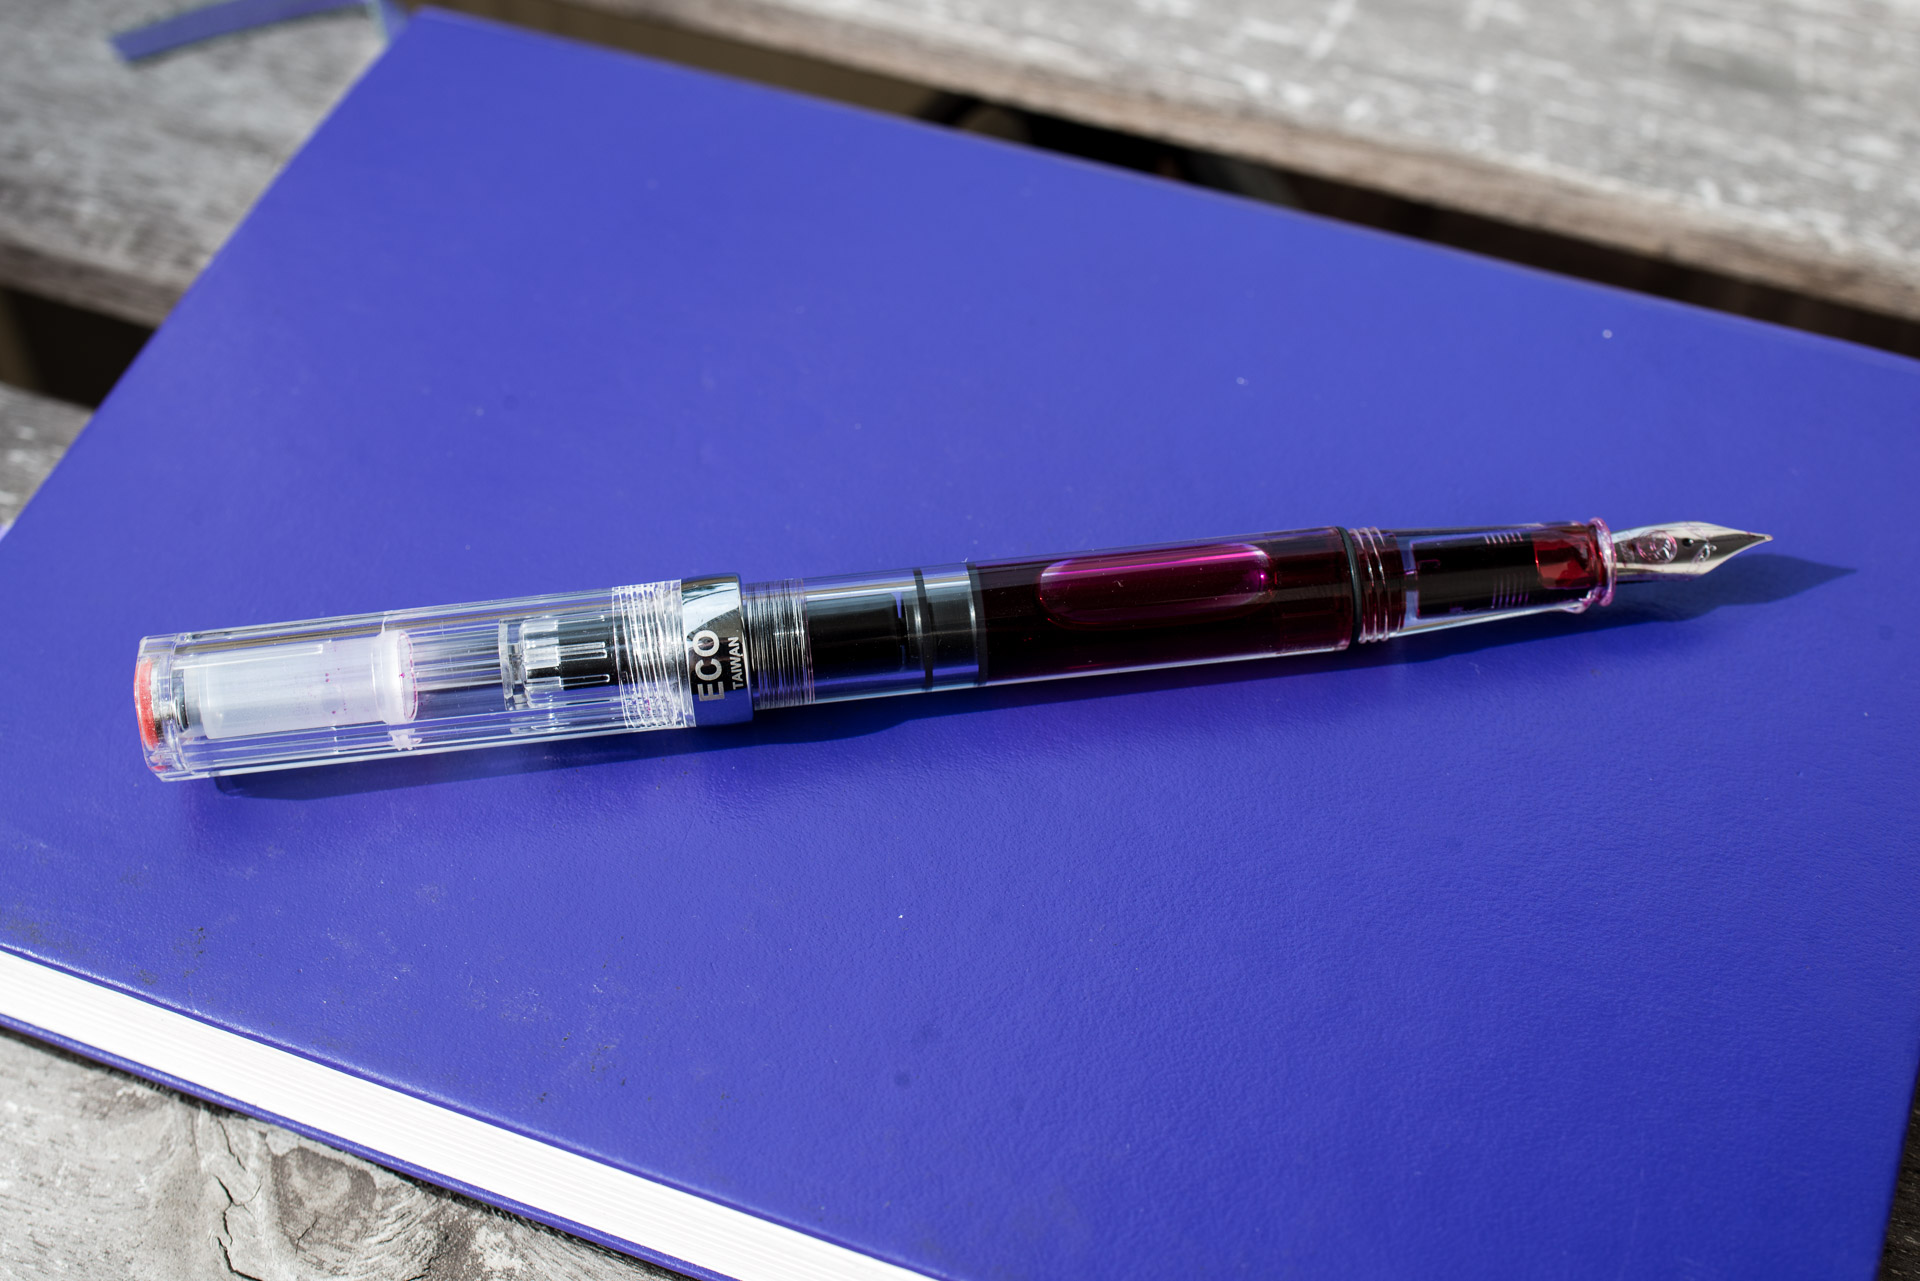
Some time ago I wrote that Kaweco Sport was my favorite beginners fountain pen, but now I think I have a new favorite, at least if design isn’t high on the list. The new favorite is the Twsbi ECO.

This pen is actually one of my overall favorite pens, even compared to my pens that are worth hundreds of dollars or even as much as a thousand dollars. The one thing that the Kaweco has on this is the classic, old school design and portability. Those things would still make me say that pen is perfect for those who favor a pen that really has a personality and makes people look. With that said, it’s not that the Twsbi has a bad design, in fact I like it as well. The design is however more modern and almost childish, the Kaweco Sport design is more refined and has more "class".

So what makes the Twsbi so great then?

First of all it has a decent size that probably is quite good for most people, small hands or big hands. Secondly it has an amazing smooth nib that writes like a dream, even if you go for a finer nib size (which I do as I love writing small). It is not very wet which means the line width actually stays quite fine and it is possible to use the pen on paper that isn’t super good. The one thing at least I would have loved was if the nib had some softness to it so you could get some flare and line variation when pressing a bit harder. That is however more of a personal taste thing and as a firm nib, it is amazing.

The other things that I love about the pen is that it is a piston filler. That means that you can’t use cartridges and need to fill the pen from a bottle and of course there are pros and cons for this. Cartridges can be a perfect way to start out using fountain pens as you just change cartridge when you run out of ink, but in the long run it’s expensive and you don’t have as many different colors to choose from. A piston filler is a pen with its own filling system where all you do is put the nib in a bottle of ink and turn the knob at the back of the pen to fill the pen. This means that you need to learn how to fill a pen from a bottle, which can be a bit messy until you get the hang of it. You do however get a pen that hold much more ink and compared to using a small converter (a sort of cartridge you can fill from bottles) it is much easier to clean and use. At least that is true for the Twsbi ECO as you can disassemble the pen quite easy and flush every part. As the ECO also is a so called demonstrator pen (a clear body that lets you see the inner workings of the pen) it’s also very easy to see what ink you have in it and when it is time to refill the pen.

Last but not least, the pen is very cheap at around 35€ and you can get it in many different colors. If you like it, why not buy three in different colors and match the ink in them?

My still life photo setup

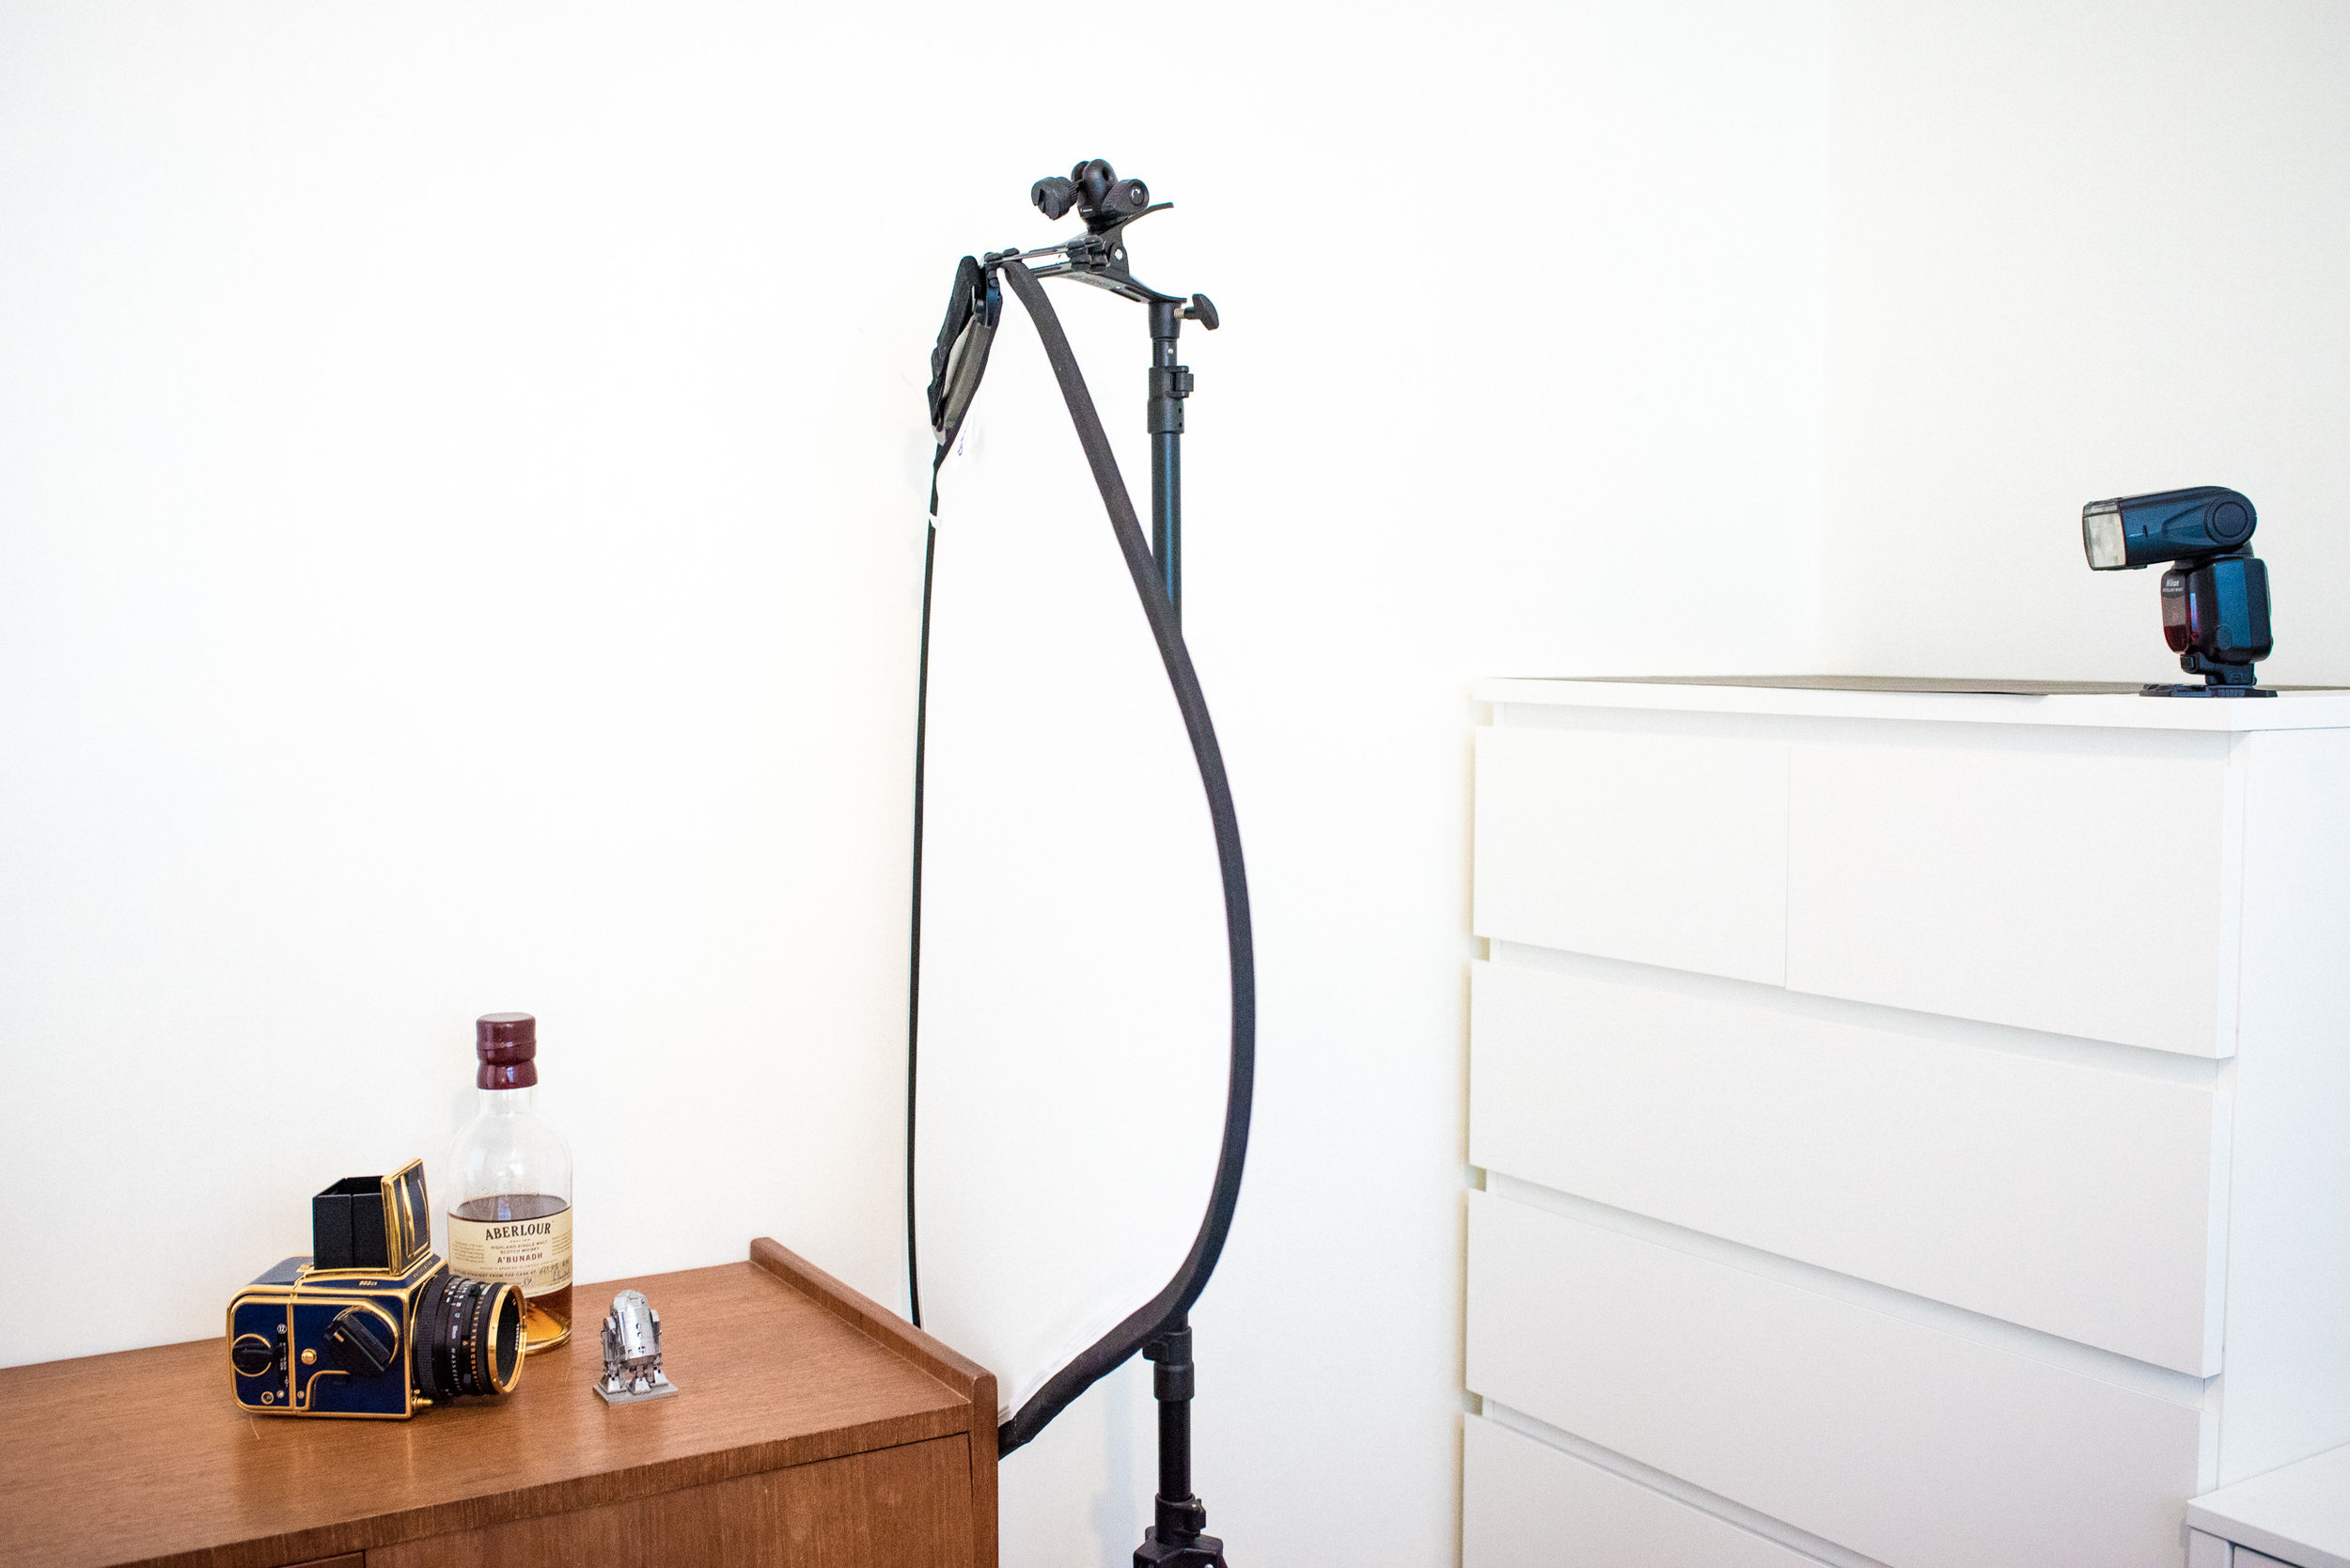
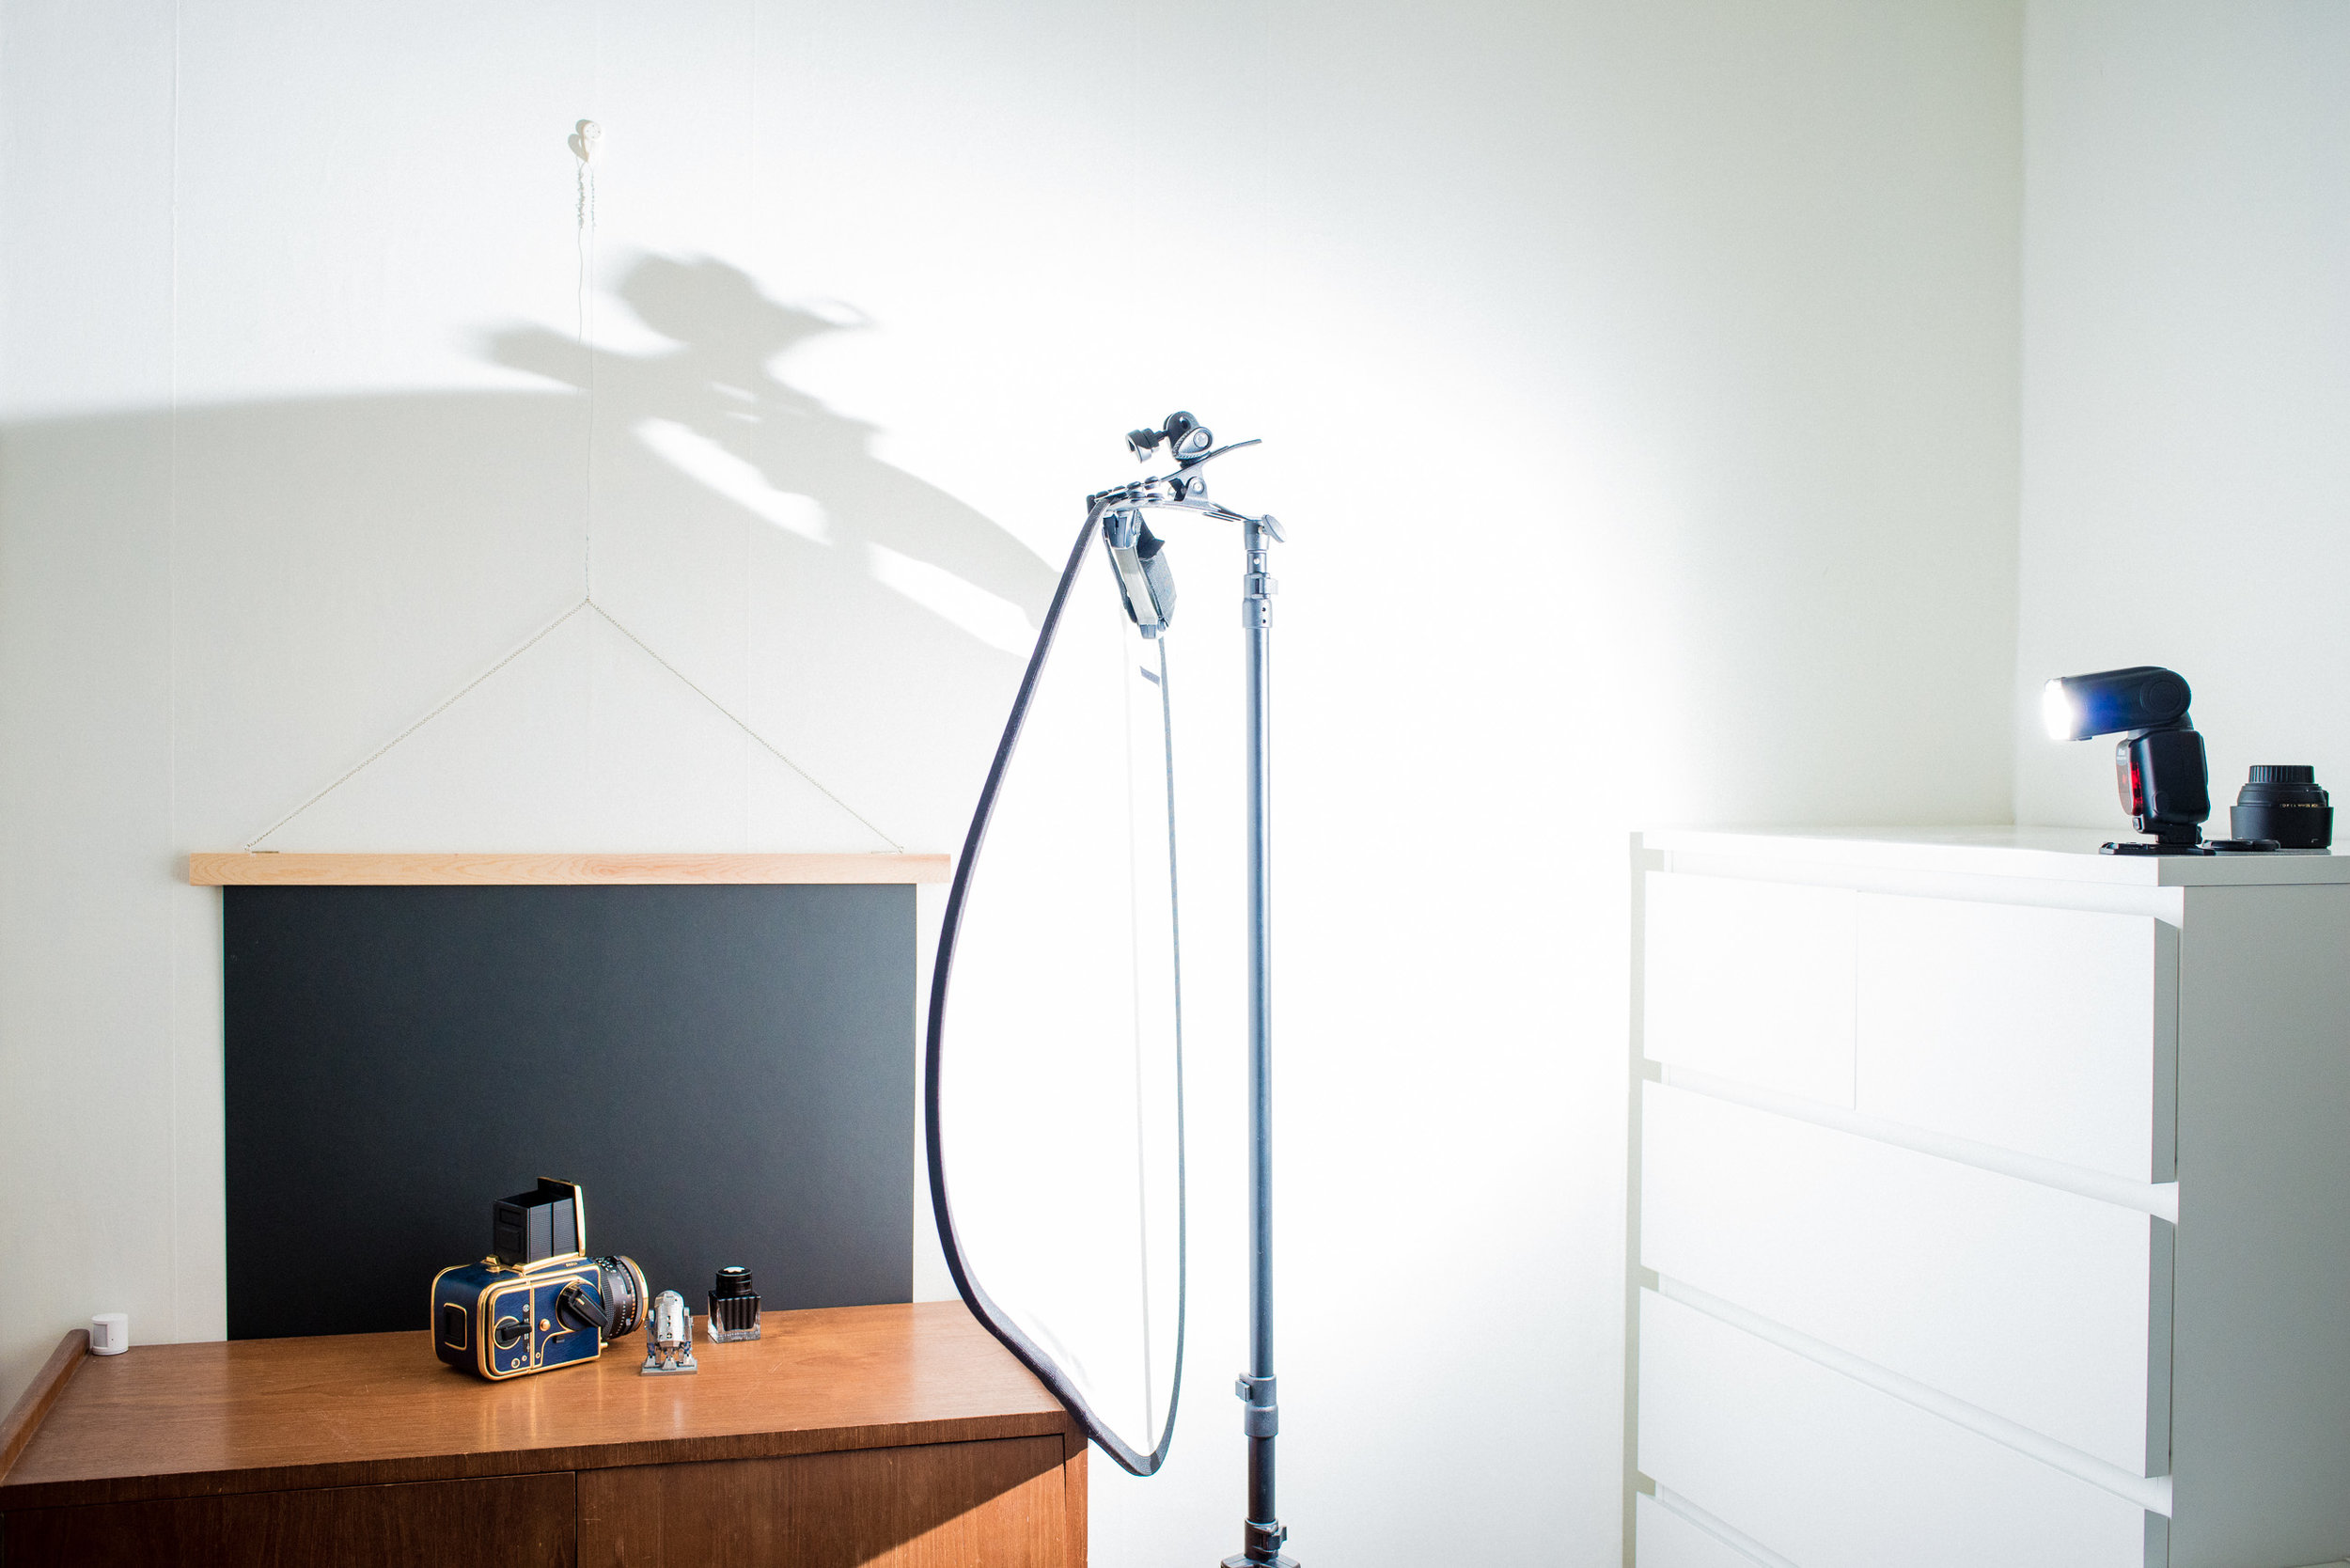
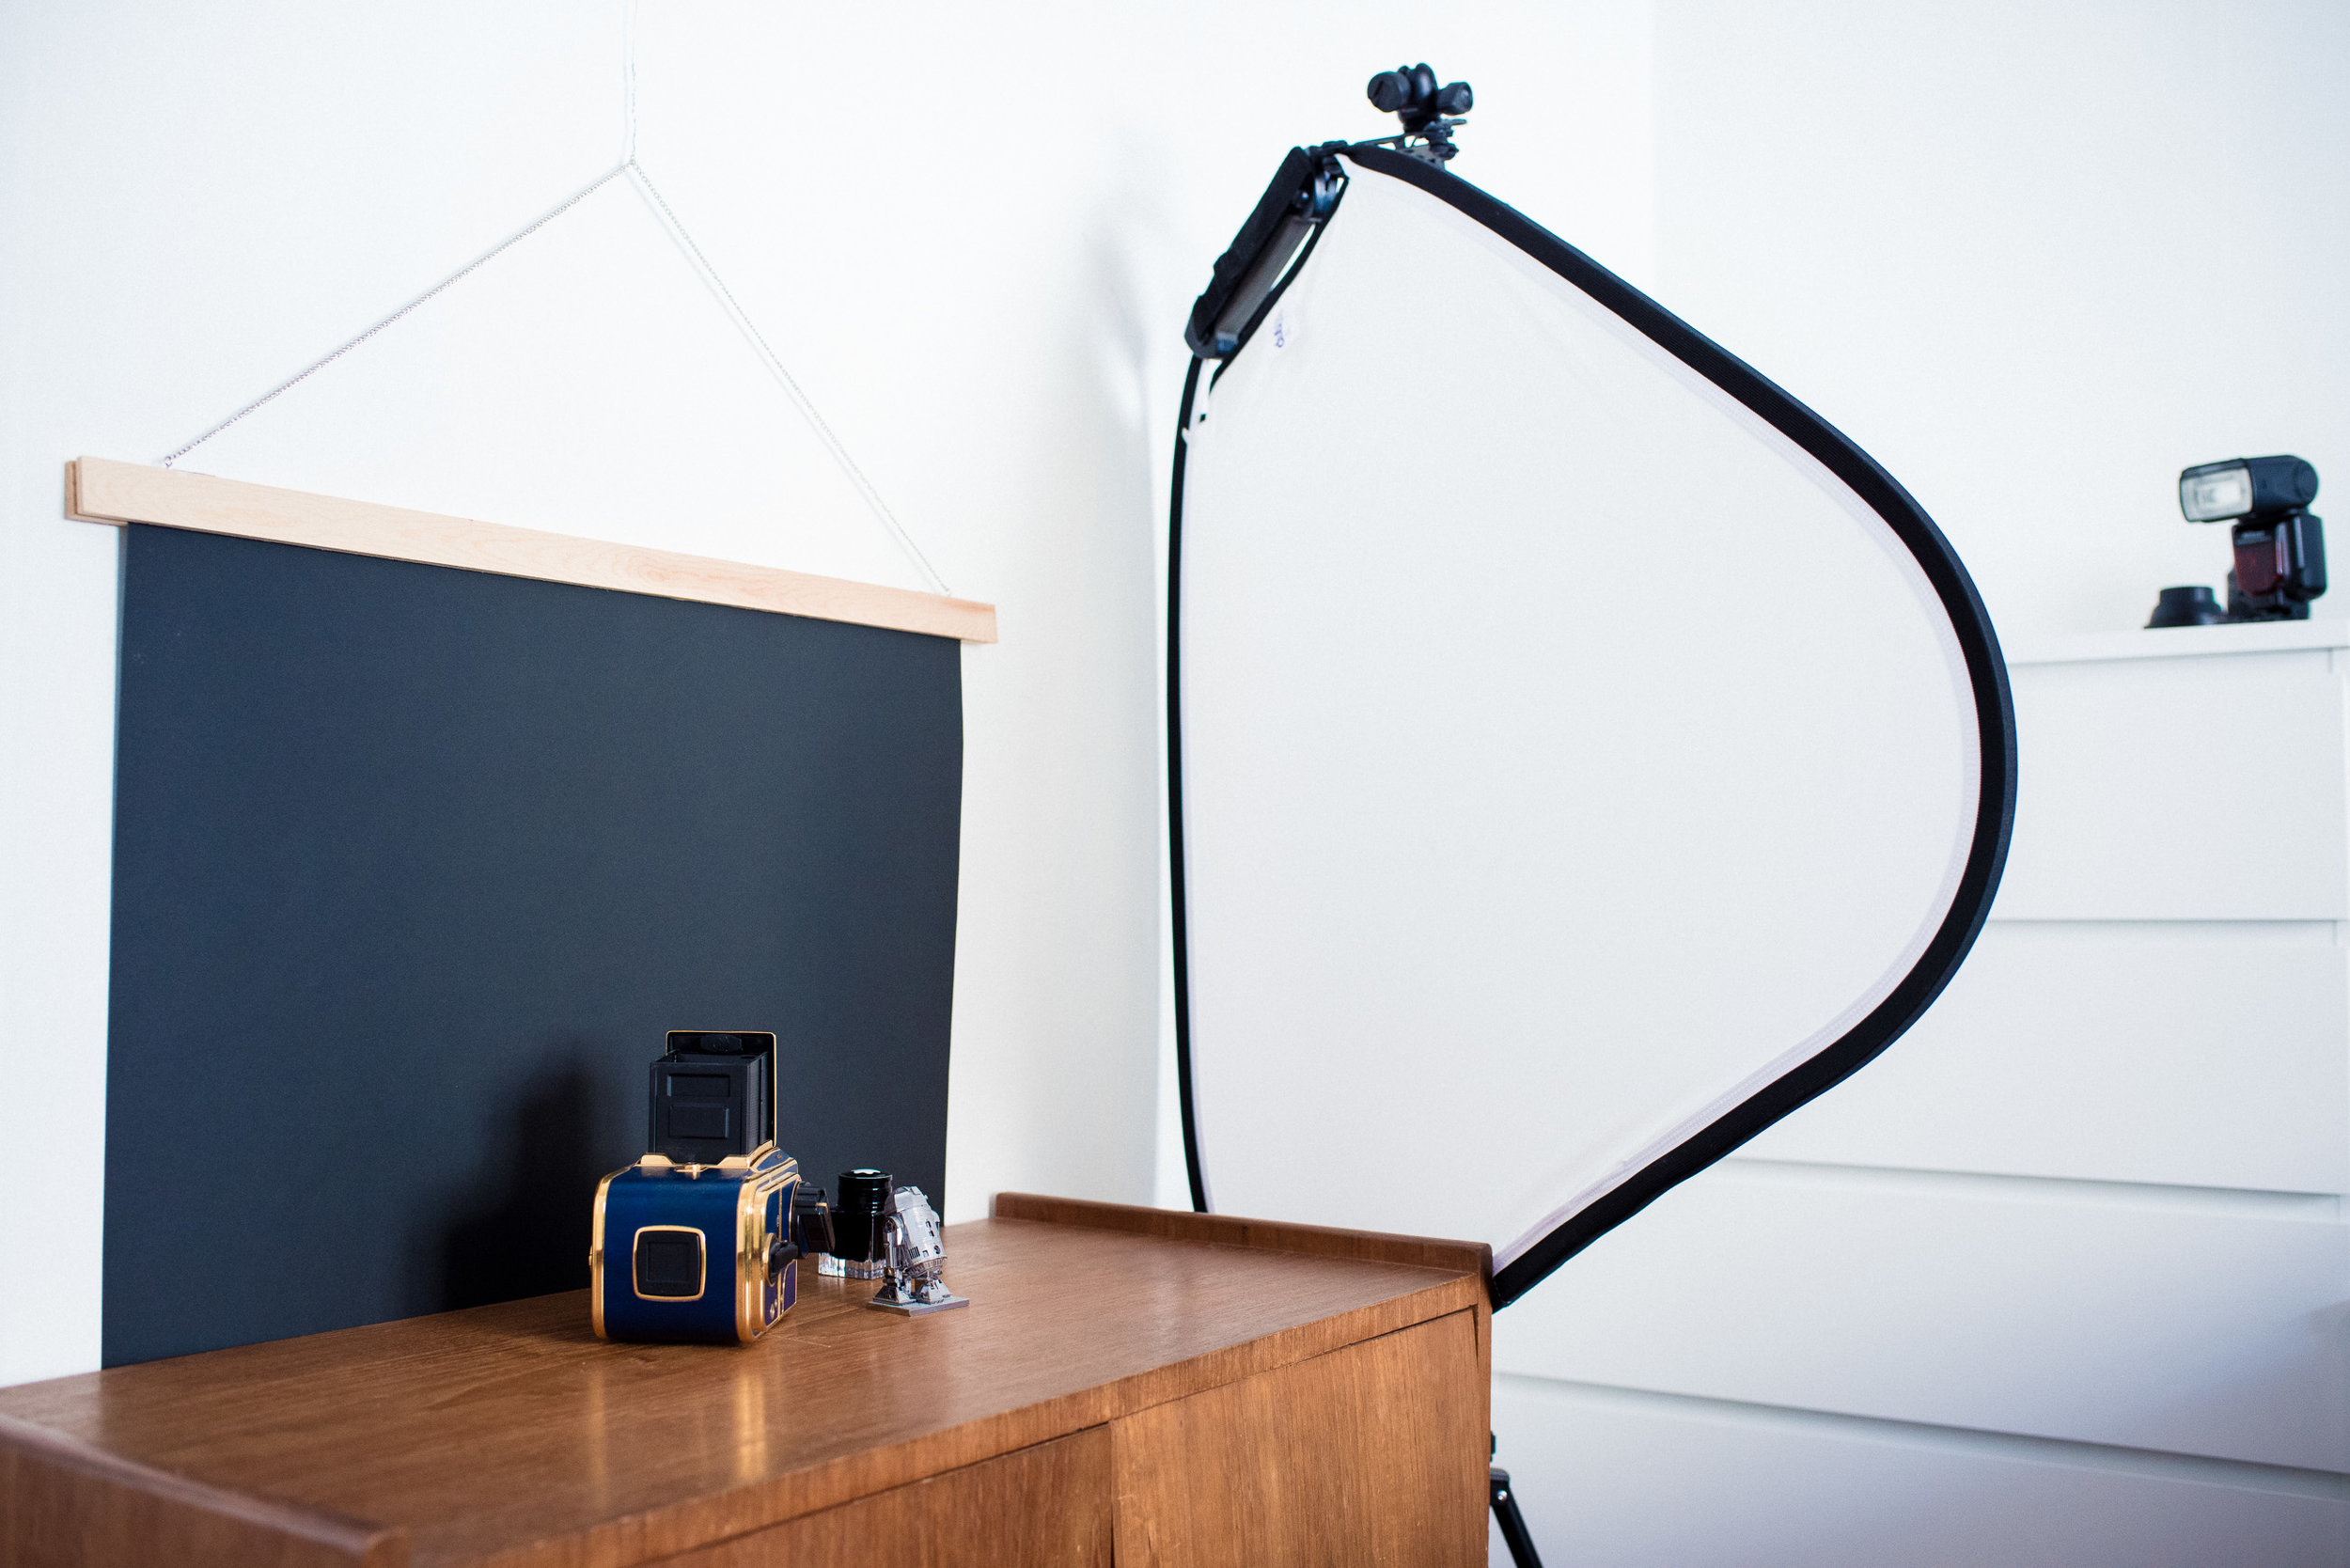
One thing that was important for me when I started blogging was to have nice pictures. At least for most posts, the ones I can put a bit of time into. Many of the things I write are about stuff and things so I set up a table with a small photography studio so that I easy and fast could take some nice pictures of the stuff and things.

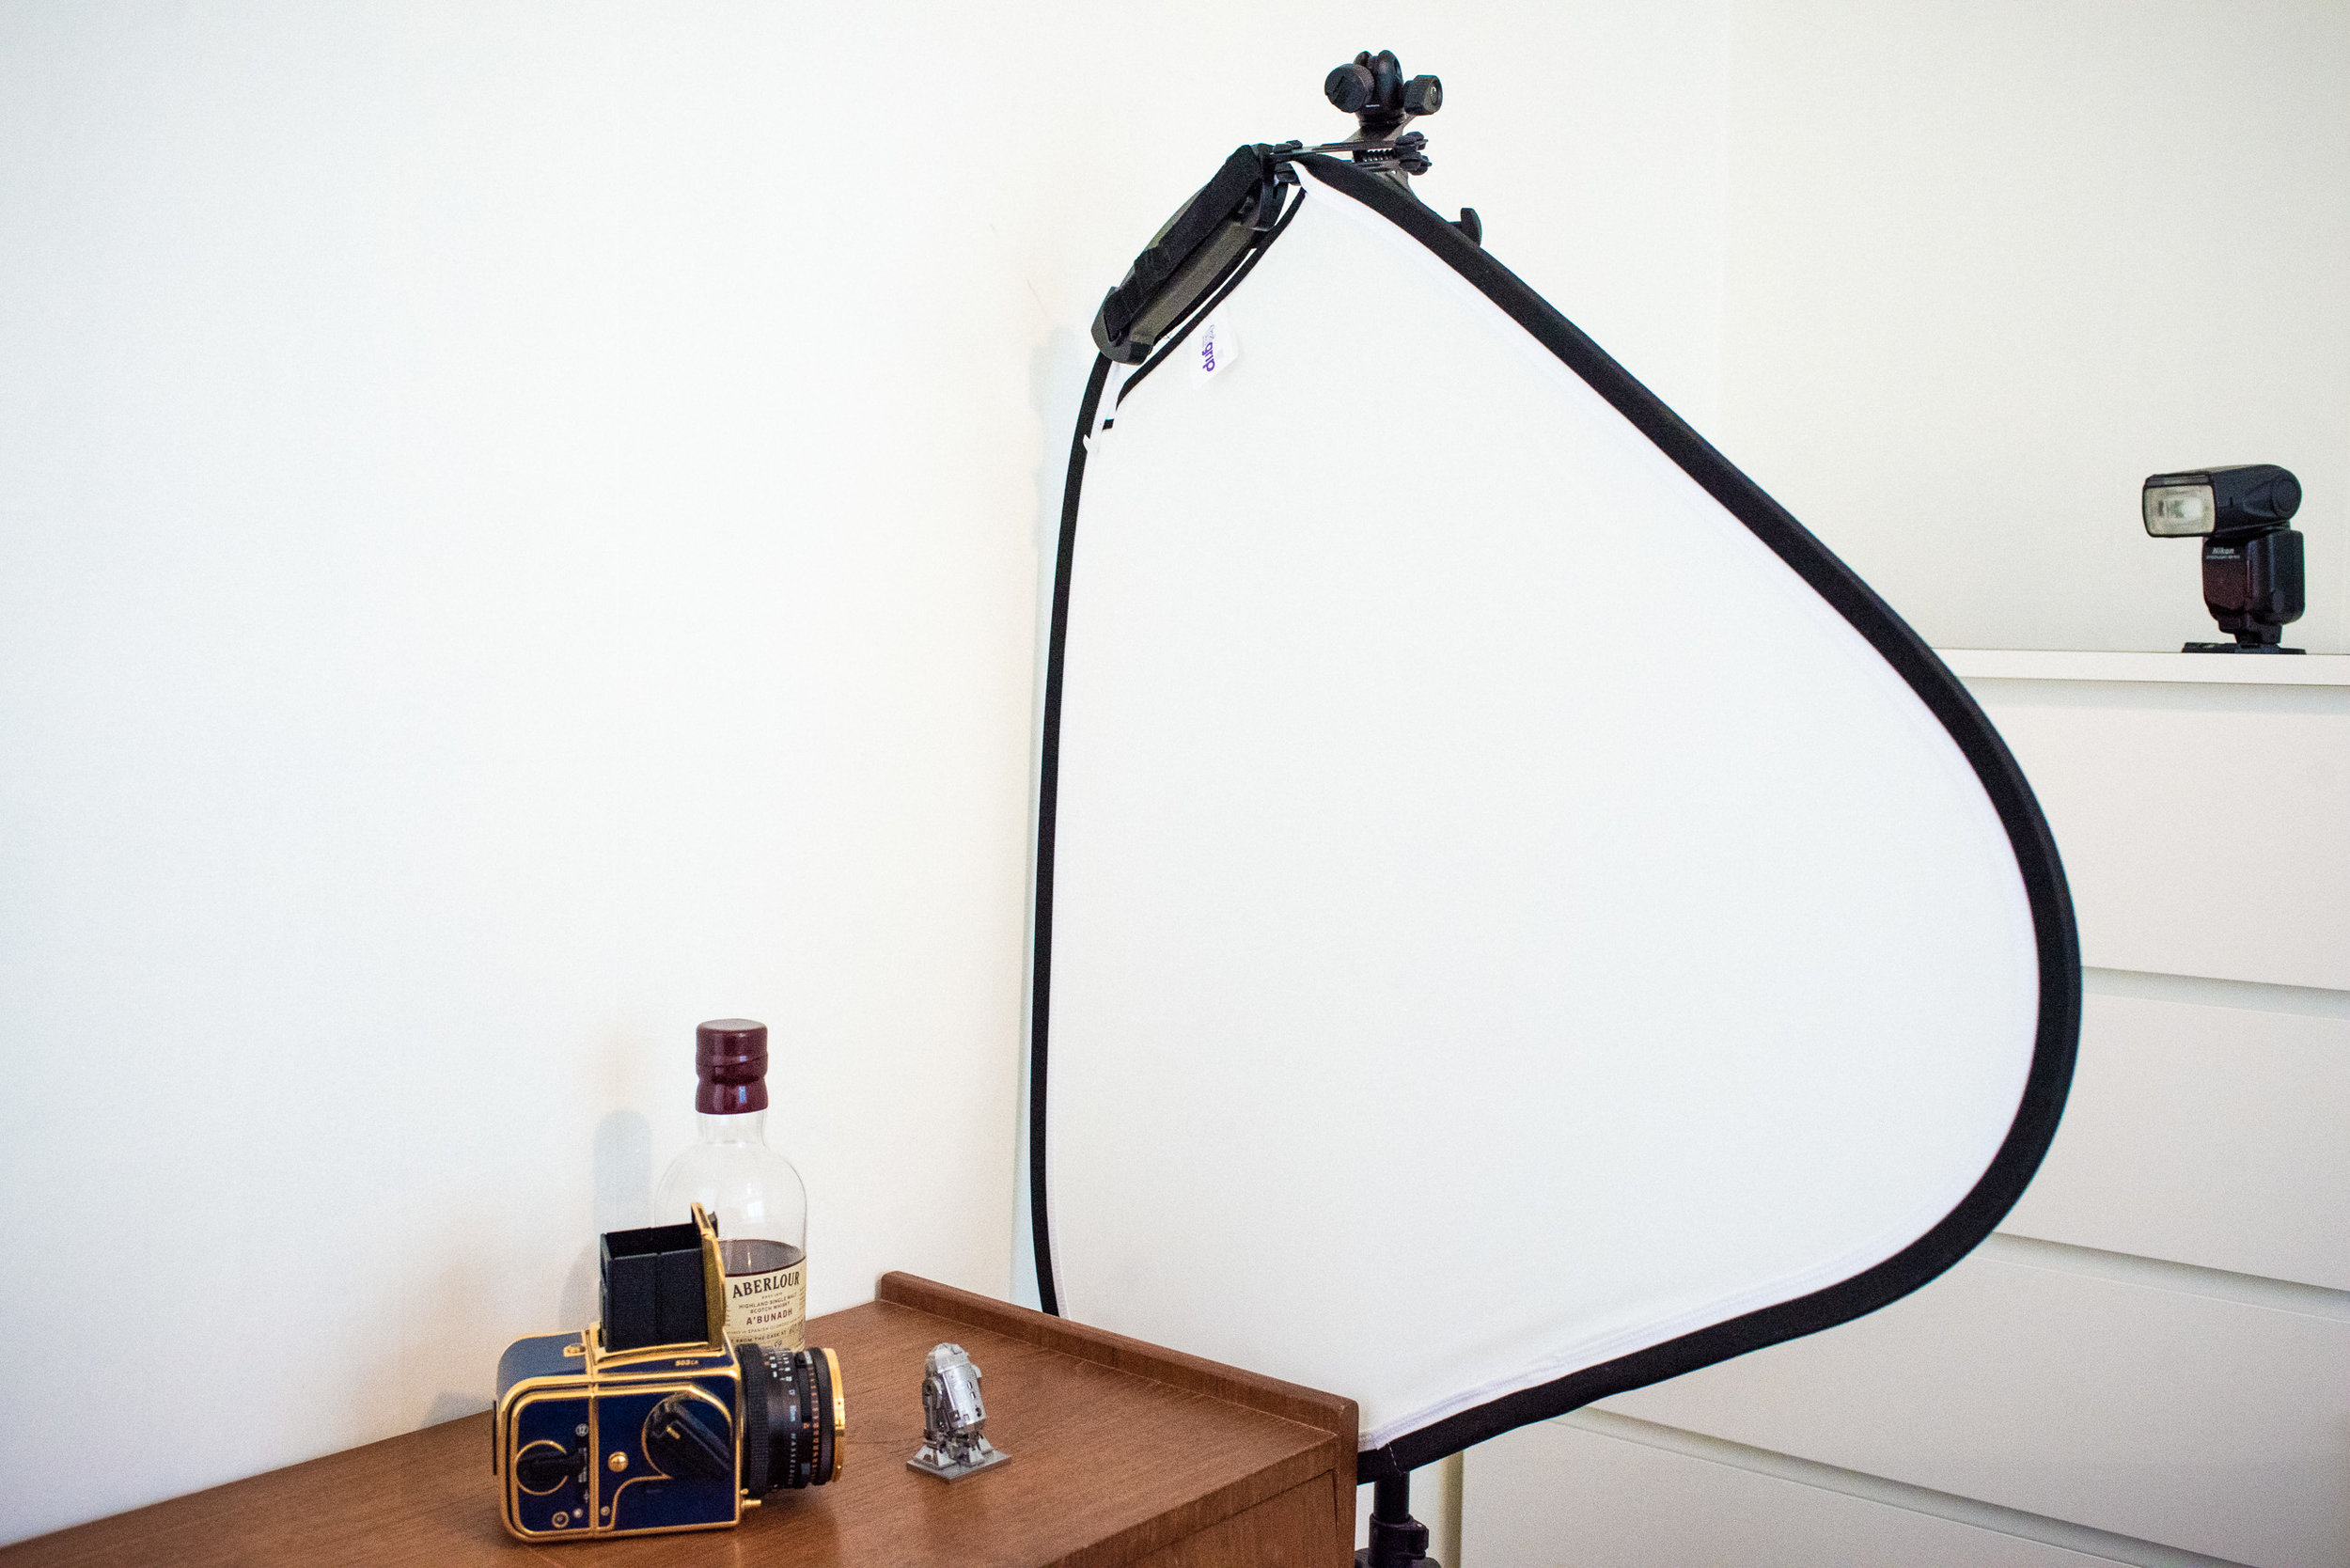
Today I wanted to show you that setup and also maybe say a word or two about the lighting and techy part. I use a Nikon D800 with multiple different lenses, mostly a 50 mm, an 85 mm and a 45 mm tilt/shift macro lens for the close ups. For lighting I use a Nikon SB-910 camera flash which I use of camera with Nikon’s own wireless system. As a flash like that makes quite a harsh light I need one more thing to be able to take nice photos, and that is a Lastolite diffuser.

The reason why people associate flashes with harsh and hard light is because the light source is small relative to the subject being photographed. Without going into the details and physics to much I’ll try to explain how a diffuser fixes this, and where it should be positioned, all a bit simplified to keep it easy to understand.

First of all, if the size of your light source is bigger than the object you are photographing you are going to get a soft light. The bigger the source, the softer the light. If you photograph someone with the flash on your phone or camera the shadows become hard and more often than not this is not what you want. If you instead turn of the flash and put your subject by a window you get a much nicer light. This is because the whole window acts like the light source, and it’s probably bigger than your subject. Maybe you’re thinking “But the window isn’t the light source, the sun is?” right now, and of course you are right, but in practise that isn’t how it works. The sun hits the window and the window diffuses and spreads the light around, this is when the window in practise “becomes” a light source. This is also exactly what happens with the flash (the sun) and the diffuser screen (the window).

Now the next important thing, it’s all about relativity. That means, the light sources size relative to the subject you are photographing. If the source is further away it “becomes” smaller and the light harder. With that said, the closer you put the diffuser to the subject you are photographing, the softer your light will be.

Lastly let’s talk about why the flash is so far away from the diffuser and light depth. We’ll skip the physics here and I hope you will just trust me instead of going through that part. If you put the light source close to your subject the light will rapidly fall off so you get one light side, and one dark side. If you put the light source further away you get a greater light depths and therefore can photograph something and an even light level in the whole image. And this is when you maybe ask “Wasn’t the diffuser the light source and didn’t we want it as close as possible to get the light soft? How can I then also put the light source far away to get a even light in the whole picture?”. Fear not, in this regard it is actually still the flash that acts as the light source and as that one is further away than the diffuser you can get a good light depth while still having a soft light.

So to conclude, put your flash “far” away and your diffuser close to the subject. This is because you want the closest thing the light passes through to be big relative to your subject, but you want the light source far away if you want even lighting.


edit:  if you want to dive abit deeper into window light, there is a good comment in the comment section.

My newfound love of French Cider

Even though I would describe myself as a big beer geek, it actually took me quite some time to appreciate the wonderful malt beverage at all. As most people I tried drinking beer in my teens, but god damn it was horrible! Because of that I didn’t drink much in my late teens and in my early twenties I exclusively drank cider and cocktails. That all changed when I got a new job at 24 and almost immediately went on a business trip to Berlin, Germany for a week. Berlin and all the evening events made it hard to avoid beer so what the hell, I decided I needed to learn and started ordering weissbier at every place we came to. When I got home i had started to enjoy a cold weissbier and if there was one type of beer I liked there could be more, so I started to try everything I could. Slowly it went on to Belgian beer and after that pretty much everything except sours (that took a couple of more years but now they are my favorites).

There you have my beer journey in short, but that was not what this actually was supposed to be about. Before I liked beer I of course had tried every cider I could get my hands on and one thing I really liked was French cider. Mostly because it had more taste and was not some artificially flavored sugar water, as most Swedish cider is, like Rekorderlig. There are also pretty good English ones, but I must say the French are the experts.

After I started drinking beer however I almost stopped drinking cider, I don’t know why and regret it. This summer Sweden had the hottest summer in decades and that is when I rediscovered the beauty in a simple cider instead of all the over complex hipster beer I usually drink (like this one). When it is hot outside, or together with light food I now appreciate a cider even more than a beer. I just started to try to test every brand available in Sweden so I can’t give any tips about which one is the best or so, just that maybe you should buy a bottle or two if you usually only drink wine and beer?

The search continues

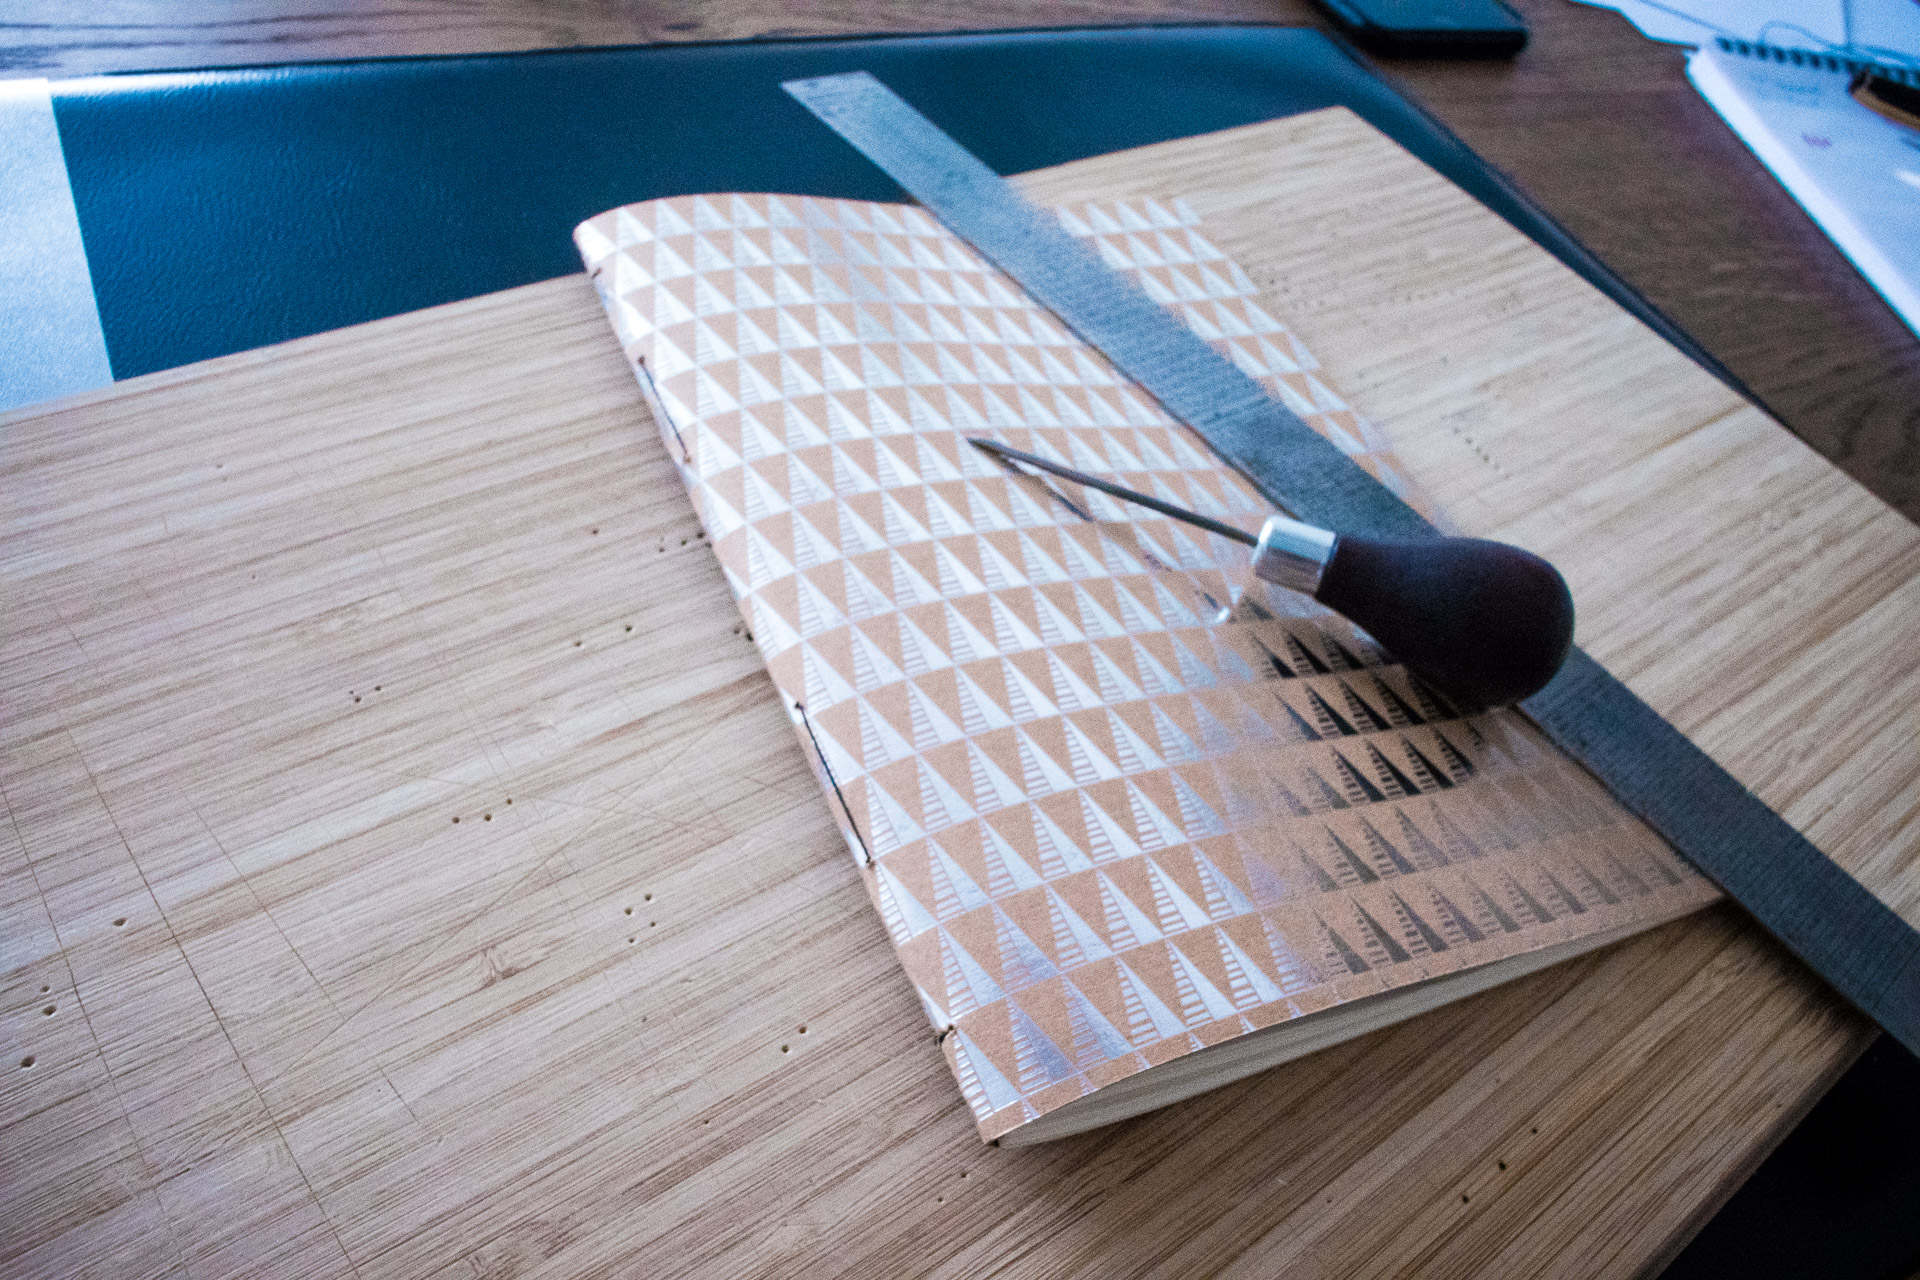
The tools

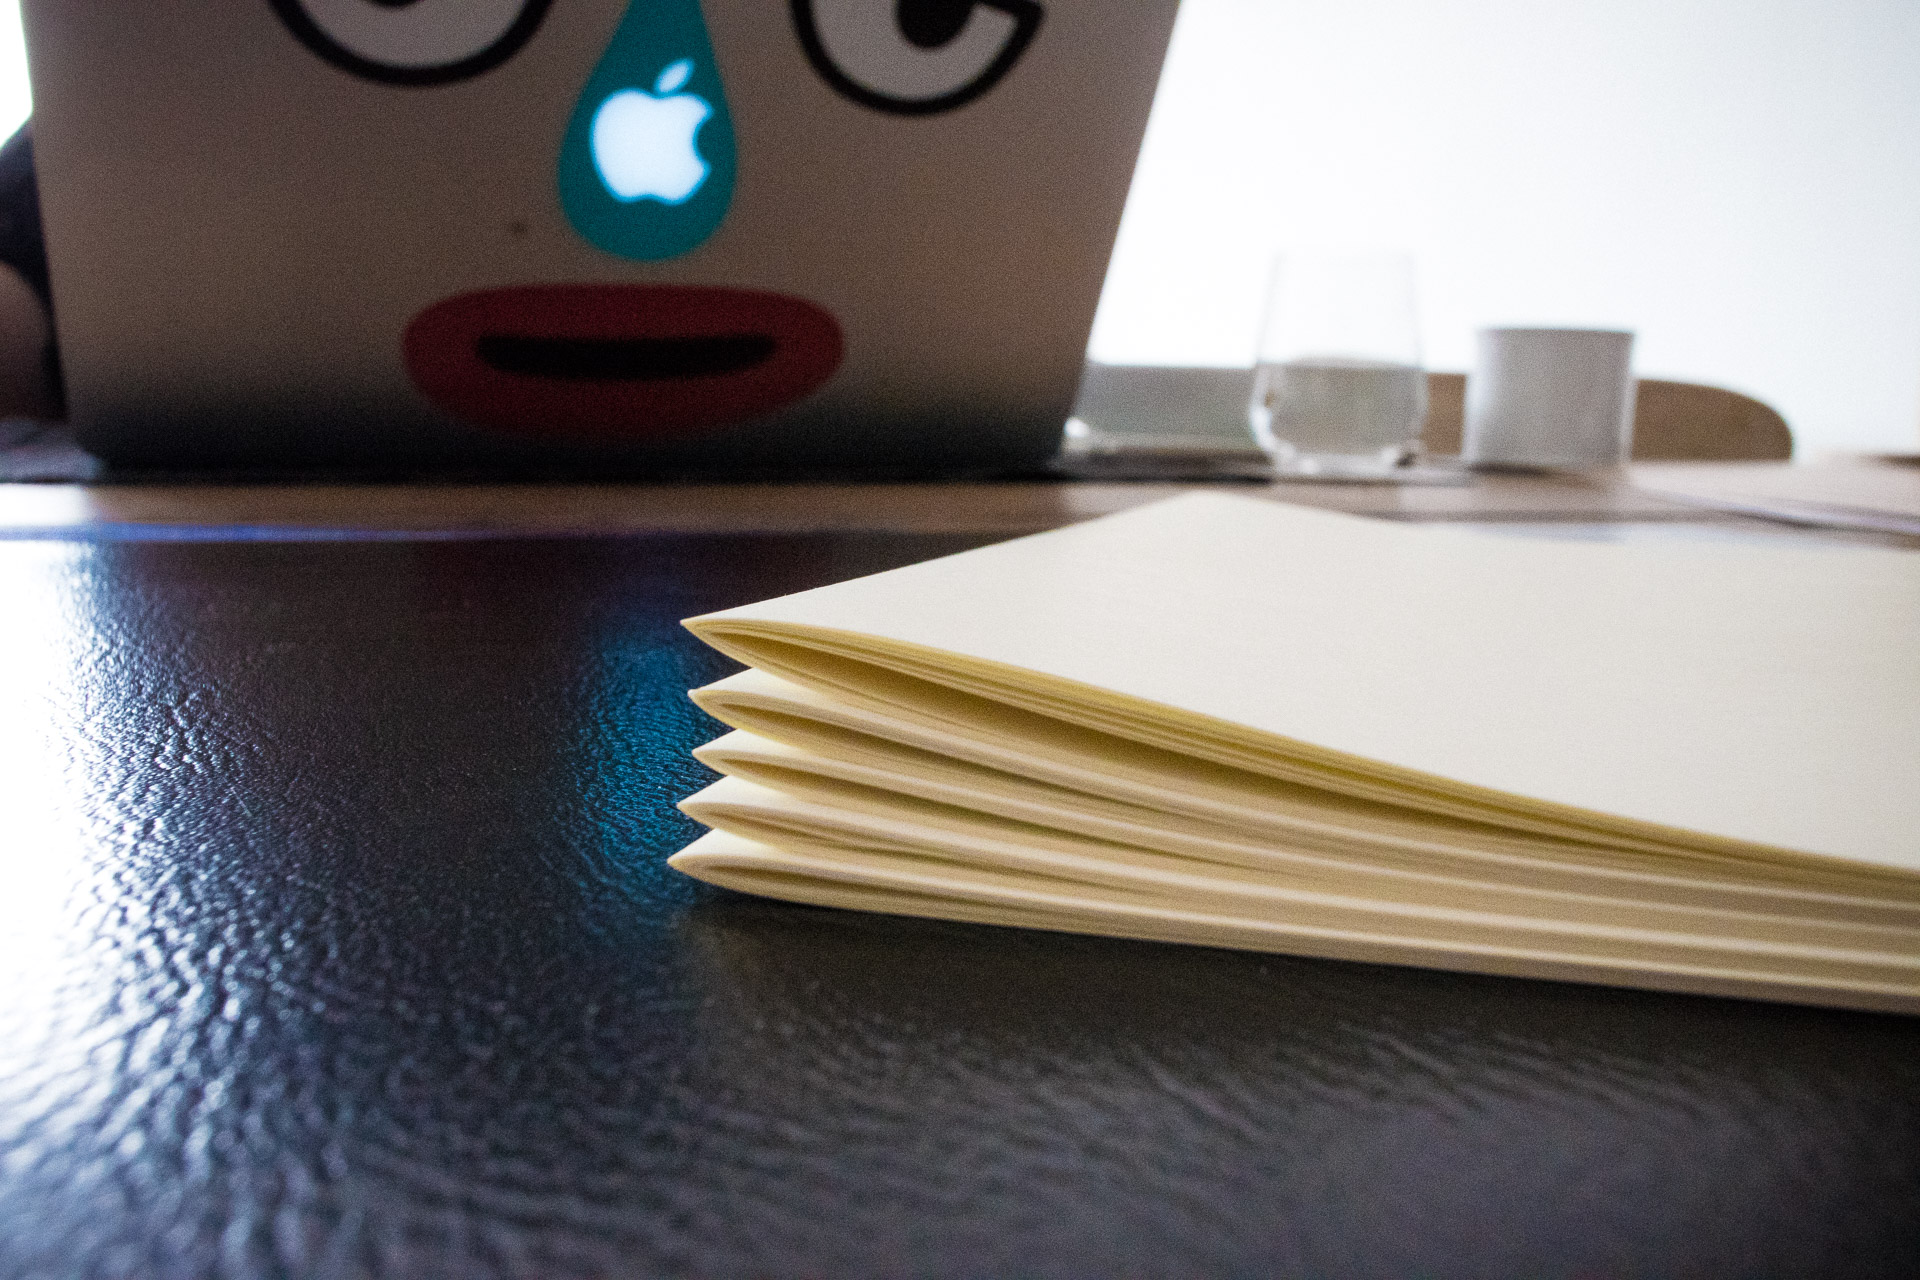
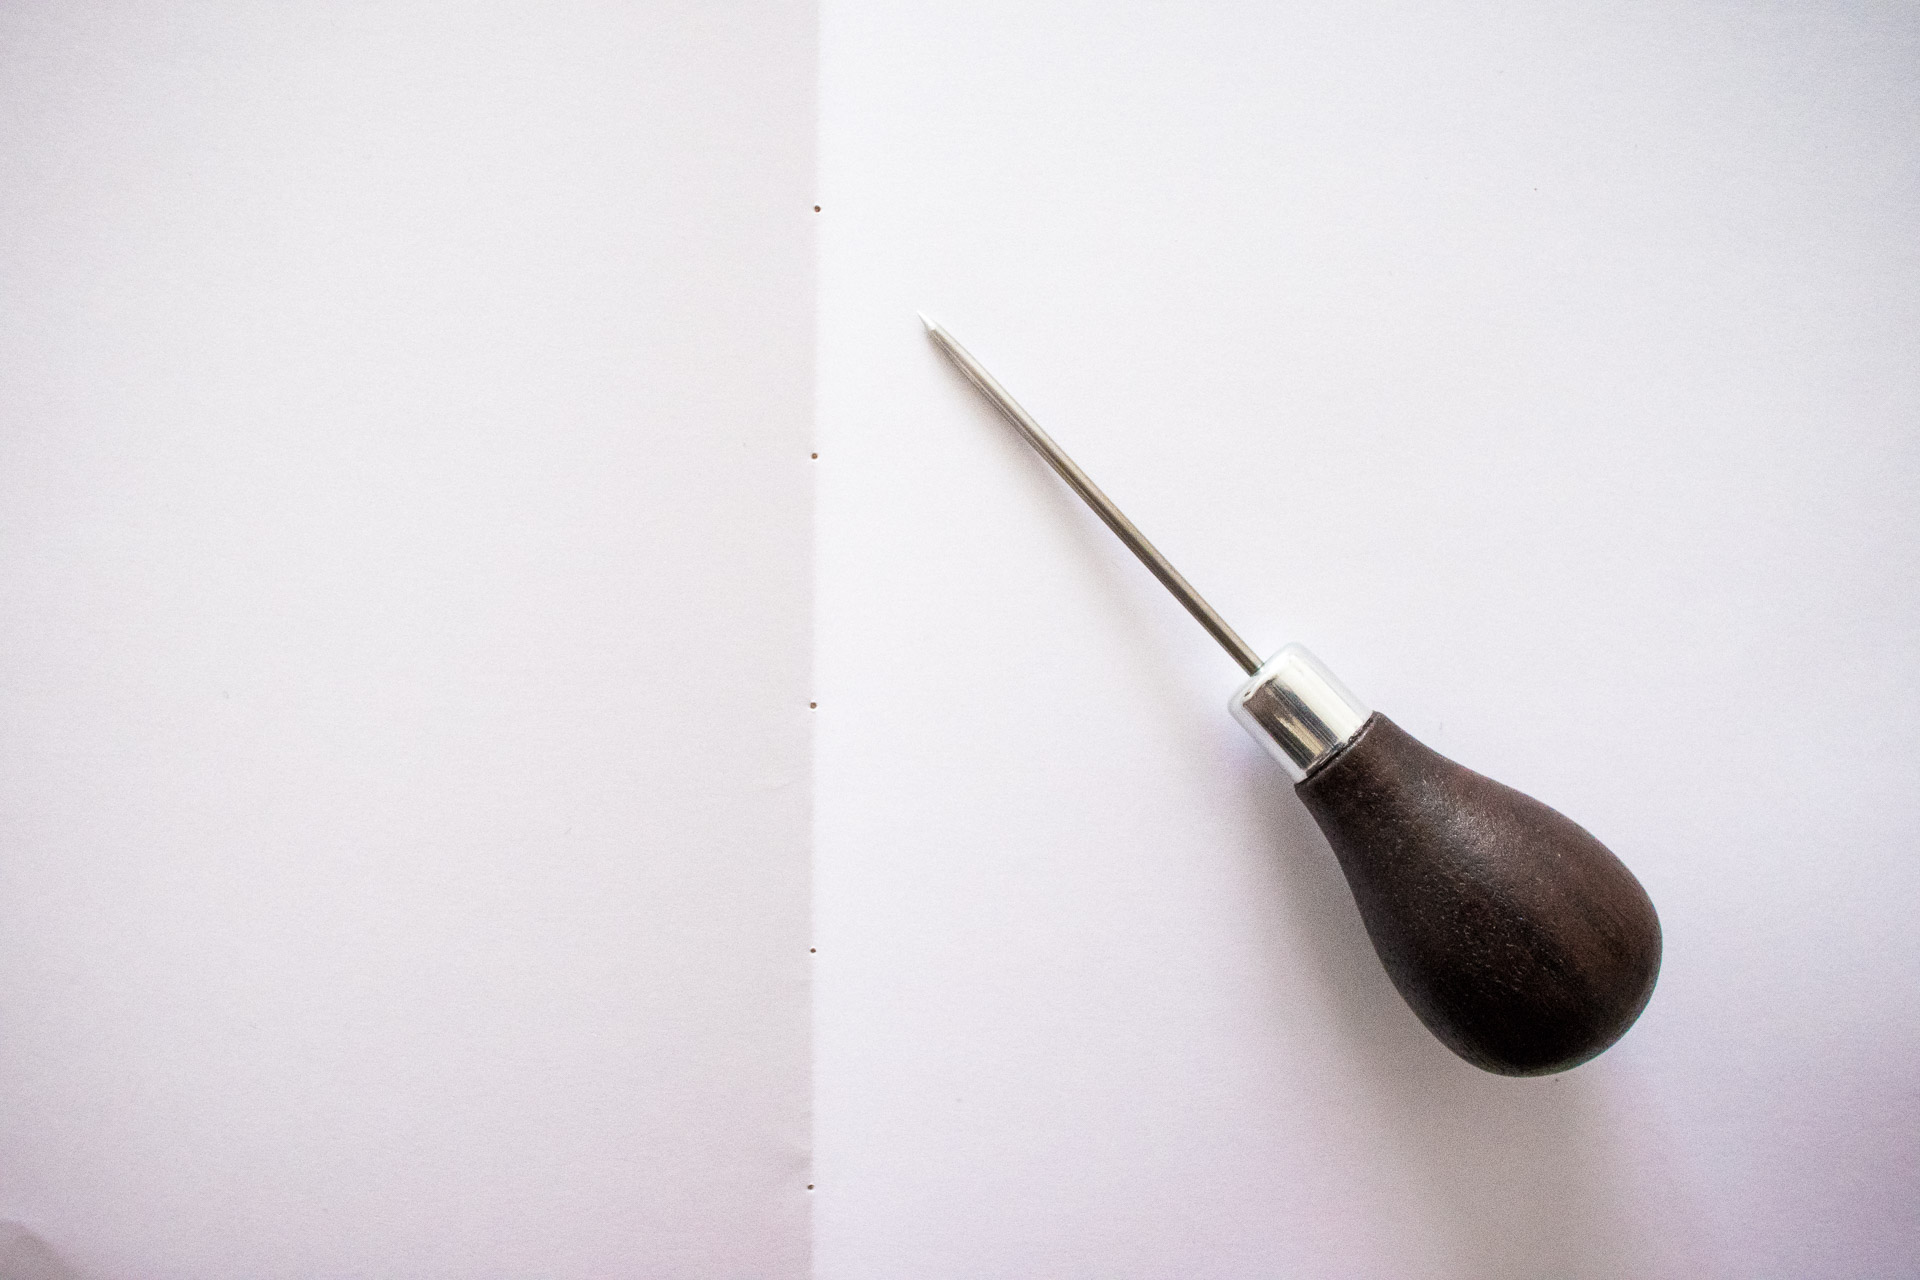
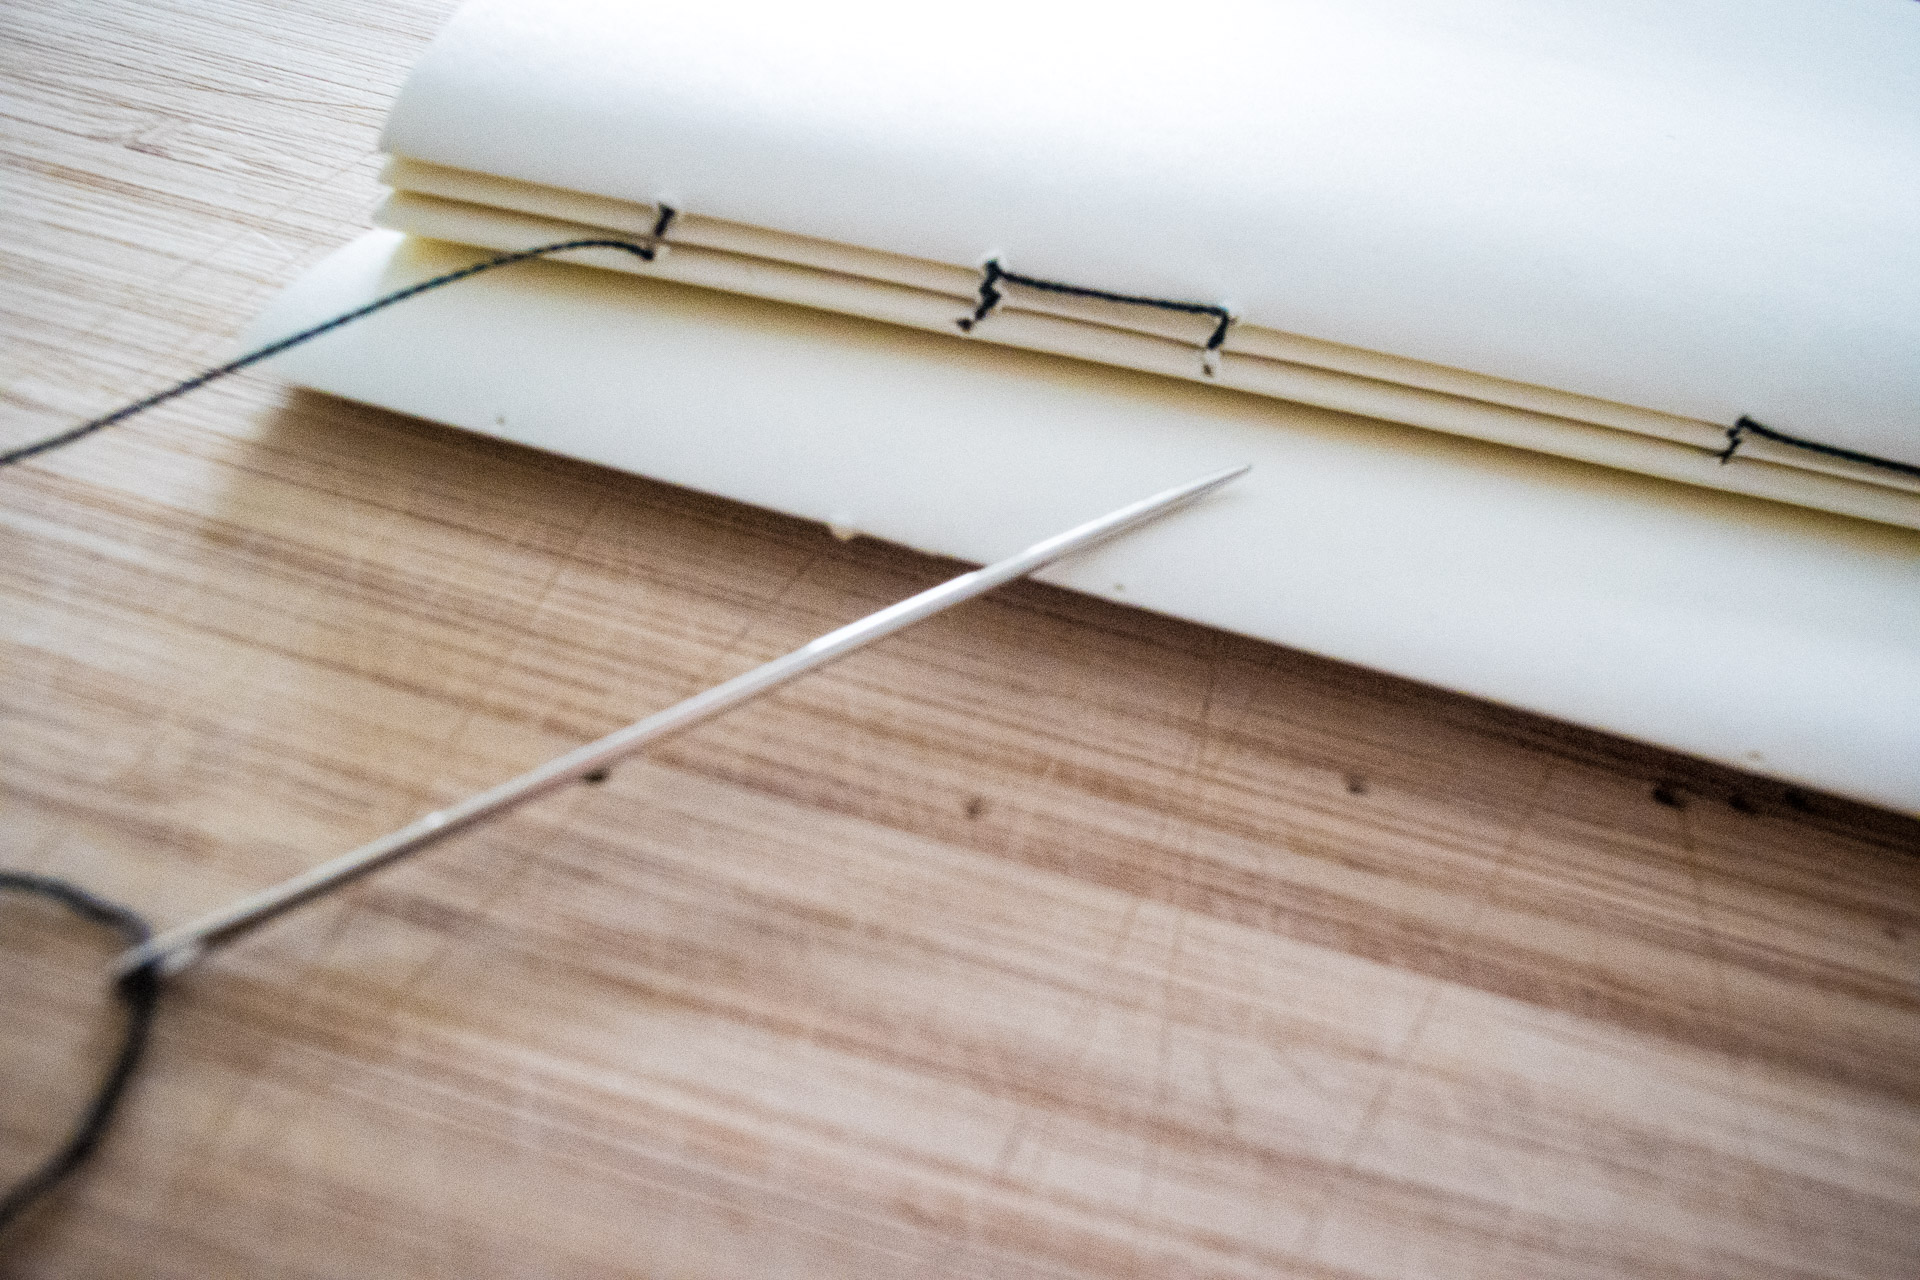
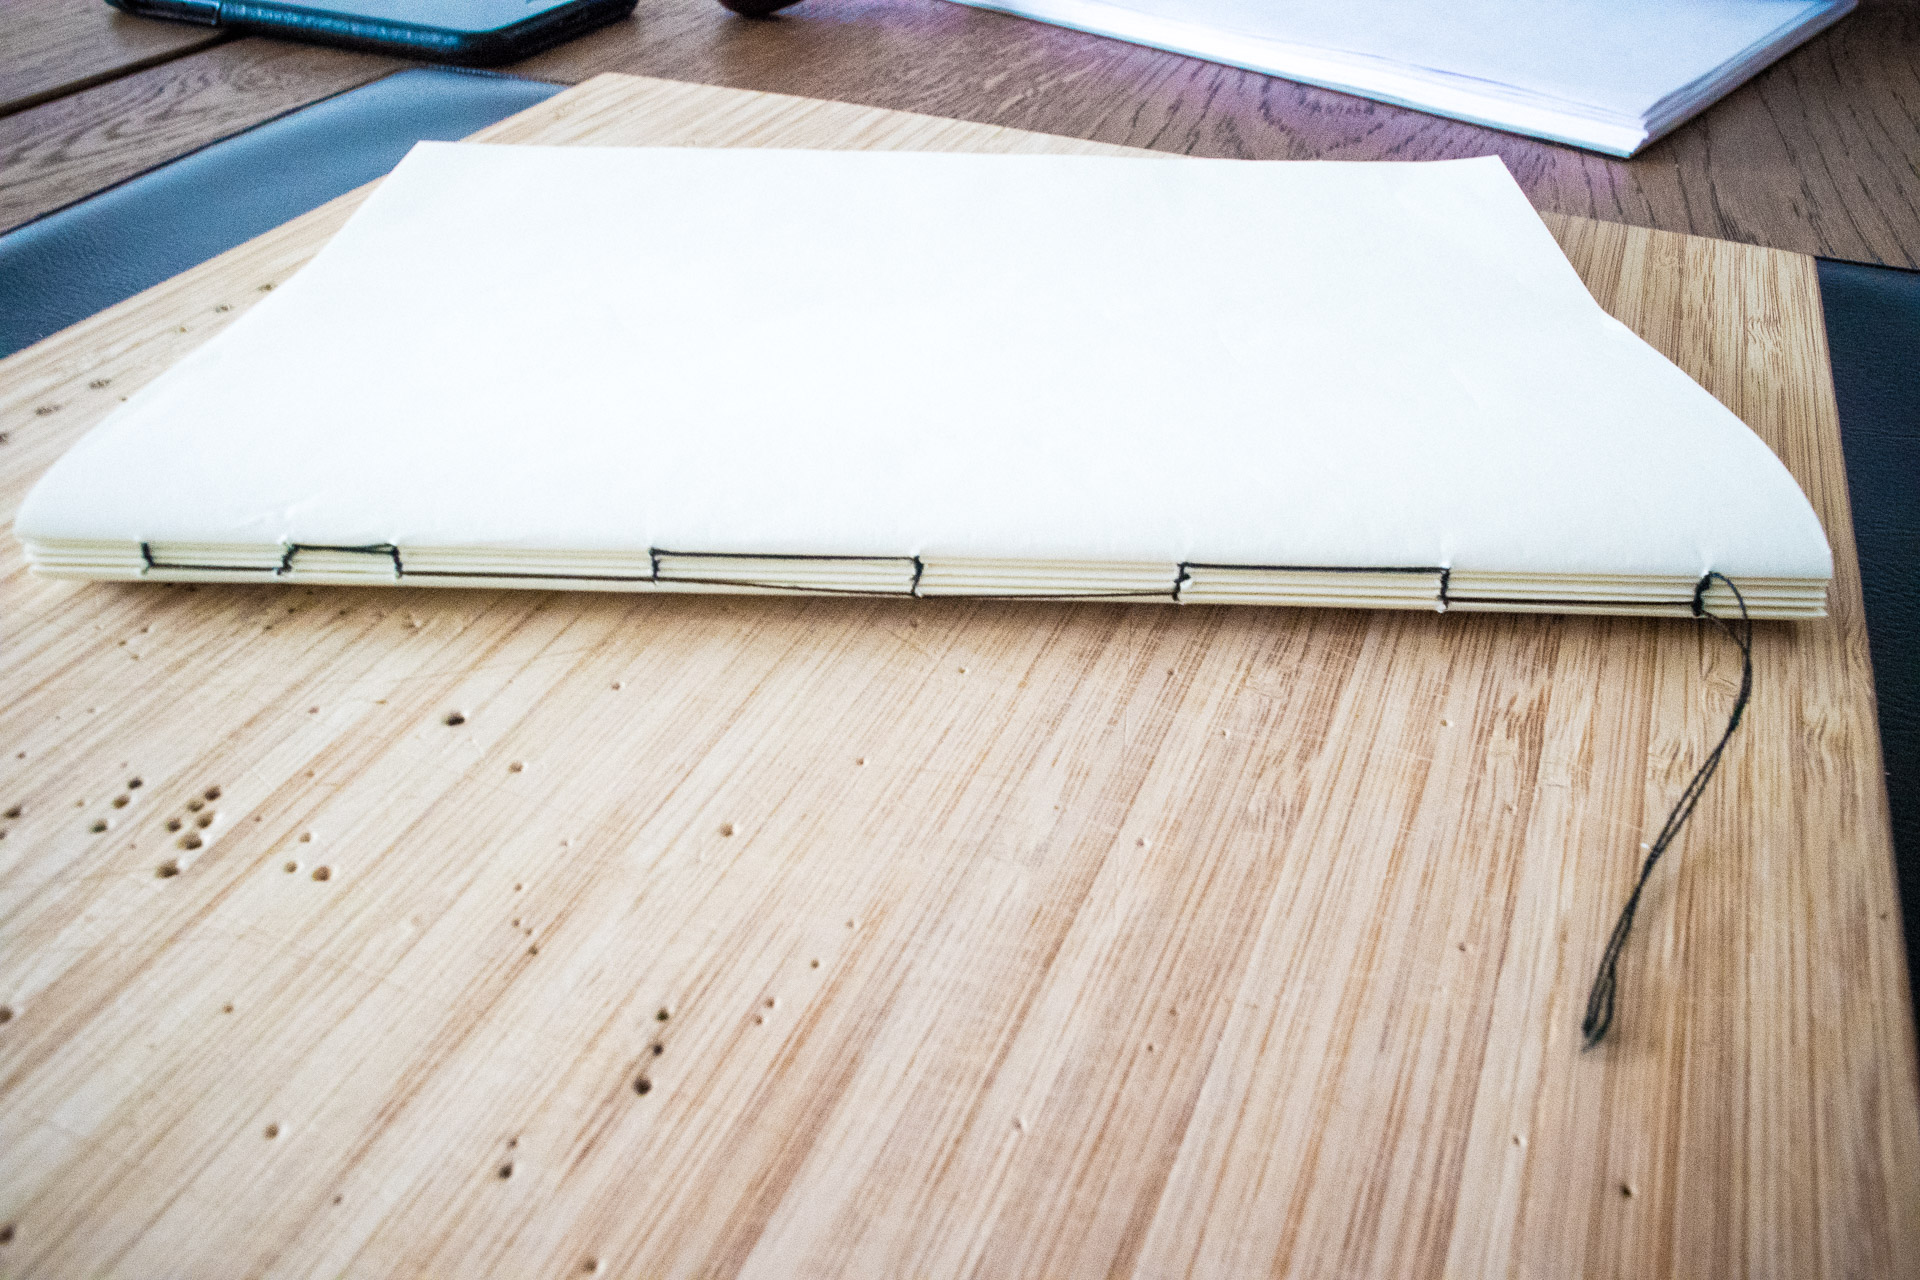
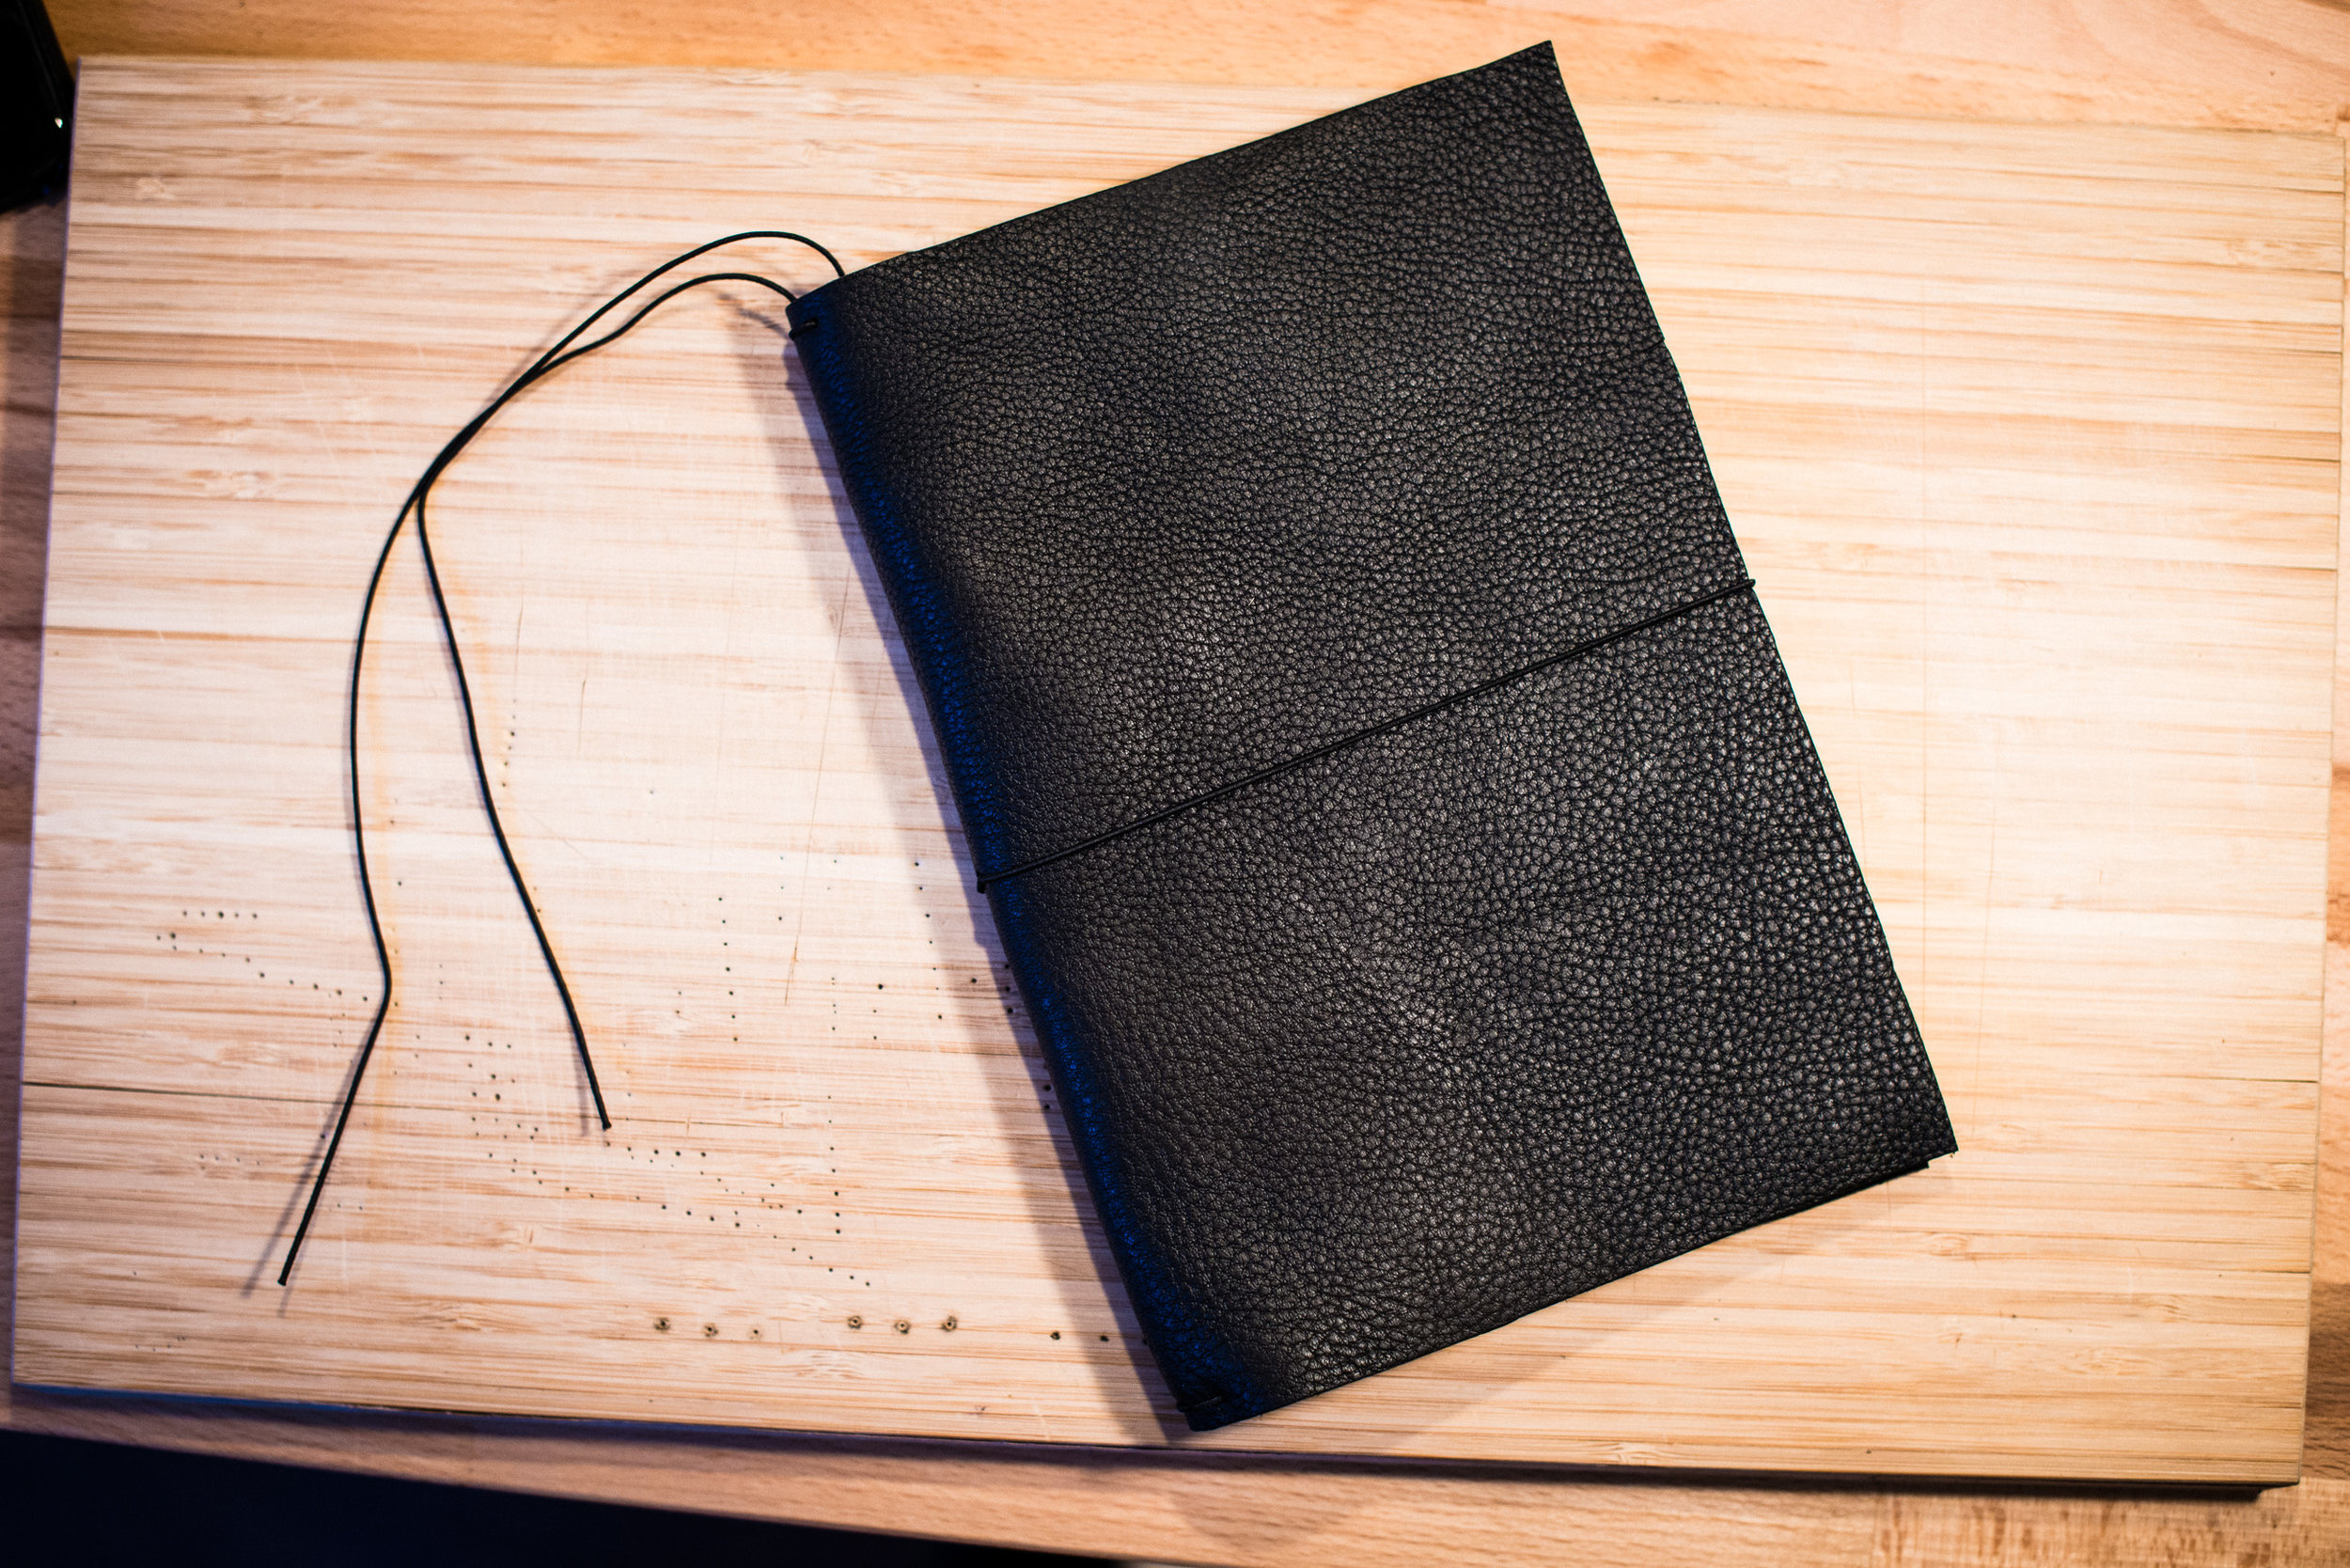
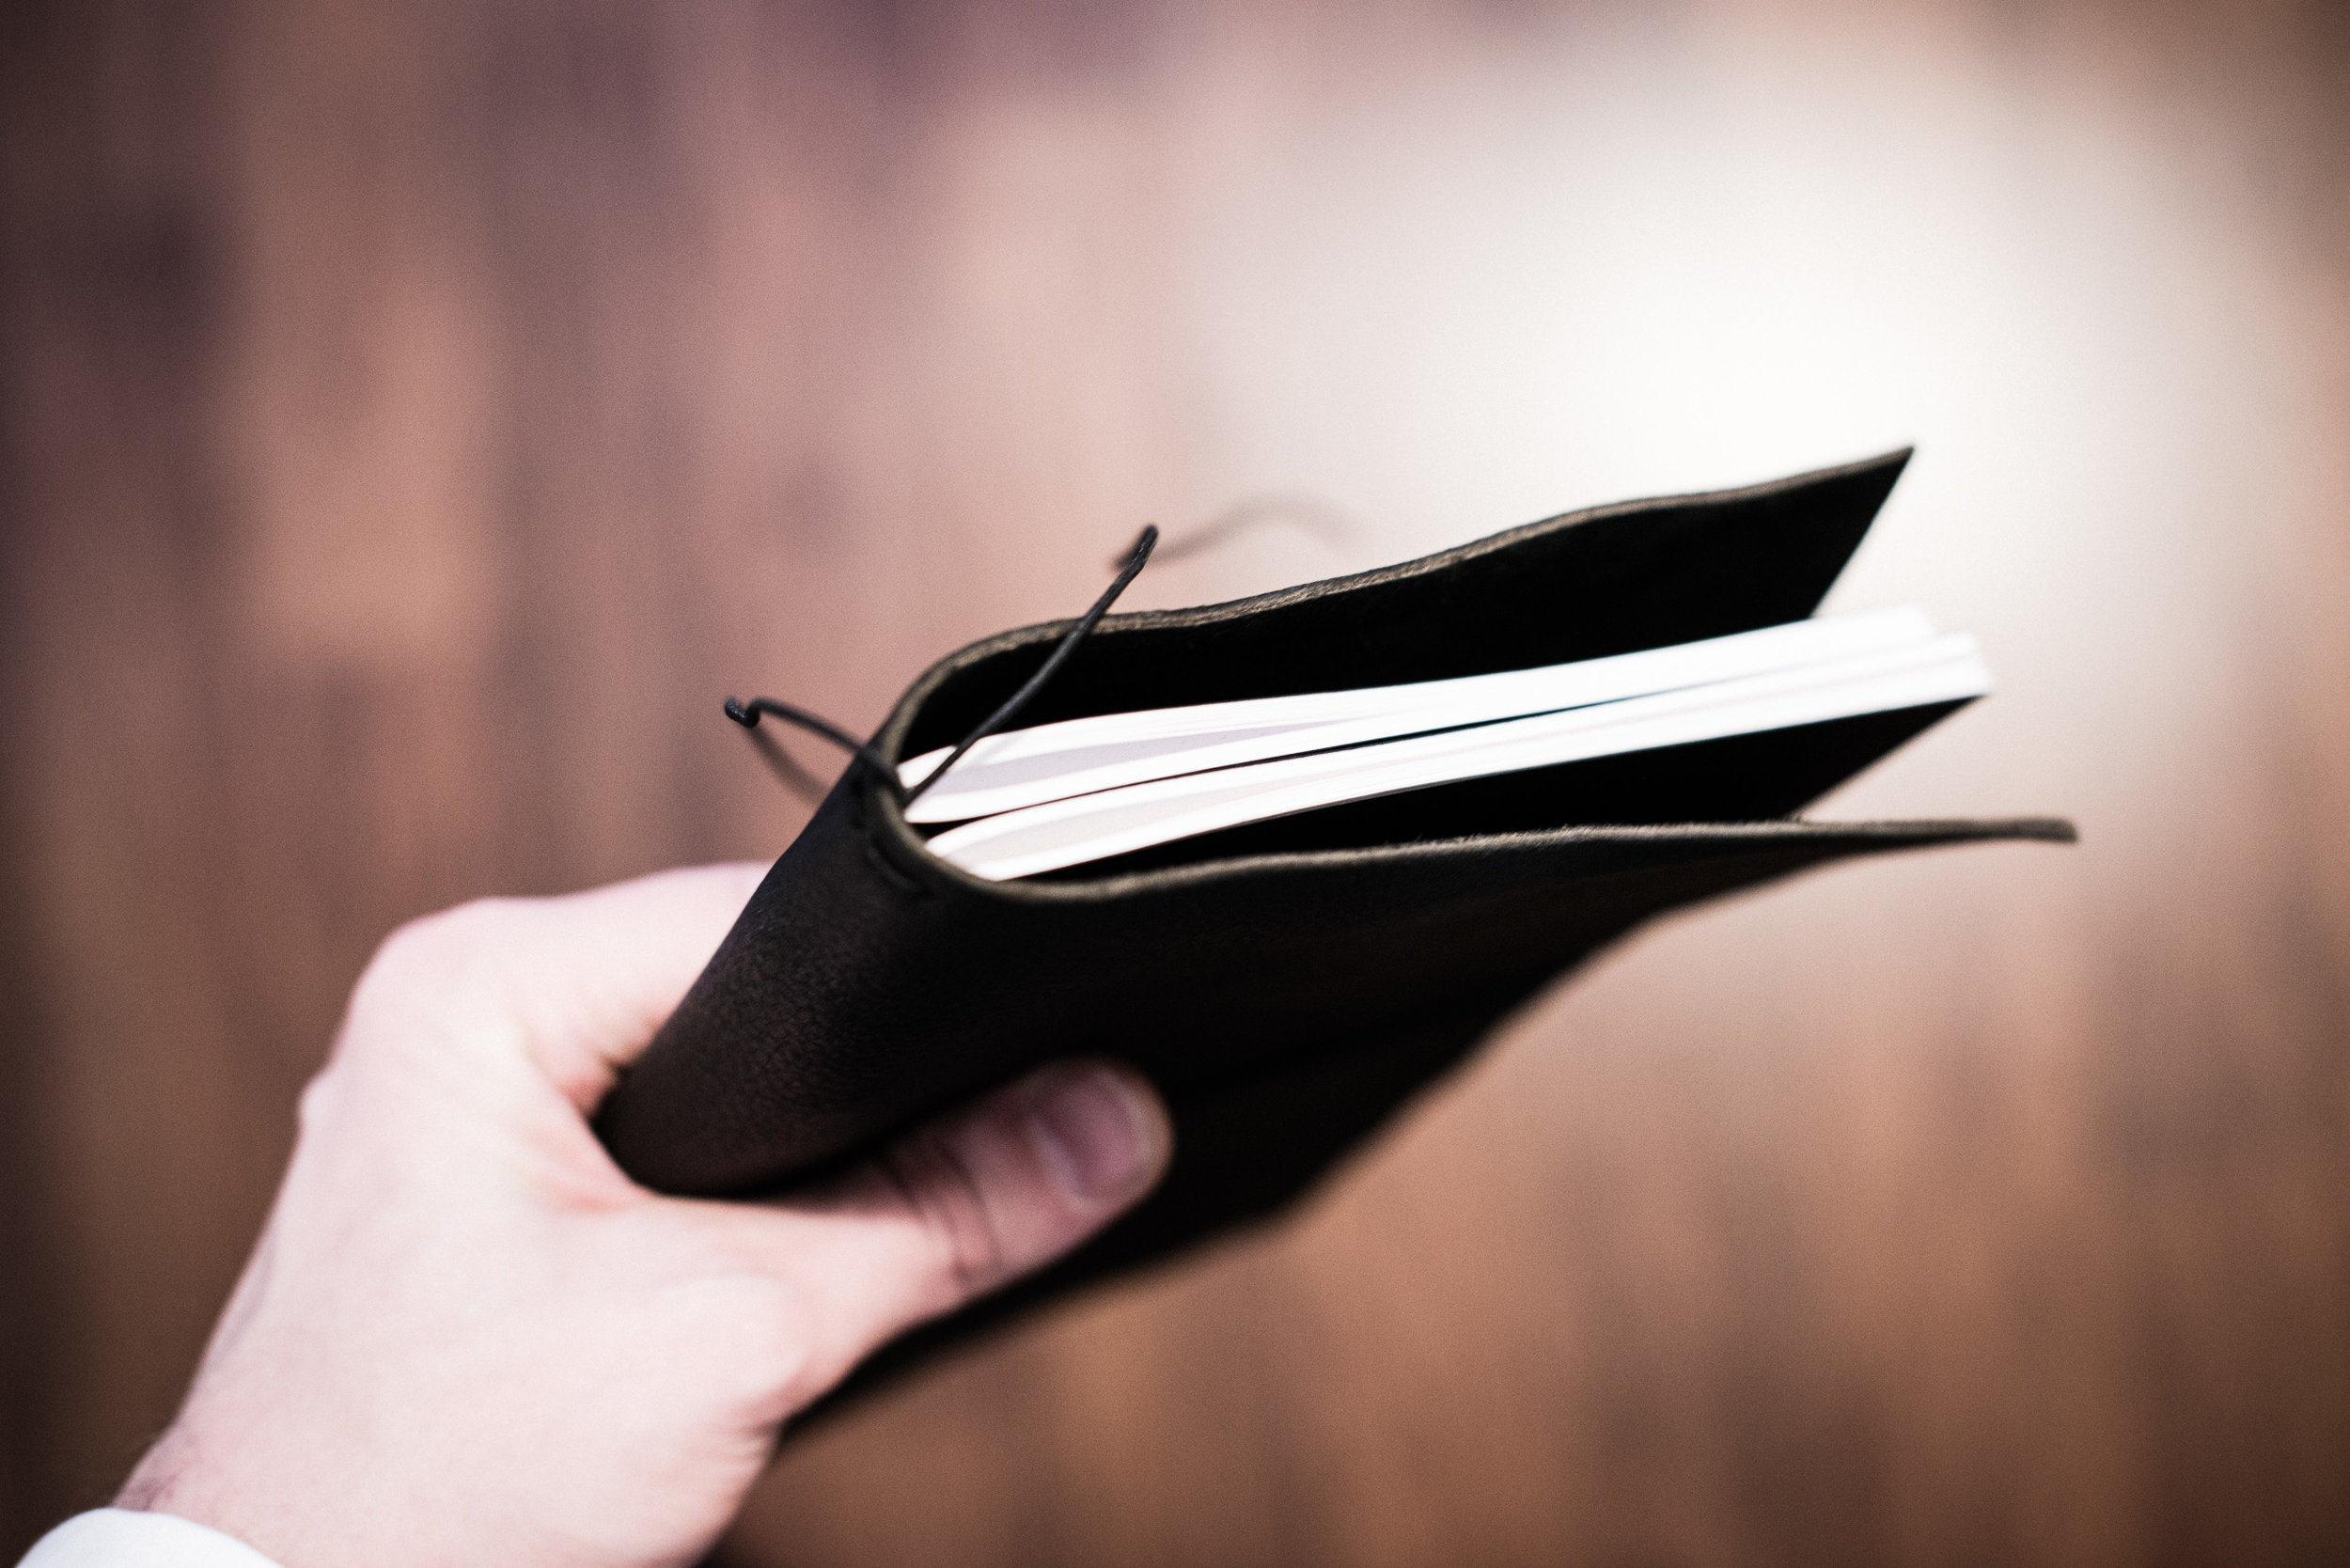
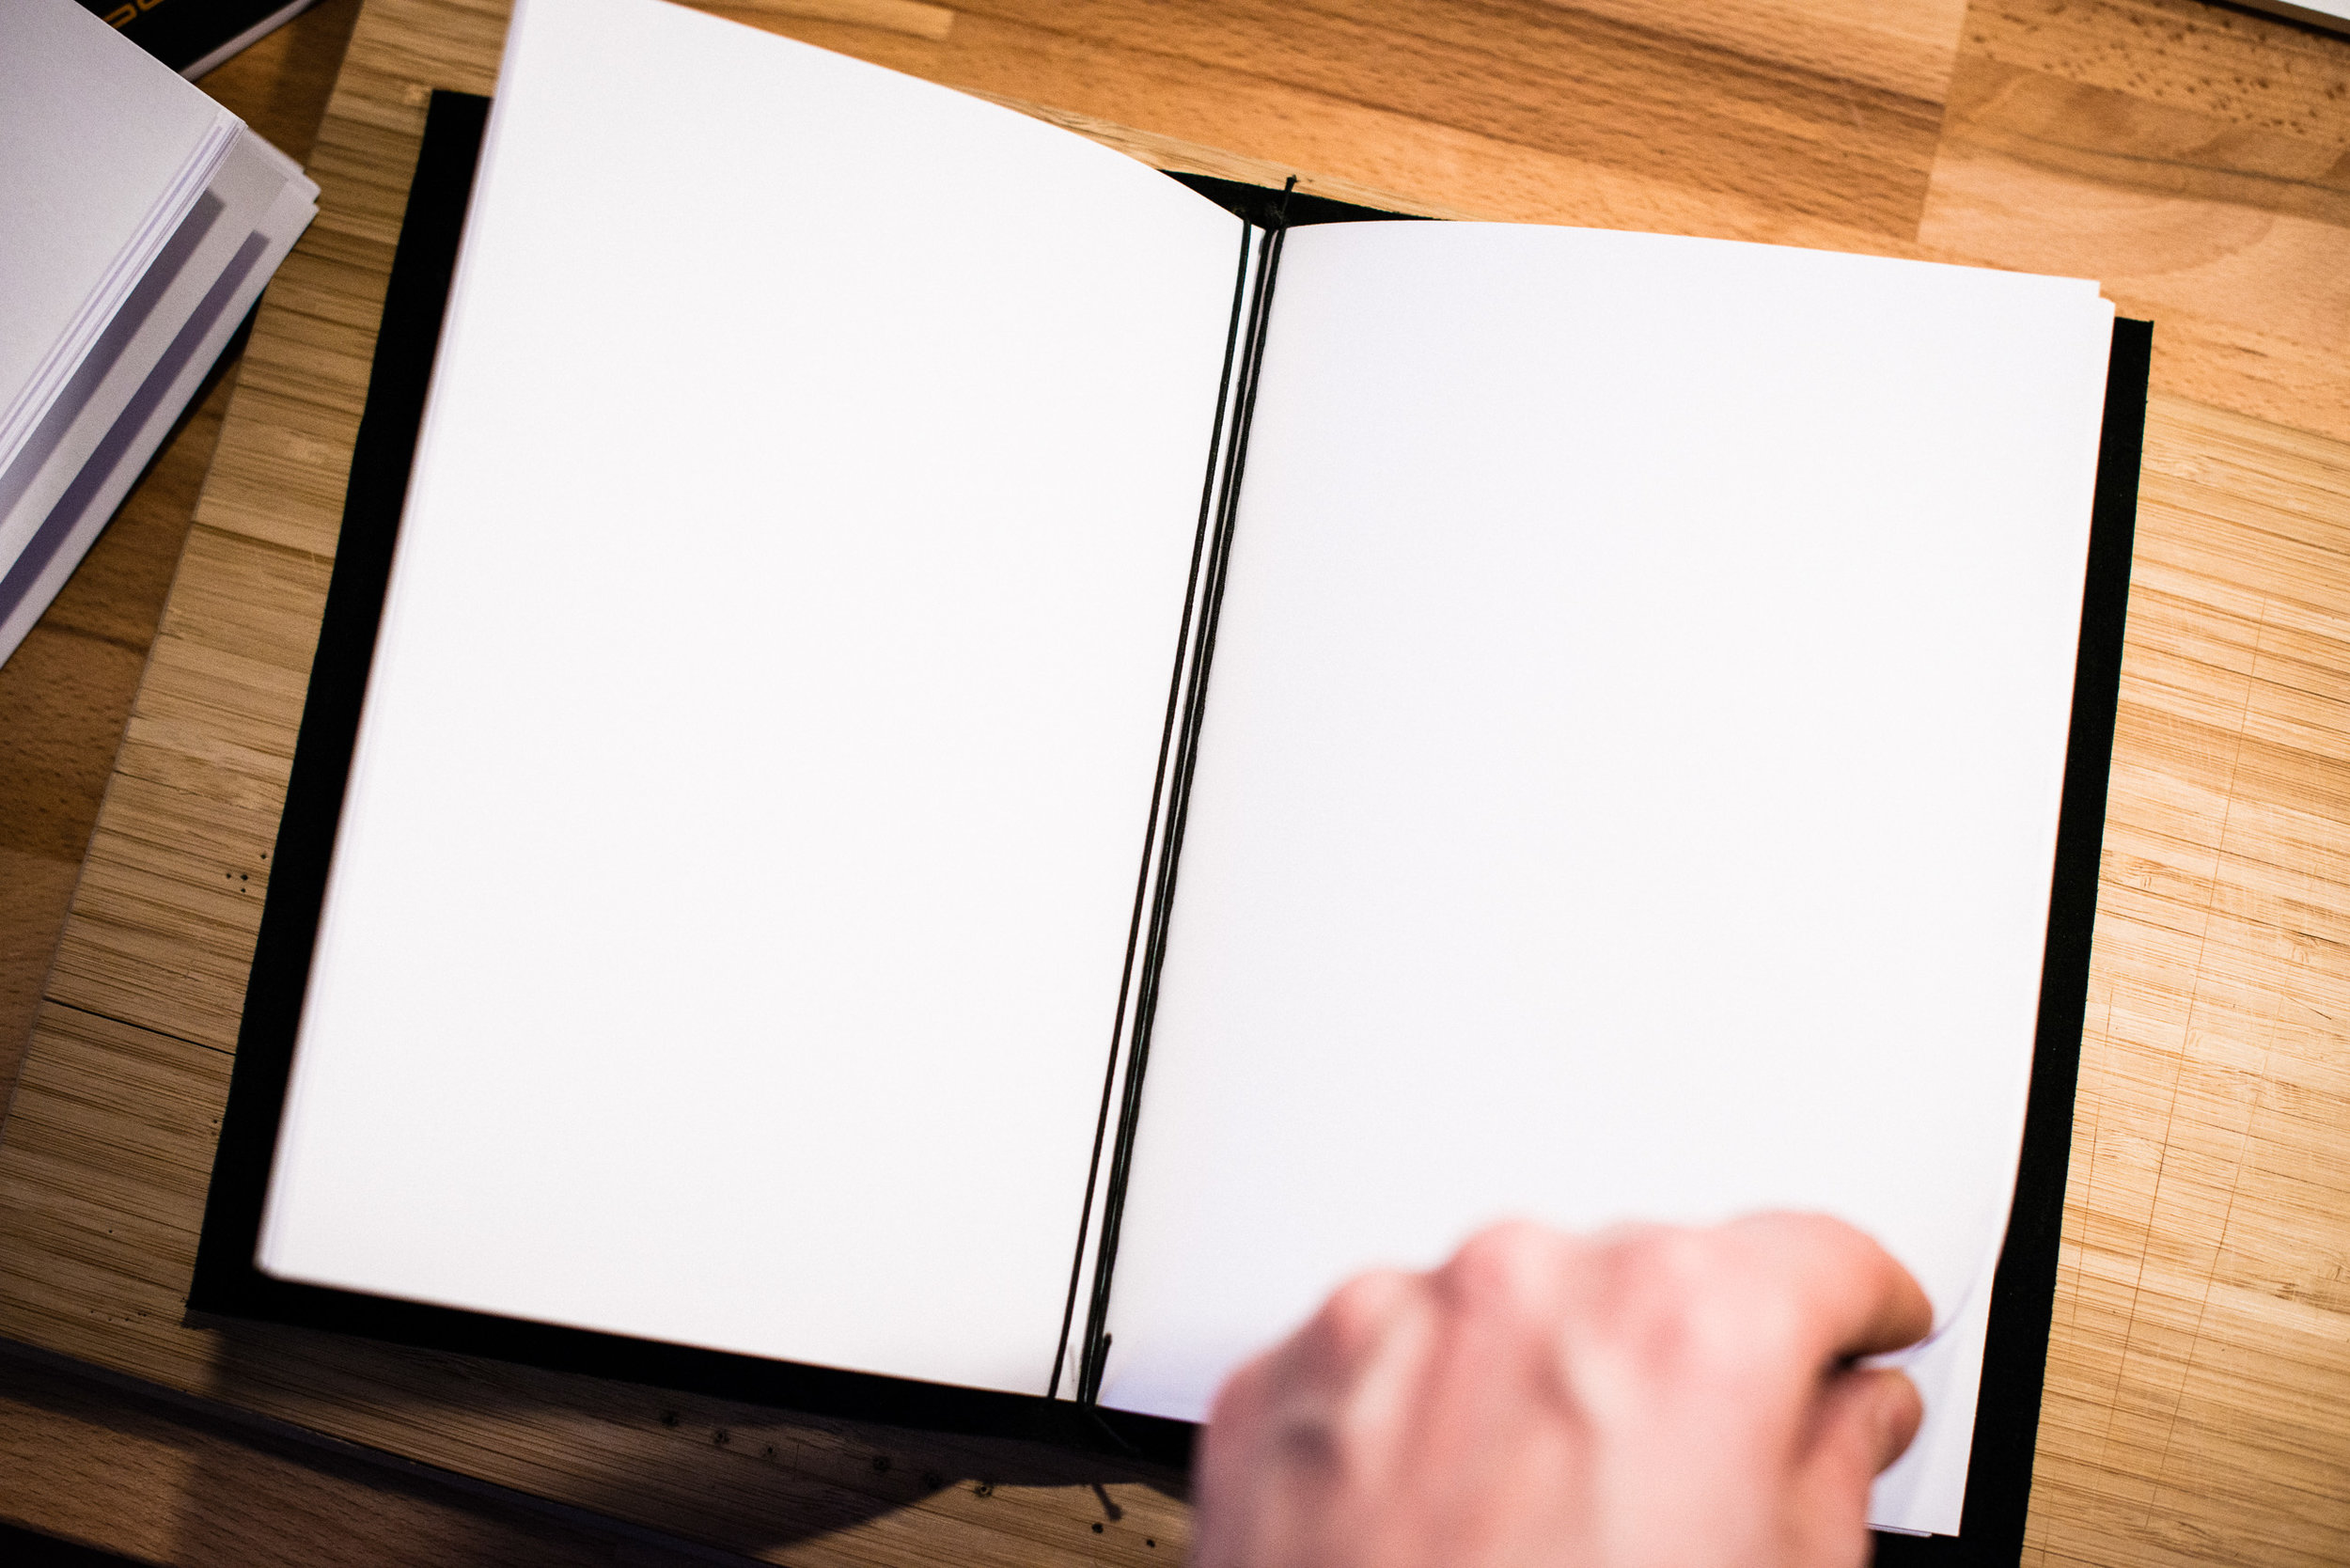
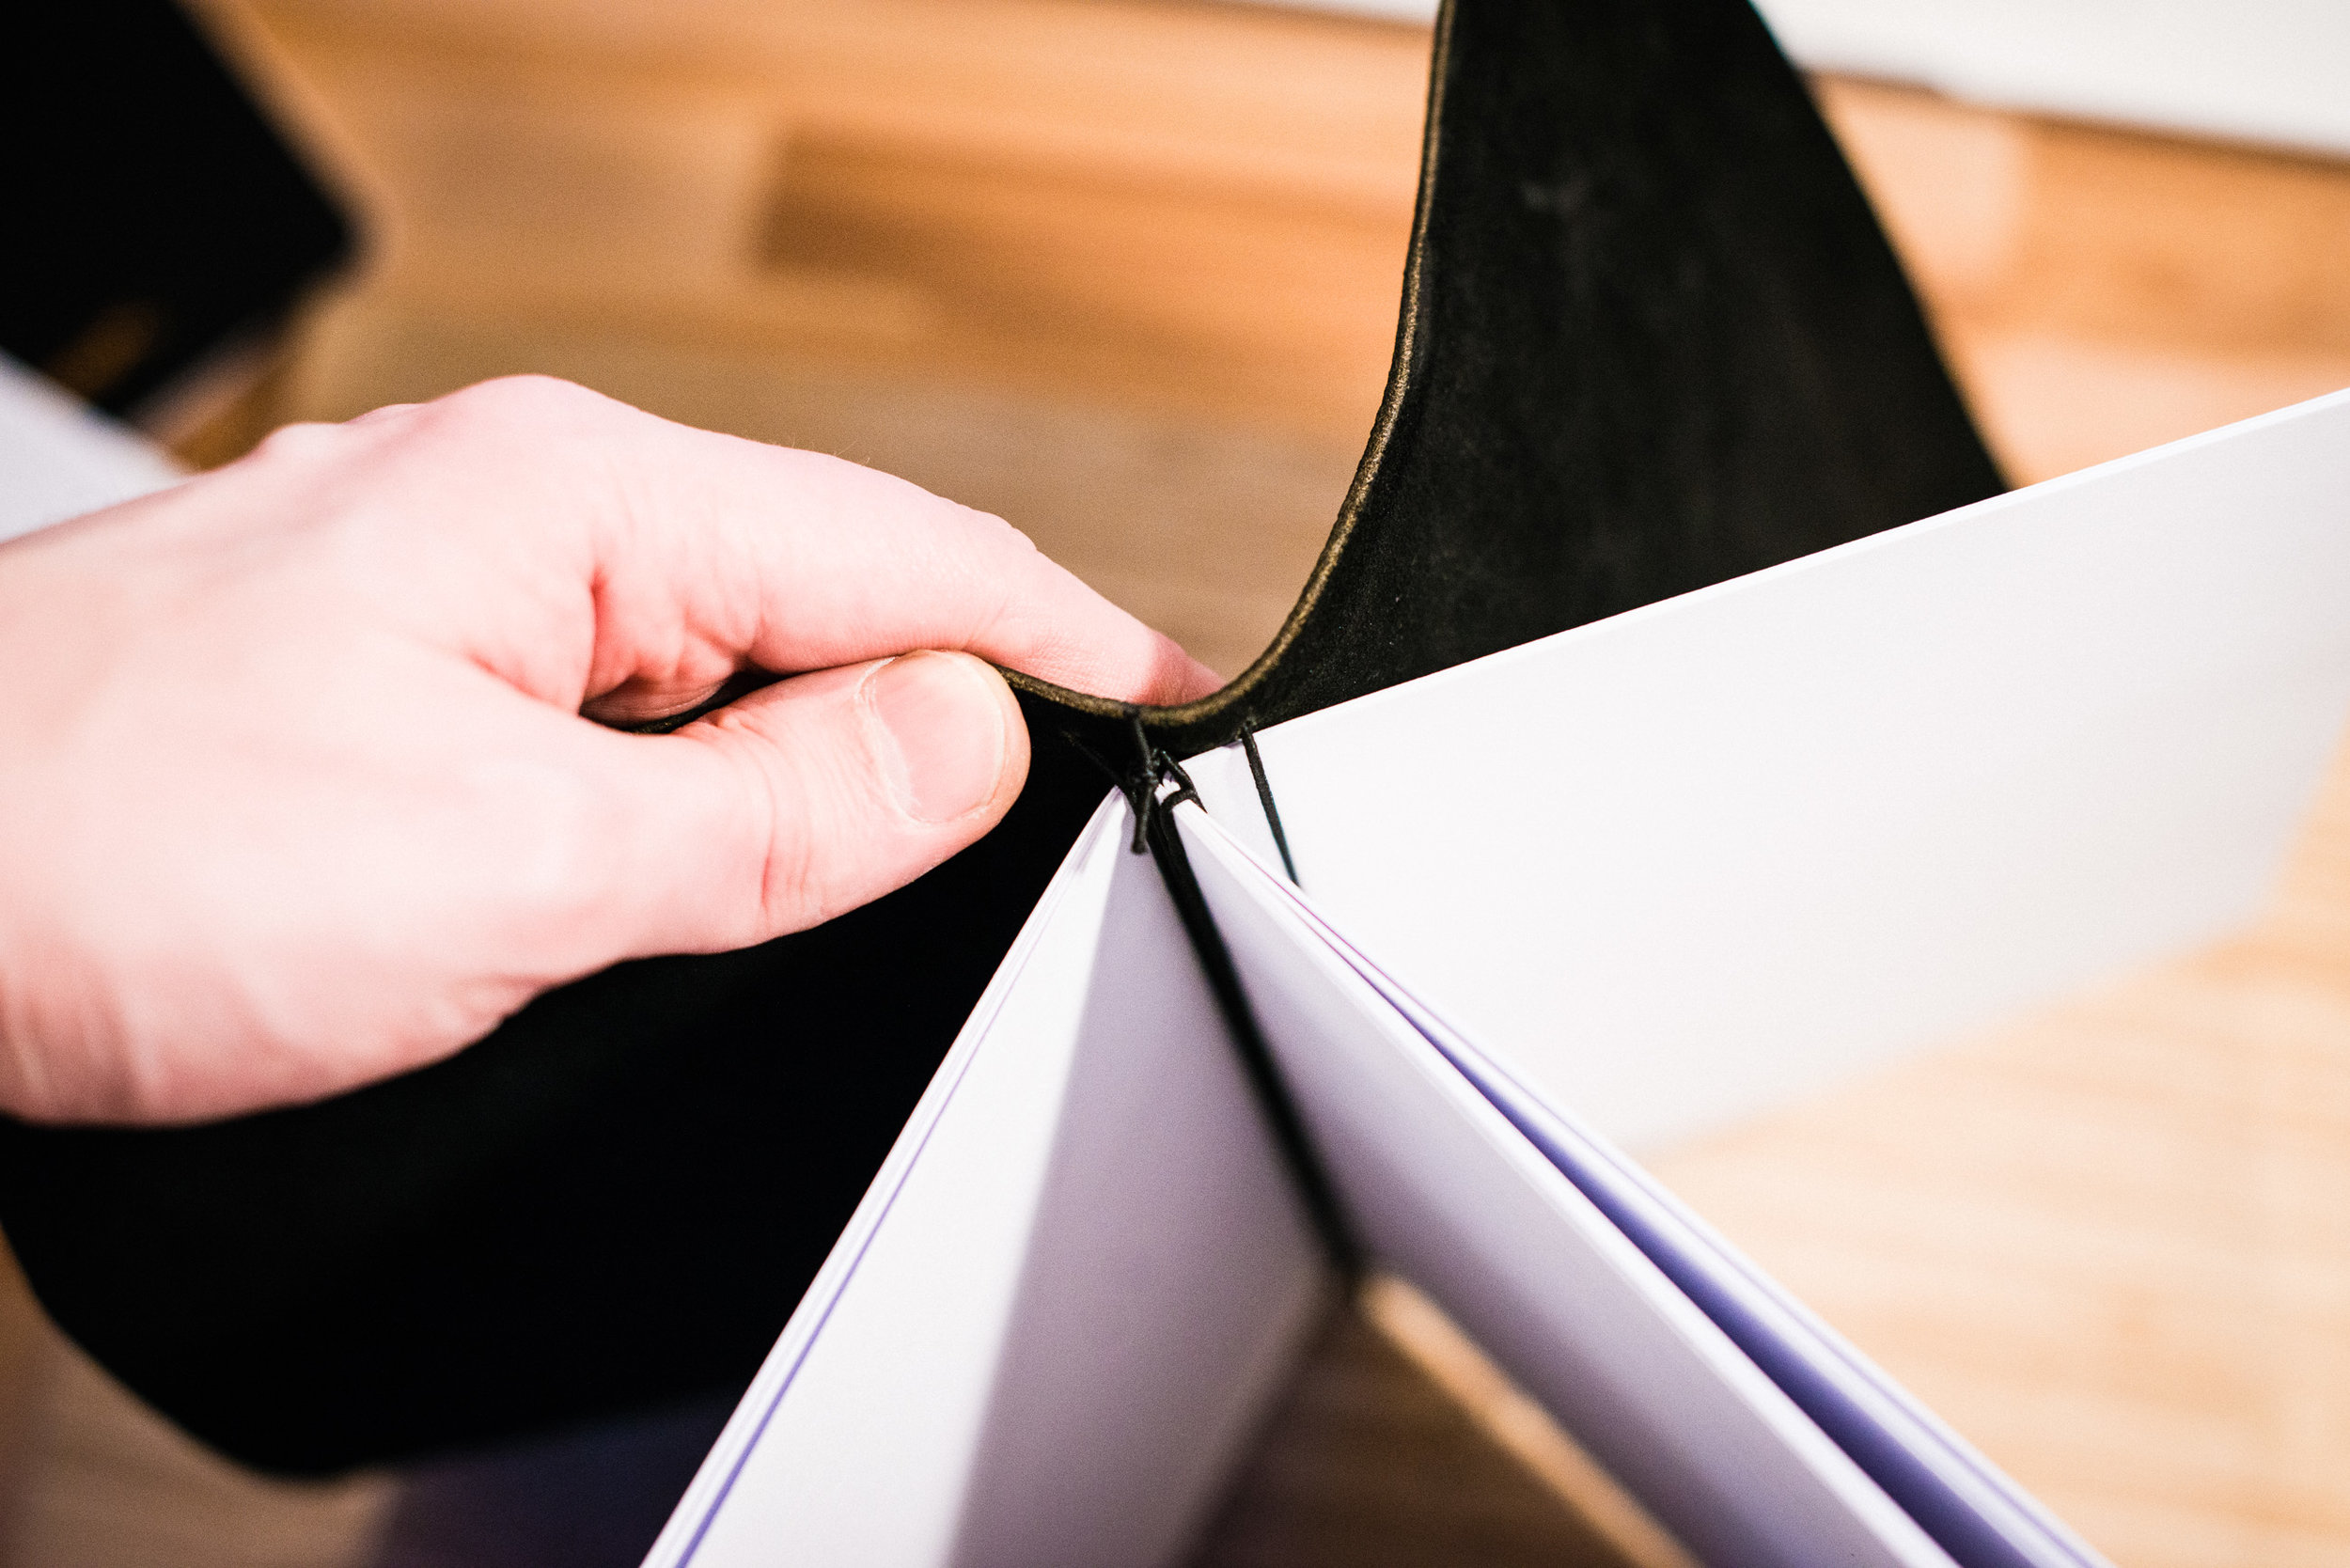
Last week I wrote about making my own notebook cover so that I could use “ugly” notebooks and loose paper. The reason was because I couldn’t find a notebook I actually liked. The cover is nice and all, but I still miss a nice insert so I decided that I should try and make my own.

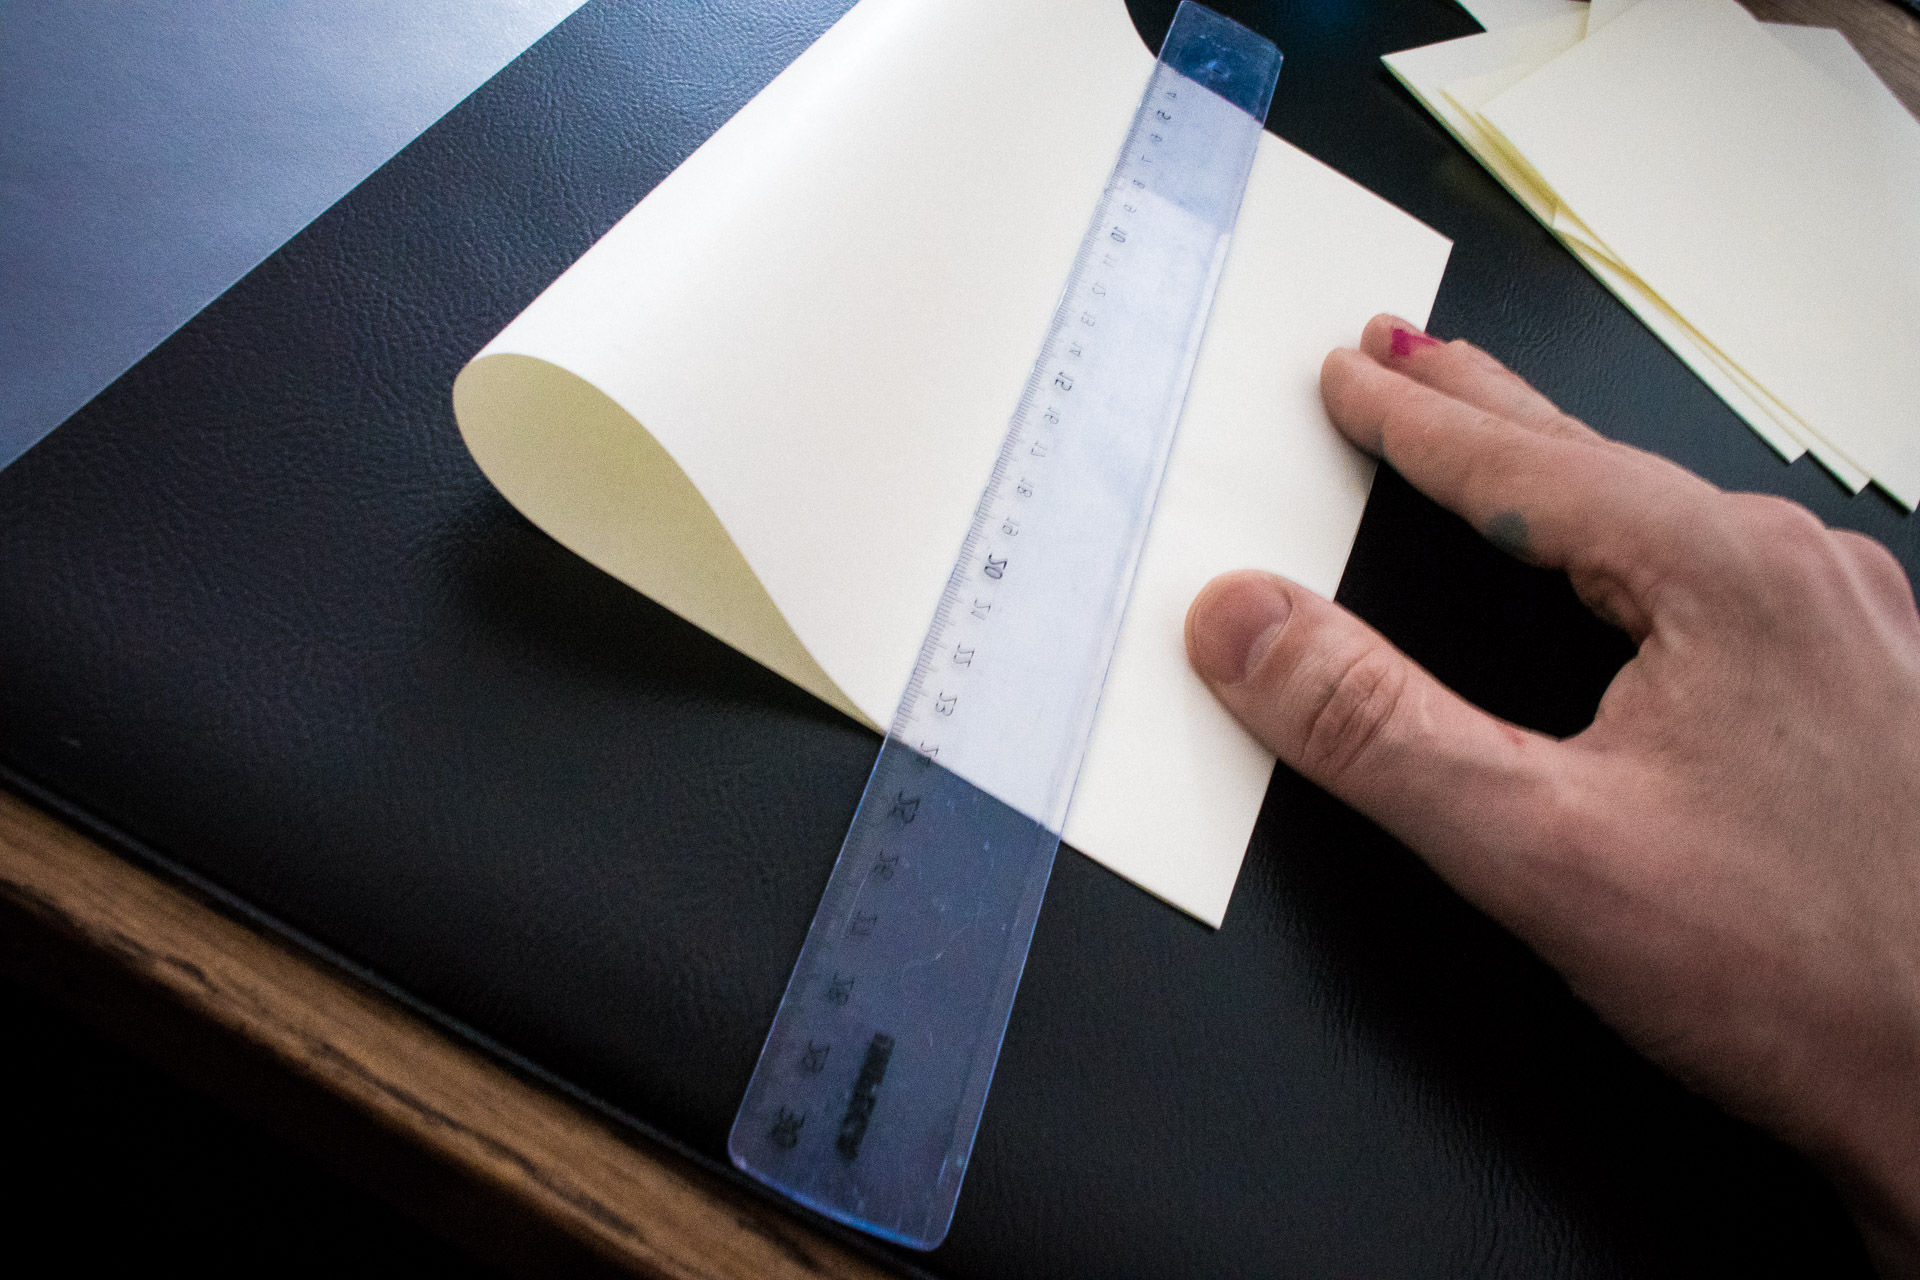
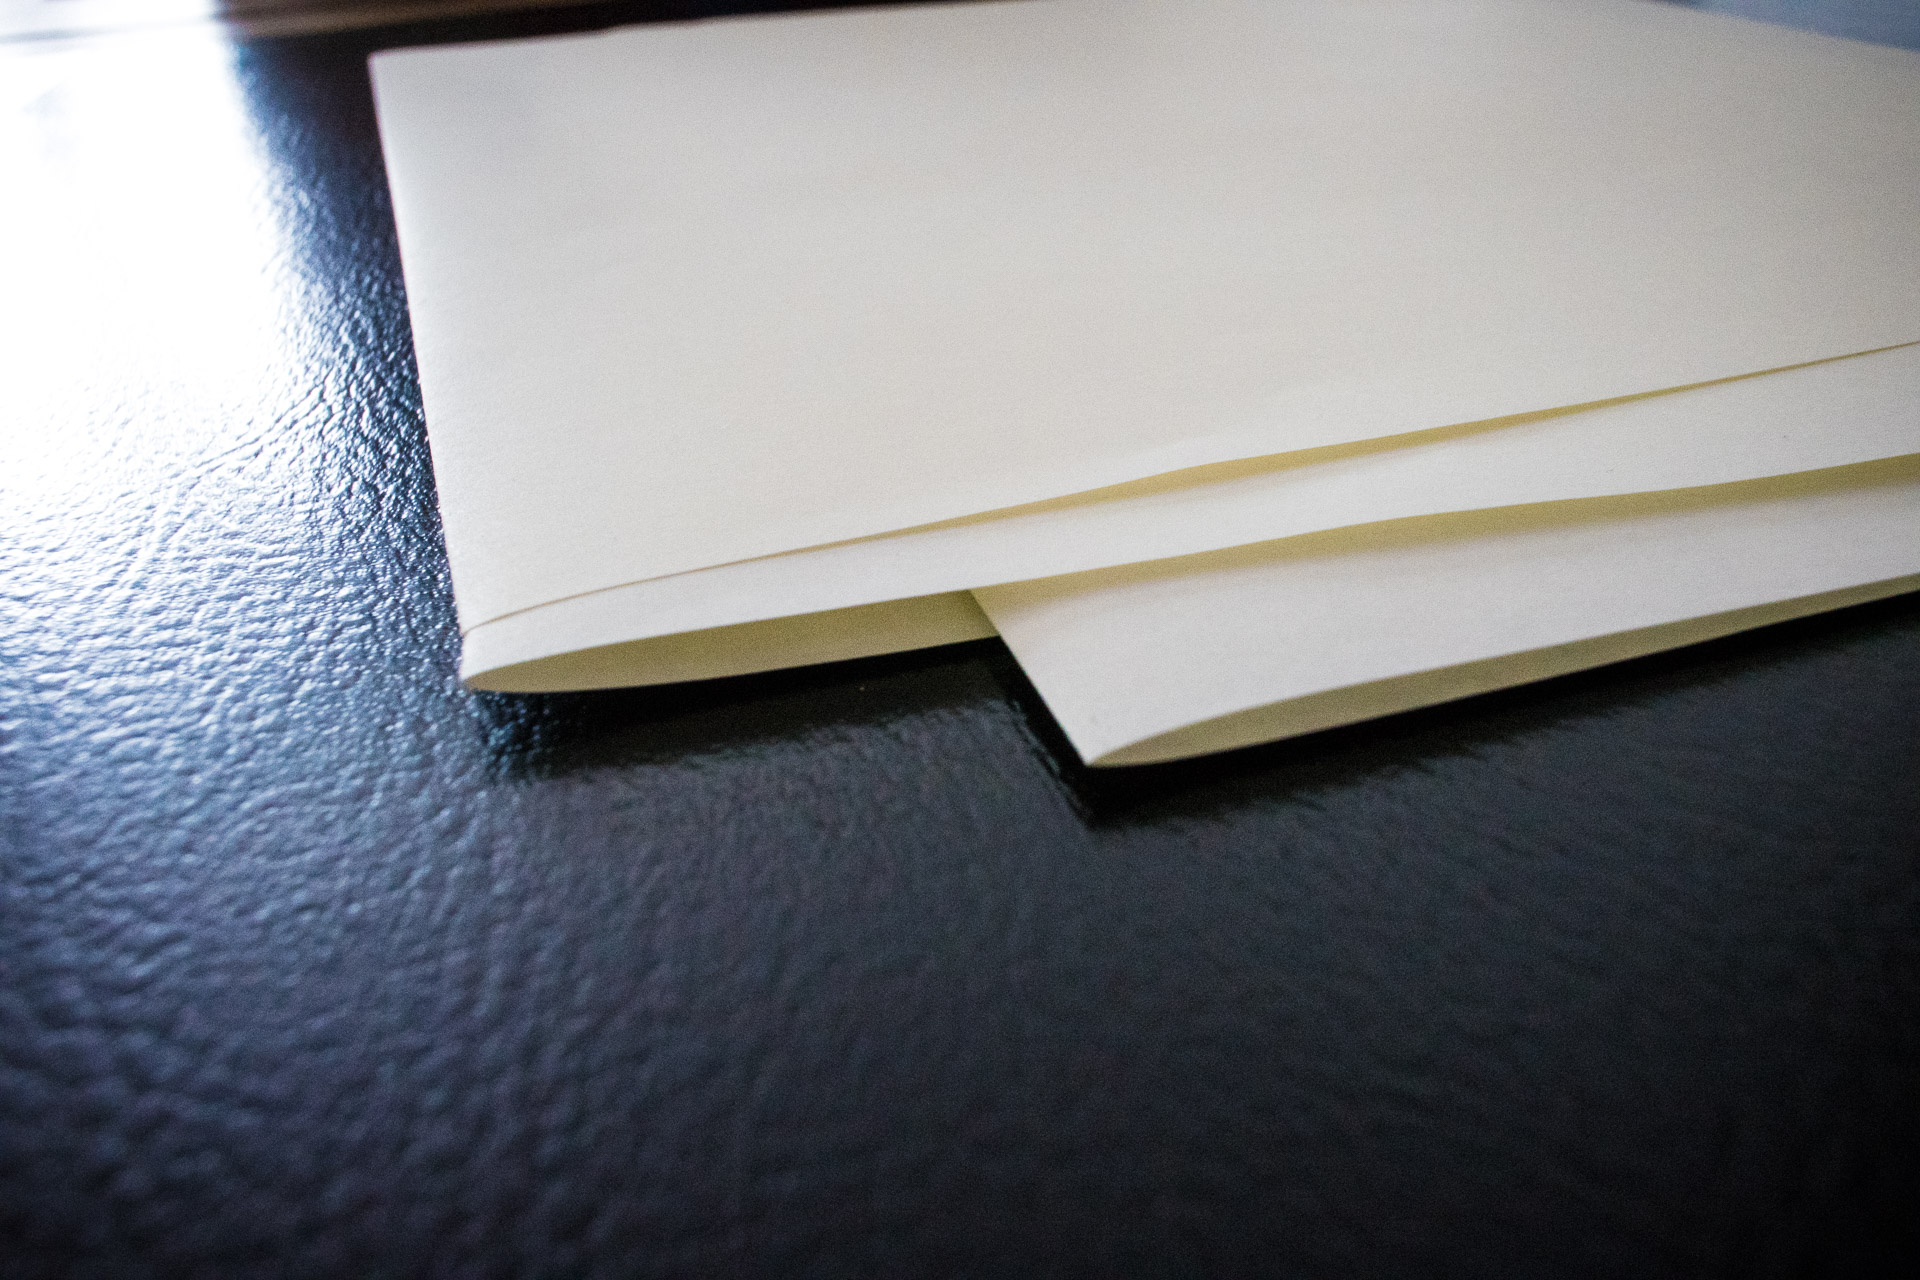
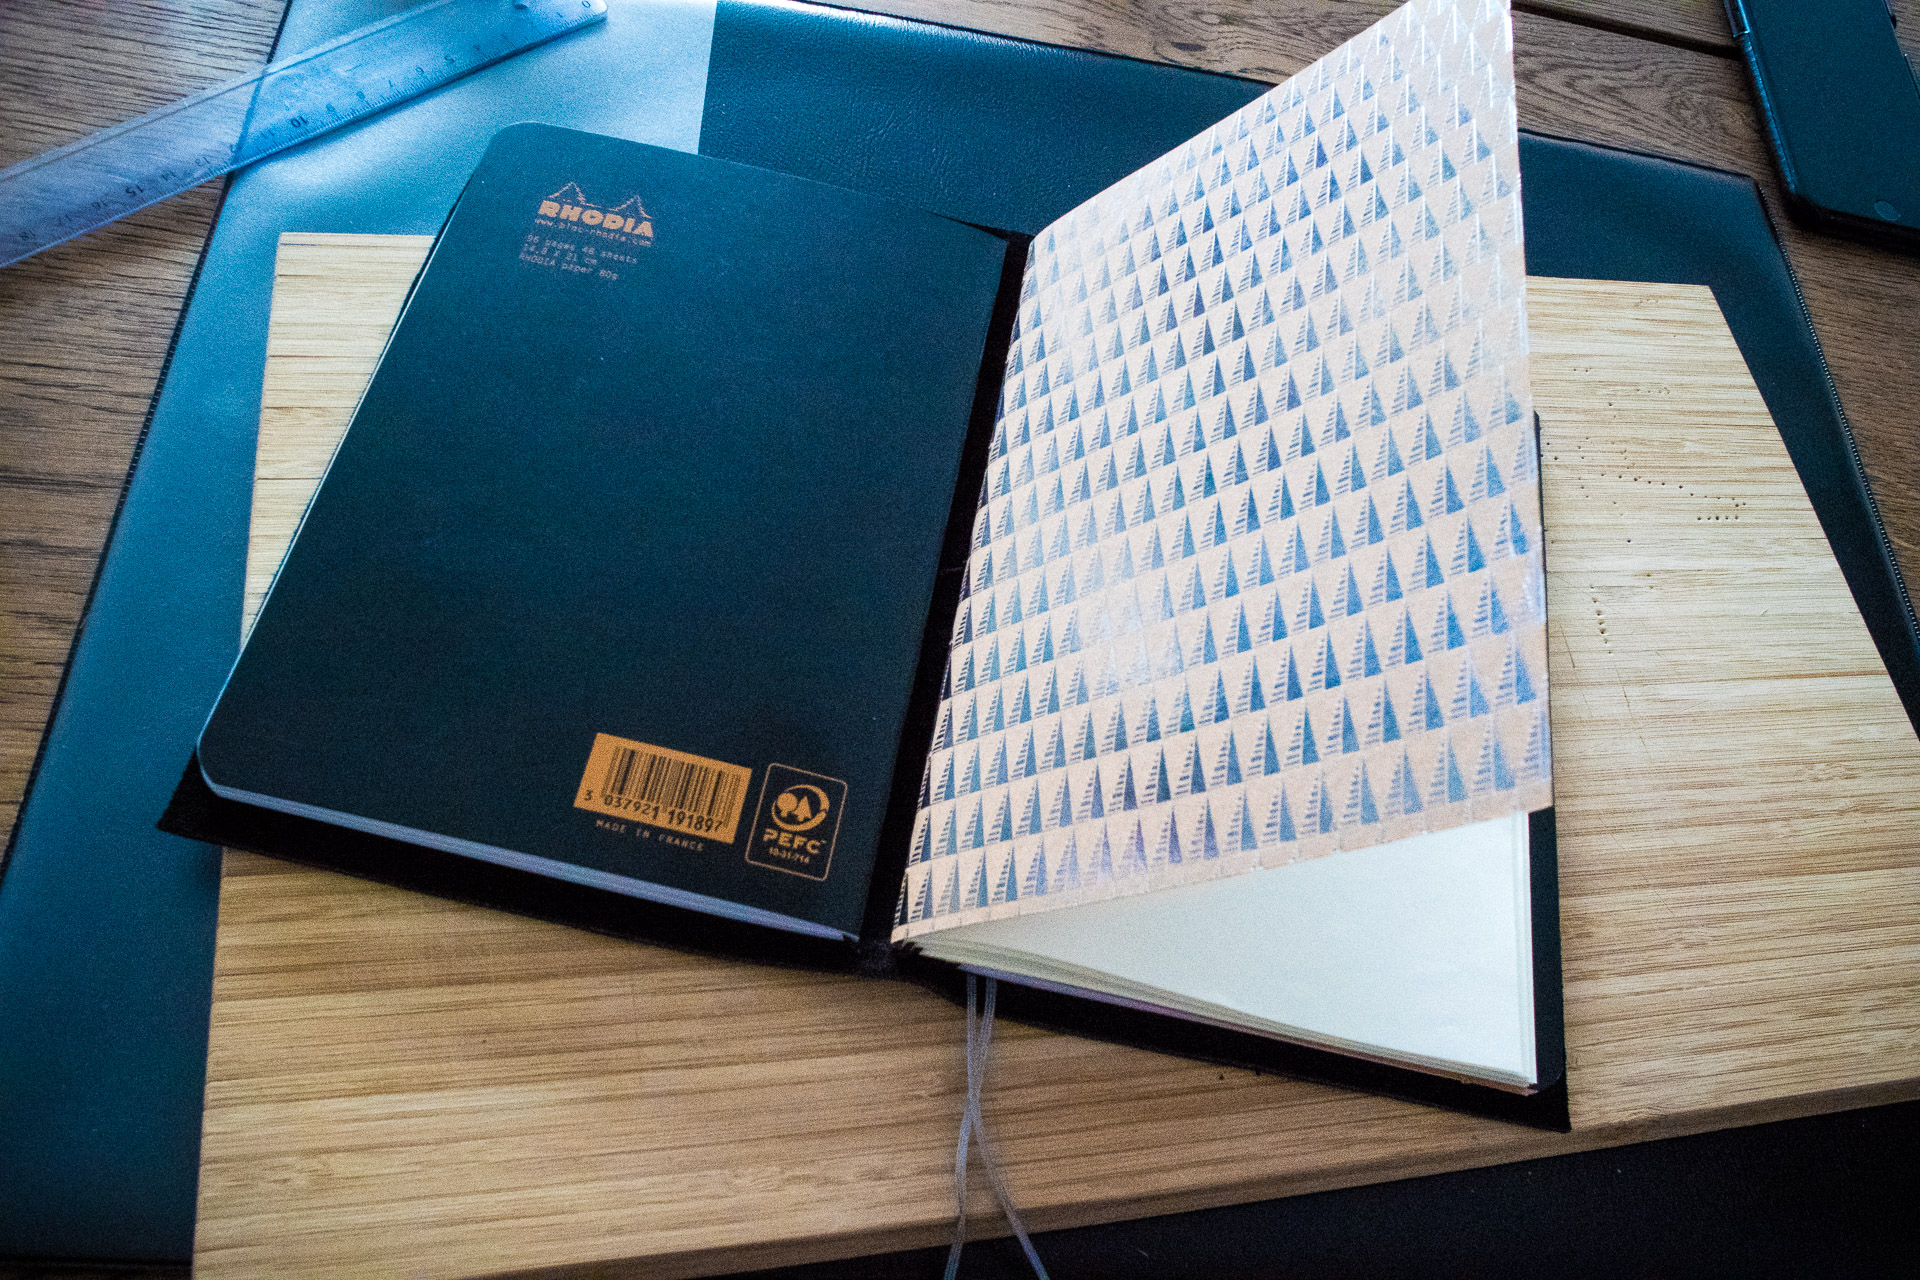
I bought some Tomoe River paper as it is the absolute best paper I have ever tried and if you haven’t tried it, you definitely should! After the paper arrived, I turned to the best school I know, Youtube, to try and learn how to do book binding. I found a couple of videos and also read some blog posts about it and got to work. What you see in the pictures is my first attempt and I will not say that it came out great, but at least it works!

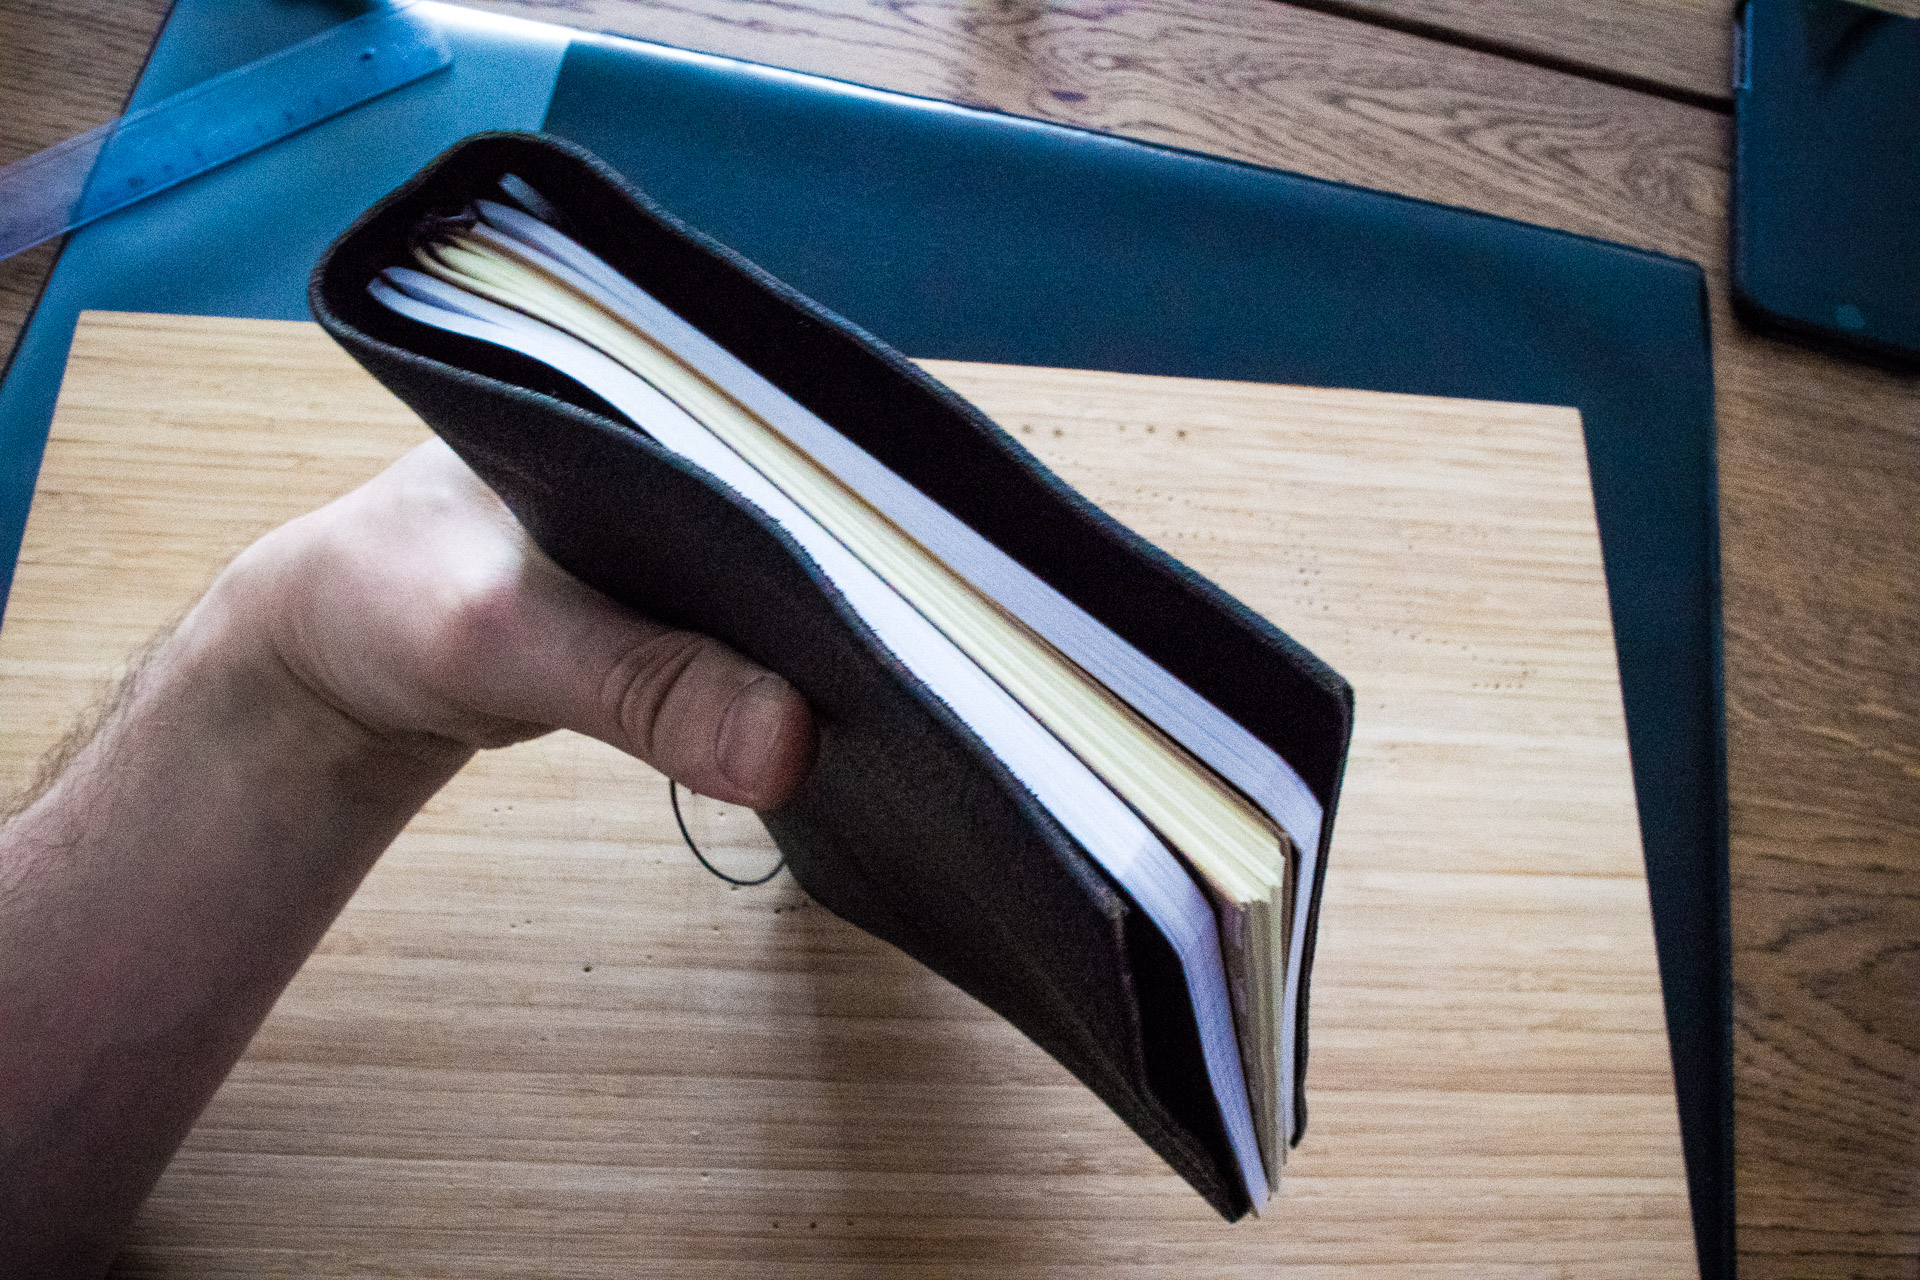
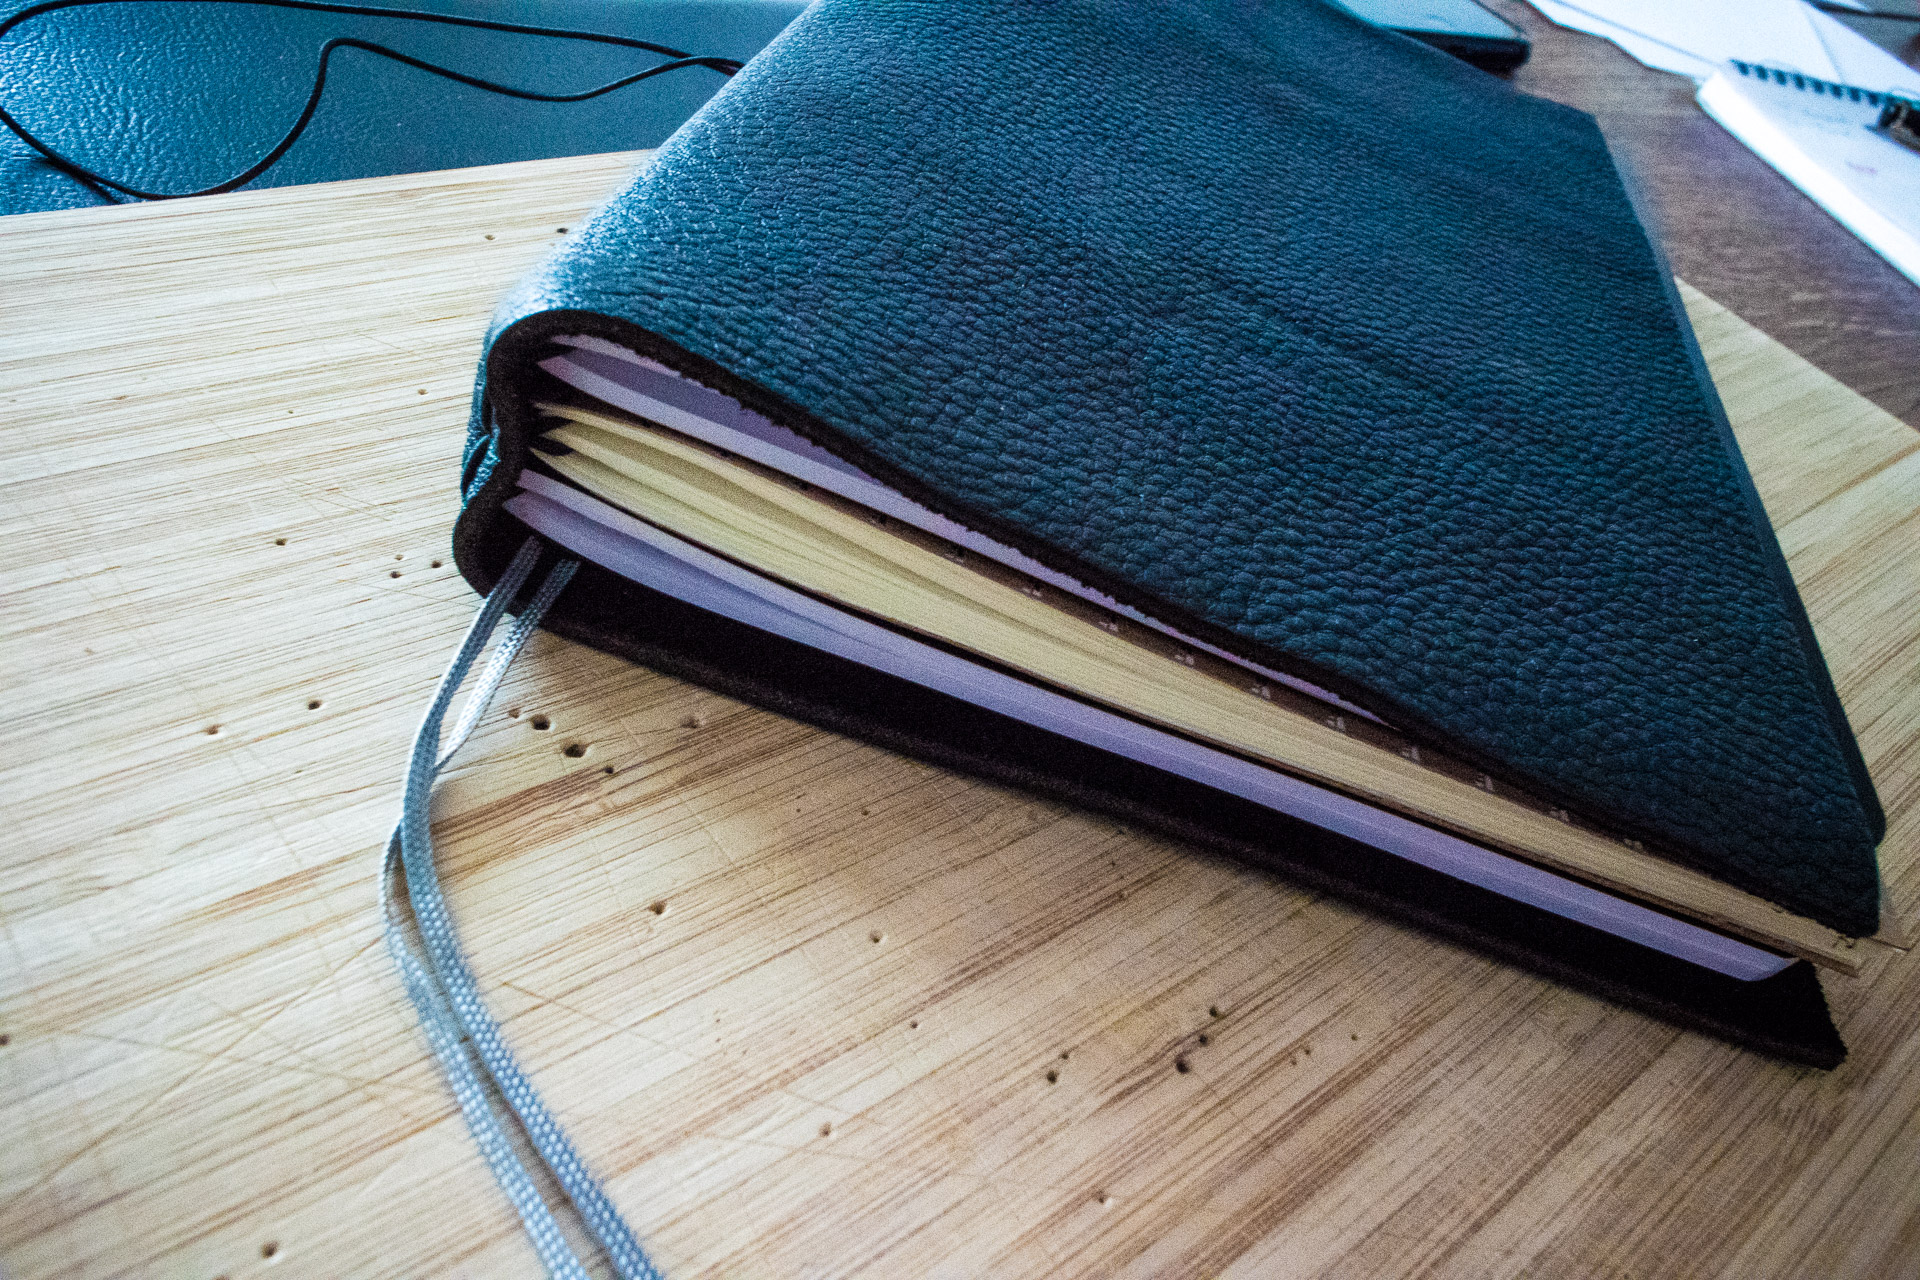
Of course this notebook immediately went into my leather cover and yes, it is the best notebook I have. I also like that I can use it together with a couple of other notebooks in the cover. Right now for example I also have a sketchbook and a lines Rhodia notebook for writing blog posts.

The big problem though? I will probably not have the time and energy to bind my own books in the future, even if it was a fun experiment. So the search continues.

The hunt for the perfect notebook

I have been in the hunt for a great notebook for quite some time, without any luck. In the end I got tired of looking and instead “made” my own.

As a fountain pen user the paper quality becomes super important, and most notebooks with “normal” just won’t do it. The reason is that fountain pens write a bit wetter than normal pens and often bleed through or feather a lot on bad paper. Good paper also helps you get the most out of your cool inks.

So with the majority of notebooks out of contention there aren’t many left andthe only two that are readily available here in Sweden are Rhodia and Leuchtturm. I do like the Leuchtturm notebooks overall, but the paper is a bit too absorbent to really let the ink shine. Rhodia is better when it comes to showing of the inks properties, but their notebooks are just too ugly. So what should I do?

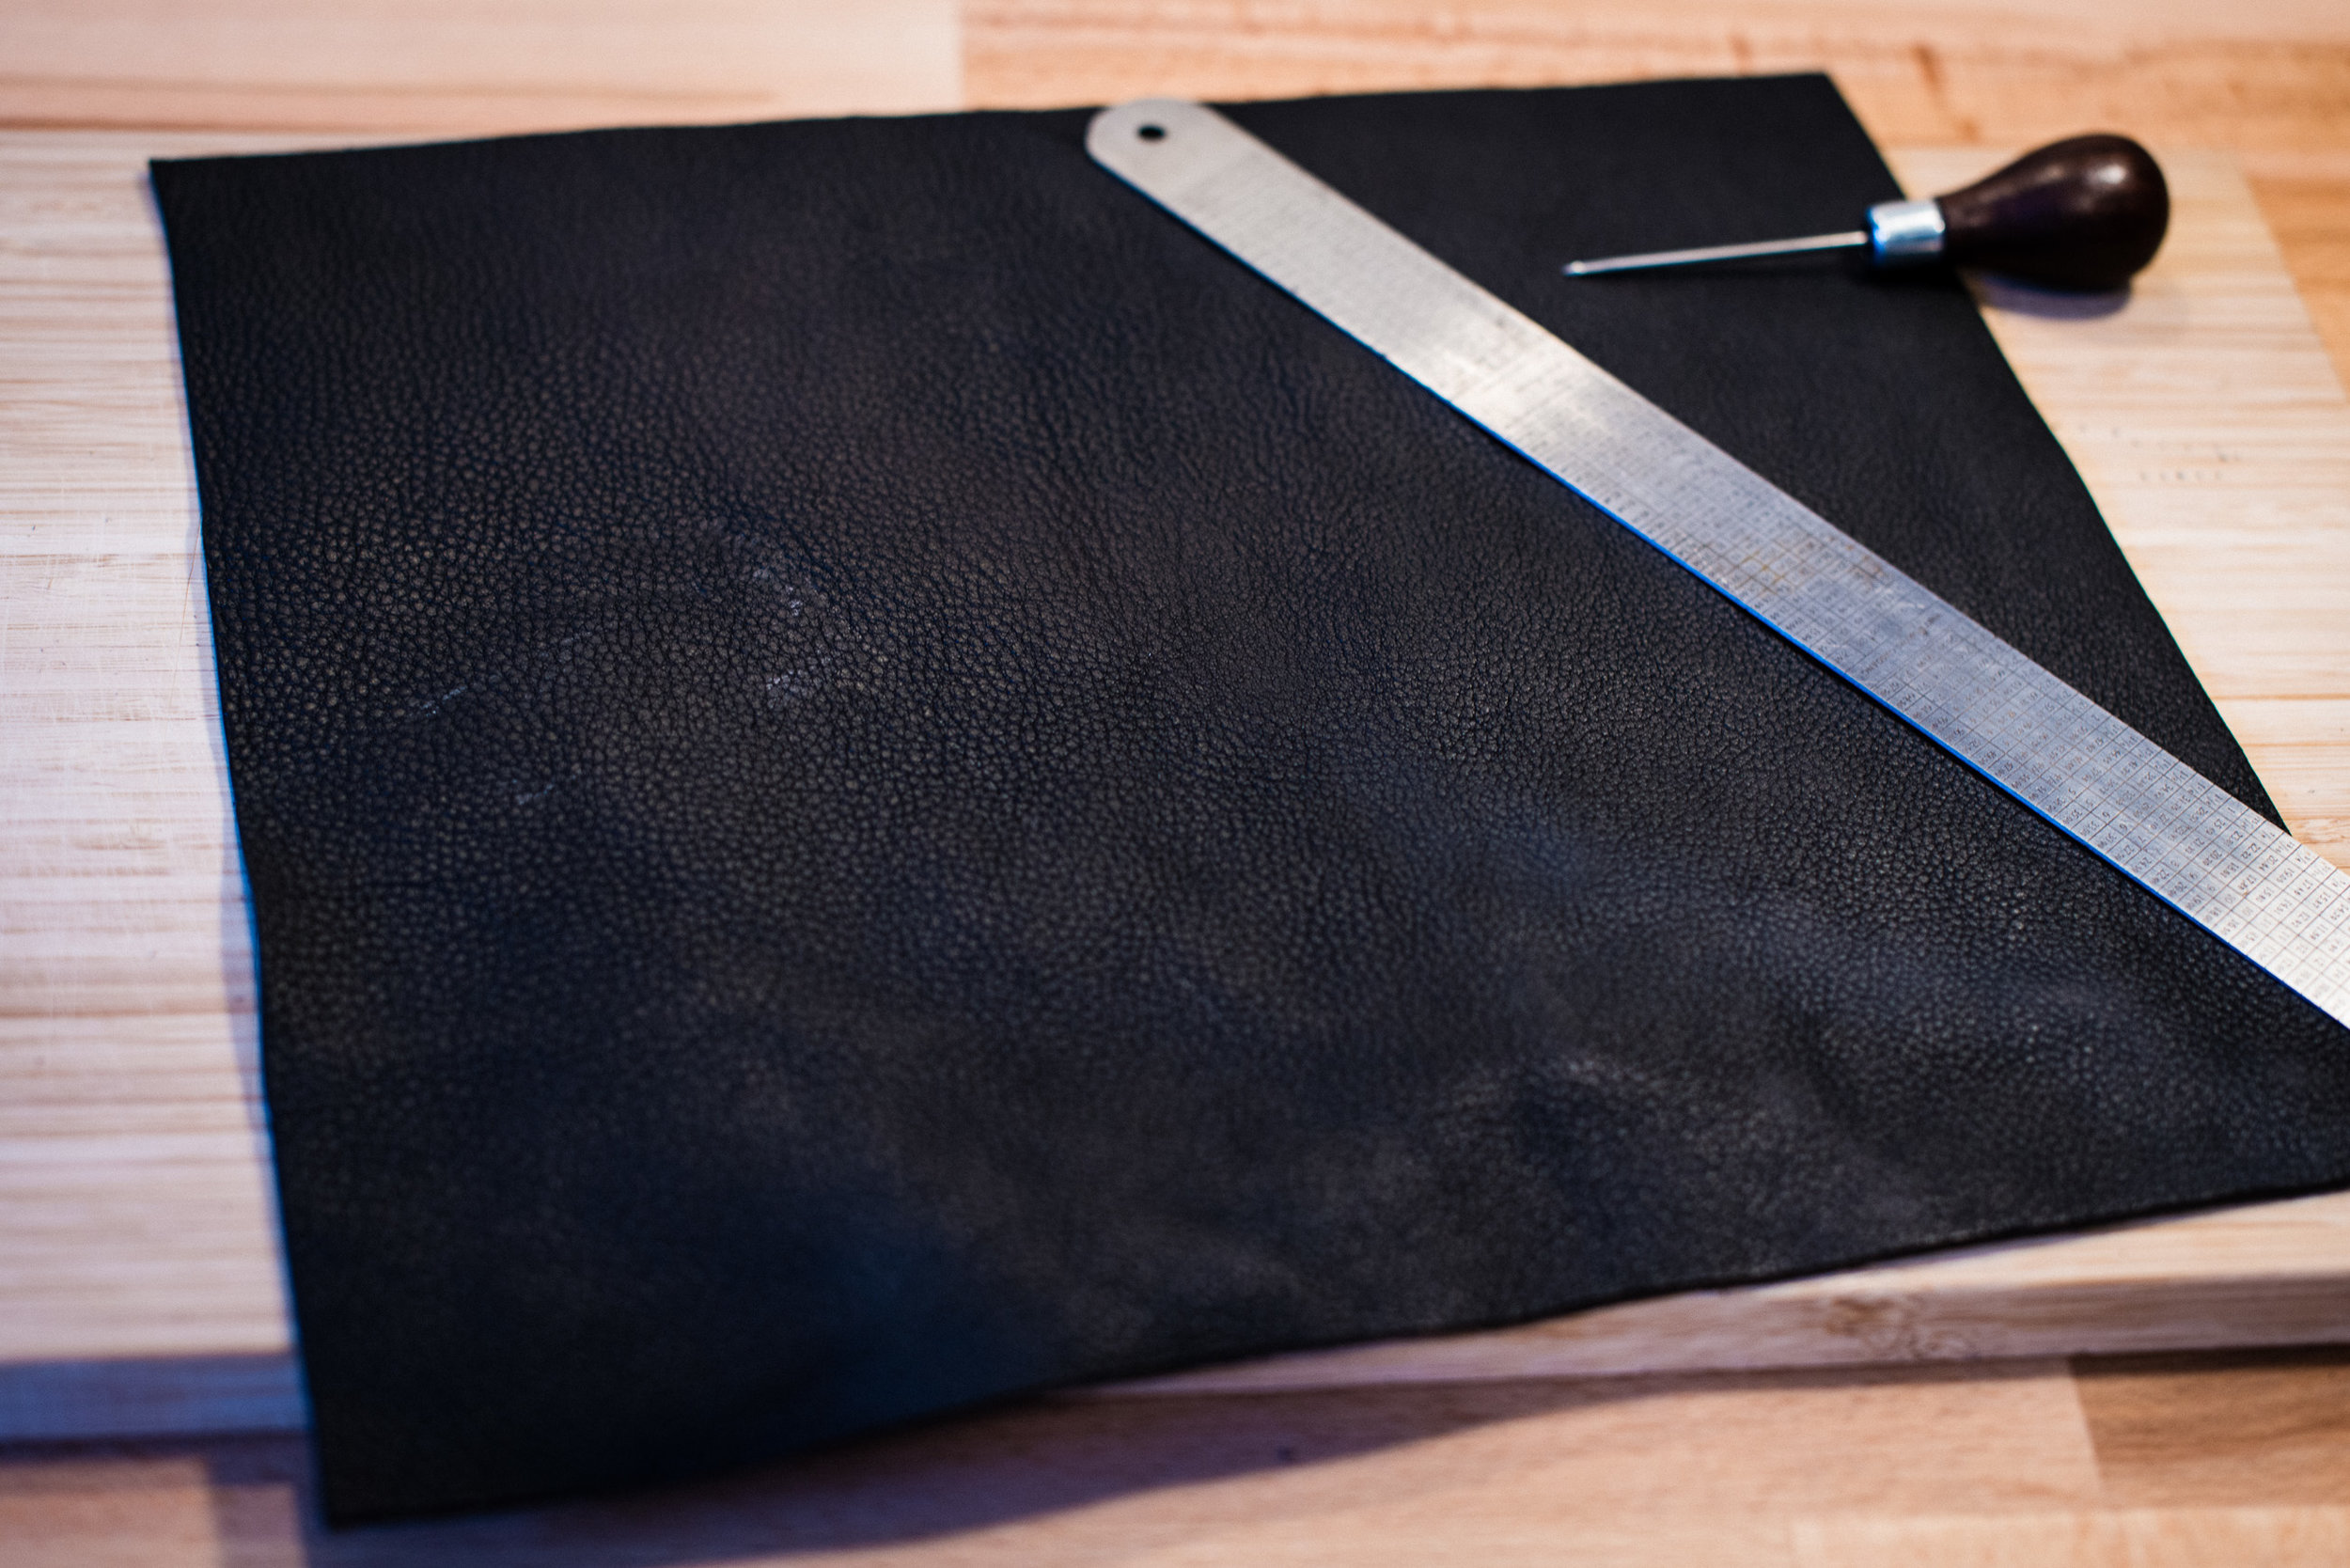
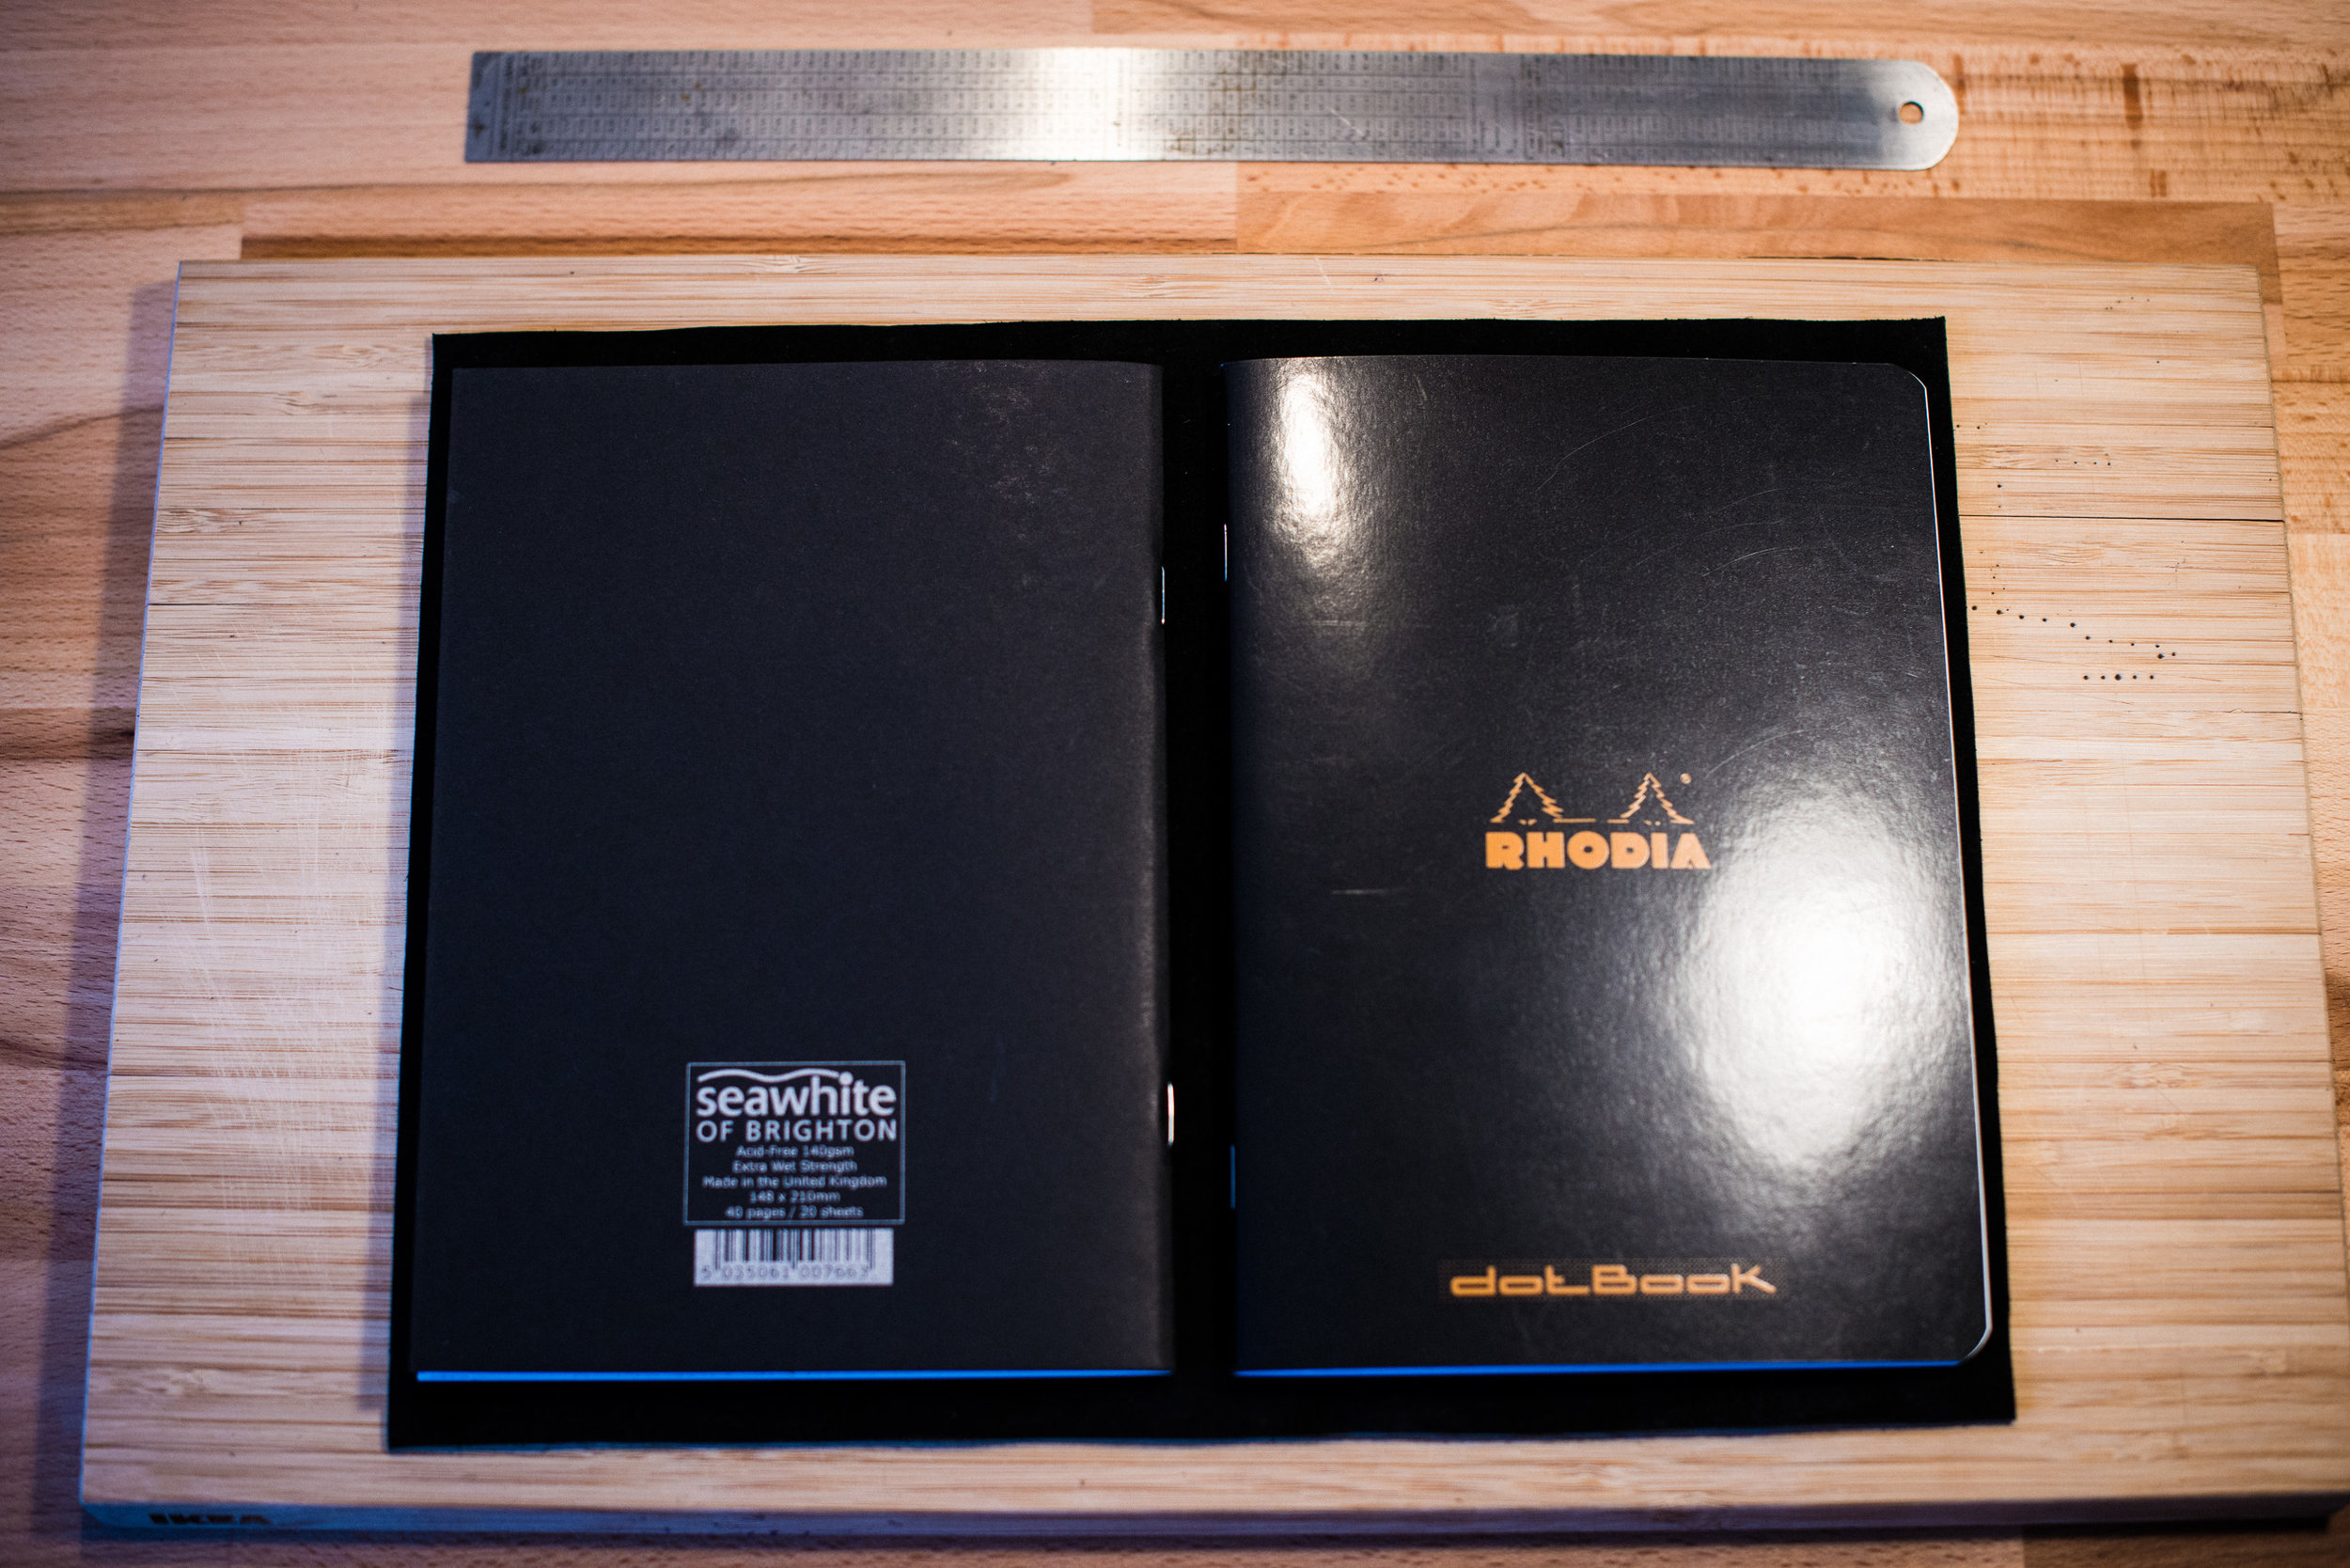
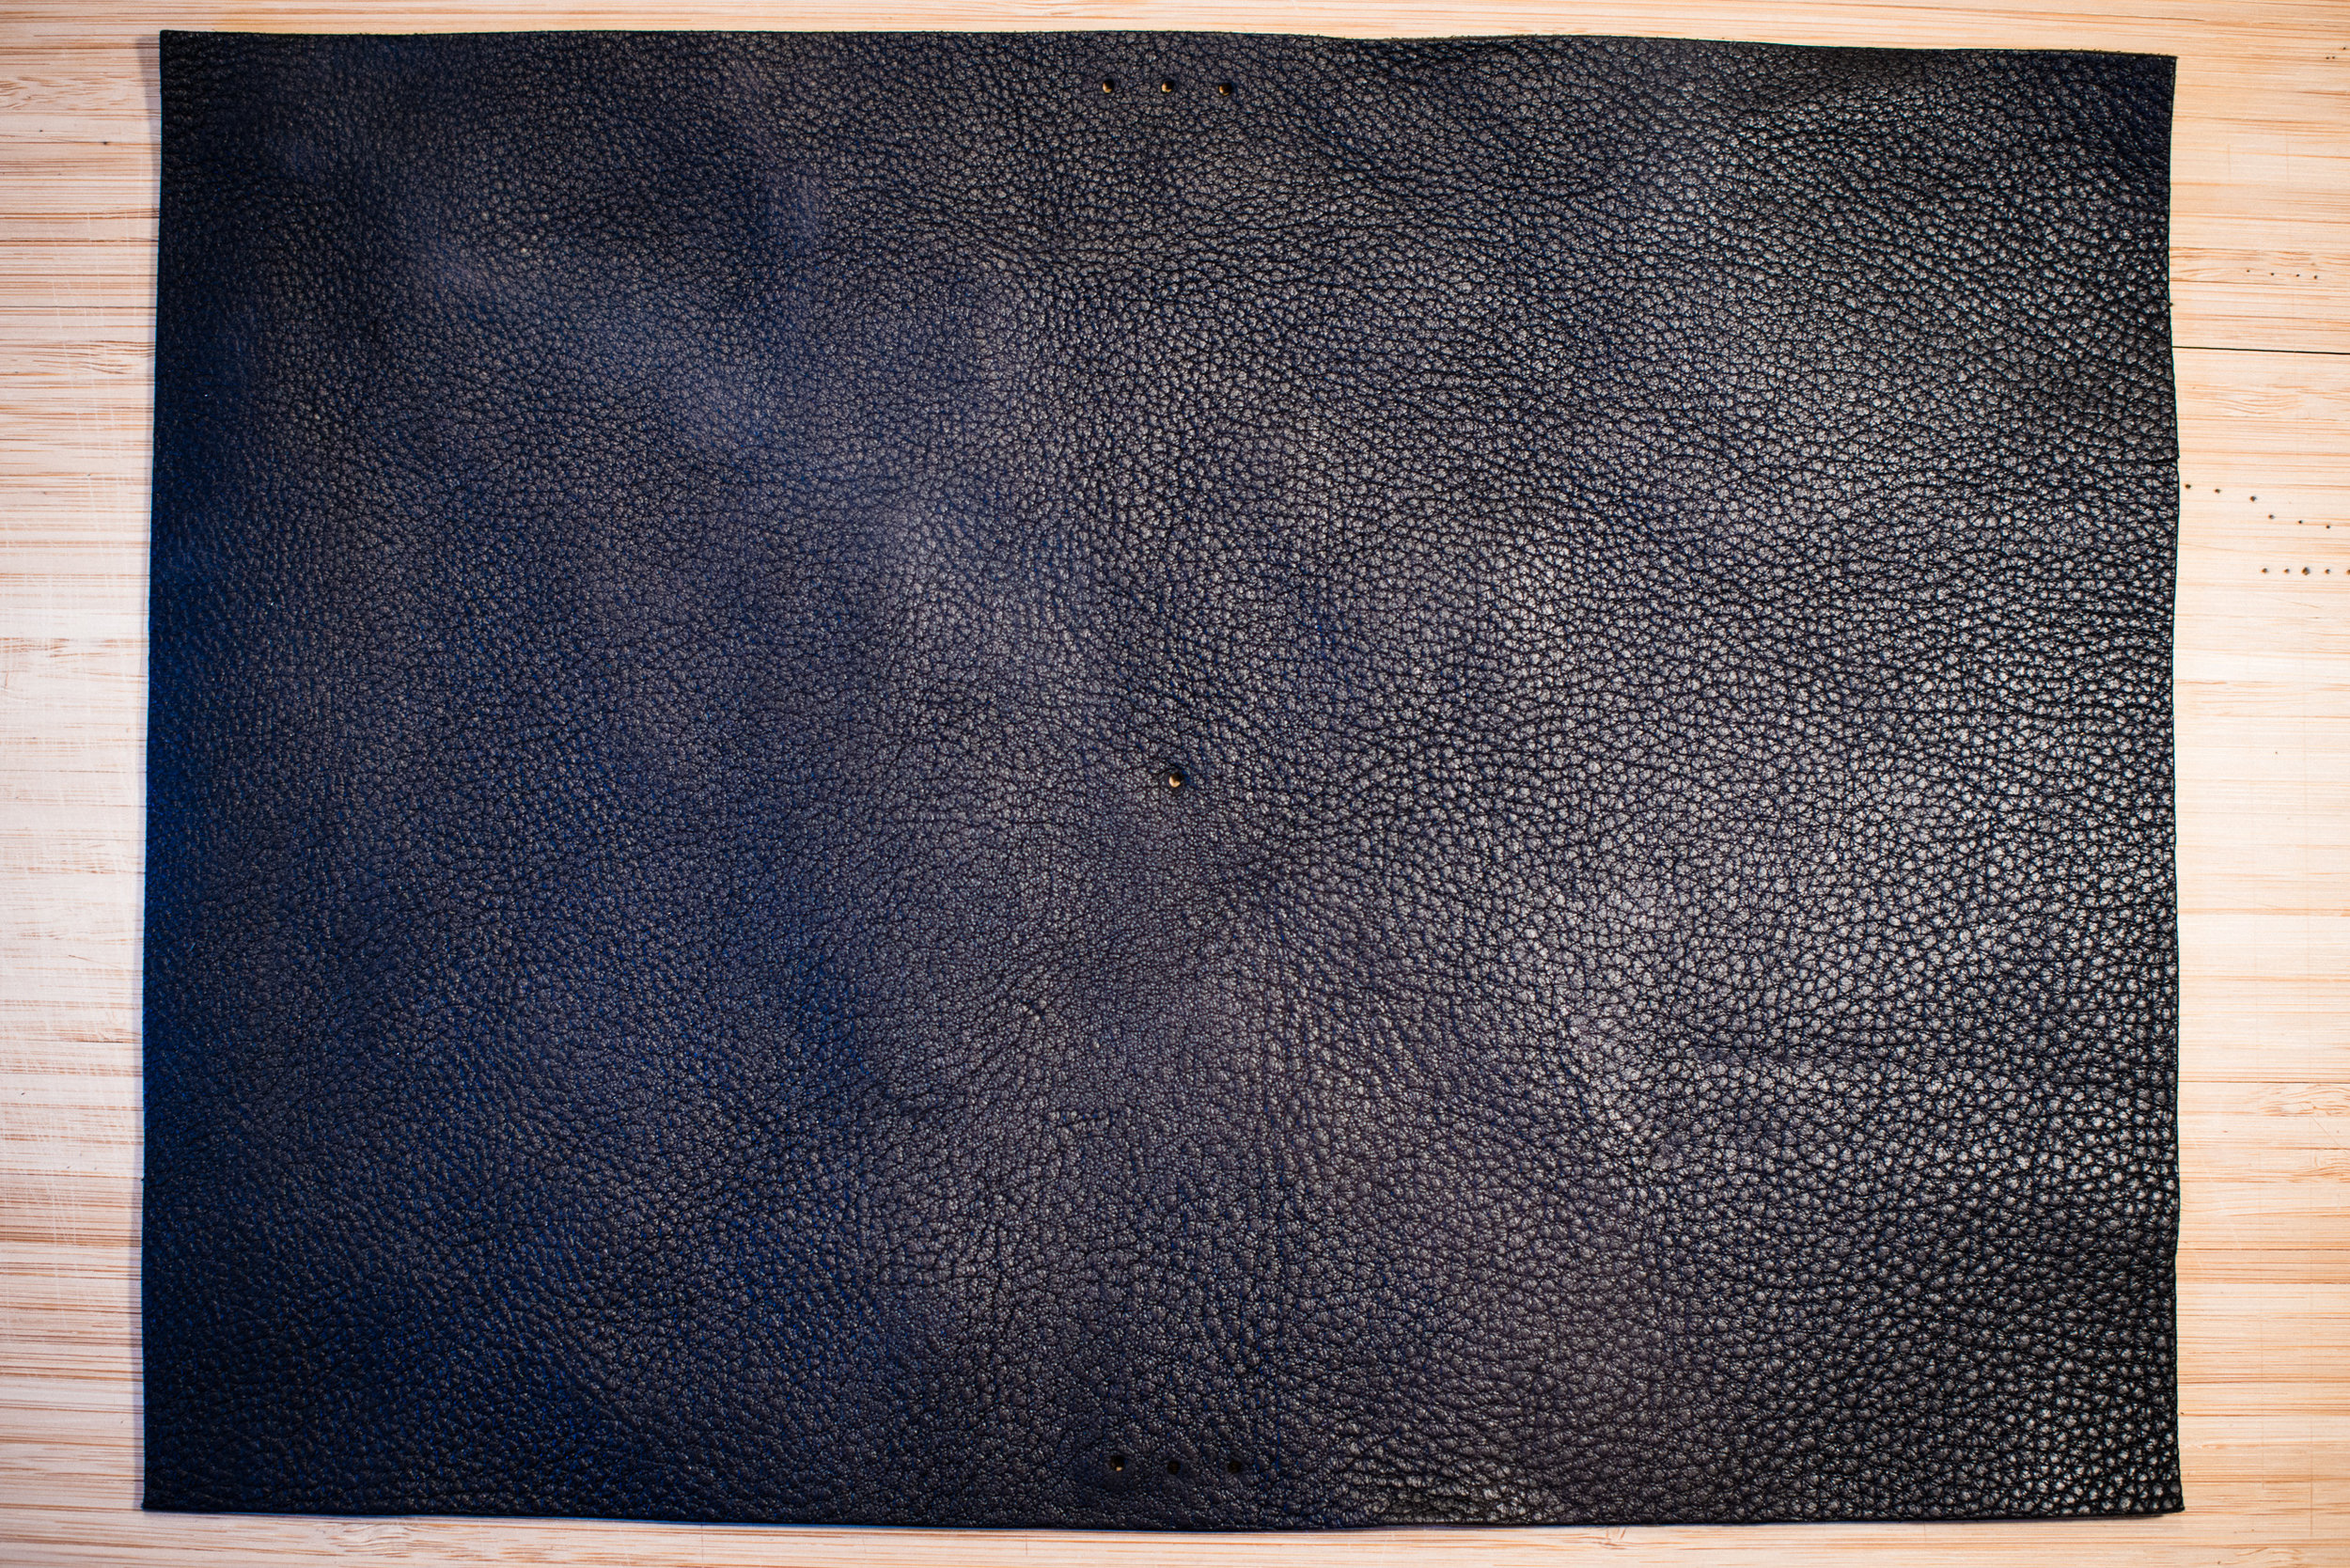
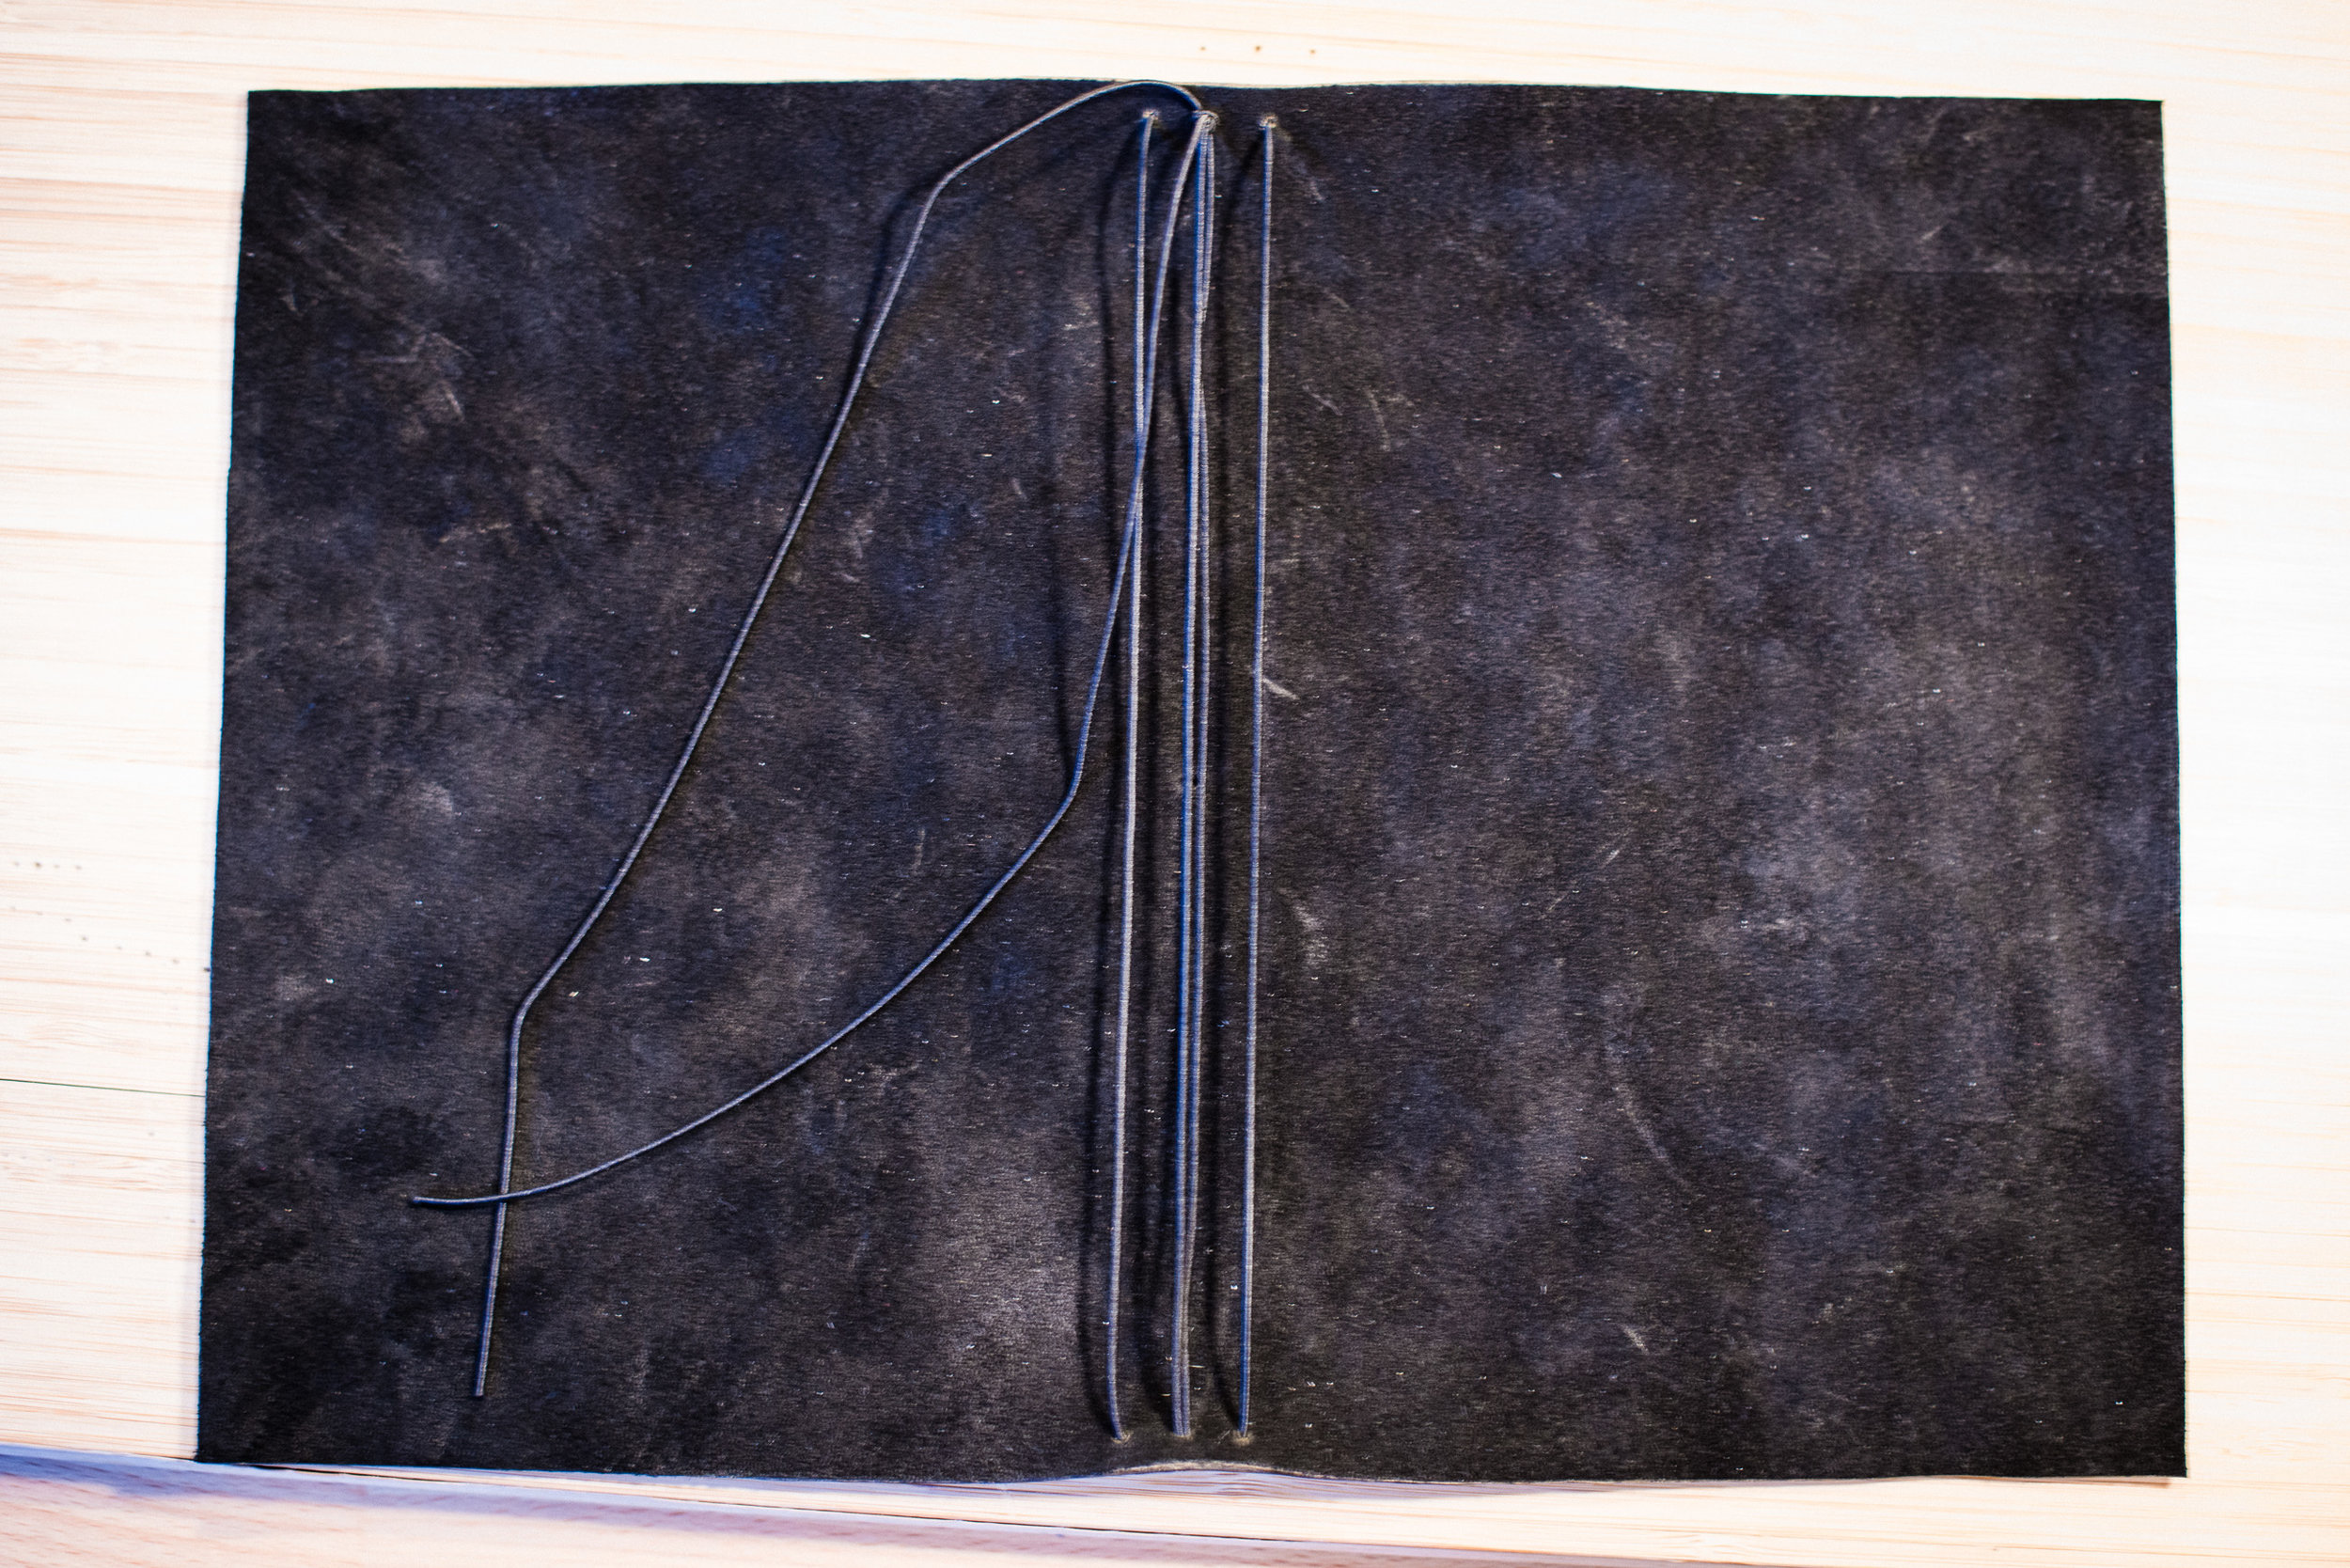
I decided to solve this “problem” by making my own notebook cover in which I could put any A5 notebook or even just loose papers. It is essentially just a piece of leather with some carefully placed holes where I can thread some rubber strings through. This book can actually hold three different small notebooks so that I can have different types of paper or both lined, dotted and blank paper.

The main plan was to use loose sheets of paper, but in the beginning I used cheap staple bound Rhodia notebooks and it worked great. I have however also made my own notebook with what I think is the best available fountain pen paper there is, Tomoe River. But more on that another time!

Ps. The hunt for the perfect notebook still continues and I still buy way to many of them.

Yay, I can now buy this beer year round!

Look at that color!

Last night I opened a bottle of one of my favorite beers, a Rodenbach Alexander. This beer is just an amazing work of art. First of all, and the most important thing, is that it really has the perfect balance between sweetness and sourness. Usually I don’t like Krieks and beers with cherries, but this is the exception as, exactly as the sourness, the cheery taste is perfectly balanced.

I recommend this beer to both beer drinkers that hate sour beer and sour beer lovers. It’s not that complex, it is just a super nice balanced (yes, I used that word once again) beer that has a long taste.

One problem though, the beer has only been available in limited quantities once in 2016 and once in 2017 (after the brewery stopped producing it in 1999). That is, until now! Earlier this year the news came that we now can order the beer at Systembolaget in Sweden all year round. I was so happy! But the story doesn’t end there, about two weeks ago more news came, now the beer has hit over 90 stores all over the country so it has become even easier to get a hold of.

If you haven’t tried it yet, do it now!