diy

Mixing your own inks

Ever since I started using fountain pens I have been searching for the perfect “standard ink”. A beautiful, yet subtle everyday ink that I never get tired of even if filled a whole notebook with only that ink. For me that ink is without a doubt a blue black ink, I’ve always hated blue pens and instead bought pens with black ink, but to be fair, black is quite boring. That’s is why I love blue black inks, they are almost like using a black ink, but with some character!

I really can't say exactly what a perfect blue black ink would look like, but I know that I haven't found it yet. The closest I've come to finding one is the fairly new Aurora blue black, but it isn't perfect. It has an amazing color and it’s neither too bright or too blue, which is the case for most blue blacks. The Aurora ink also has some great shading and some red sheen, which is something I love and absolutely want in my everyday ink. The one thing that could be better for me is if it was a bit darker, maybe not as dark as another favorite, Diamine 1864 Blue Black, but almost. I would love a mix between does two inks, A little brighter 1864 with the sheen from the Aurora ink would be my perfect blue black. That brings me to today’s real topic, mixing my own ink.

As one does, I started to google the topic and one thing became clear straight away, the safest way to mix inks was to use only inks from the same brand, and preferably also the same series. Of course it is possible mix inks from differents brands, but the consensus seemed to be that things could go wrong if one were unlucky, so the safe bet was to use ink from the same brand.

As I'm just starting out I decided to use Diamine inks, as the small 30 ml bottles are so cheap that you can buy a lot of different colors to mix with. Here you can see some my first tests where I decided to use Sargasso Sea as the blue component because of the sheening properties of the ink. Sorry to say that the sheen seem to disappear when I mix it though. I've also tried to mix some Sailor inks as I love the properties of those inks. The first test with a 50/50 mix of Sailor Yama-Dori and Sailor Shigure actually became super nice and I use it regularly now. All I can say that it has been fun so far and that I’m far from finished with this project. I'll update you when I found the perfect blue black, but until then, why not try it yourself?

Never iron shirts again

I really (I mean really!) hate ironing button up shirts, so much that I actually rather use an unironed shirt than spend the time ironing it. At least for an ordinary day at the office.

This is of course a bit of a problem as I do love wearing button up shirts, a lot! I actually use a button up shirt almost every day. So how do I manage you might ask, the reason is because I have come up with the best life hack I know of.

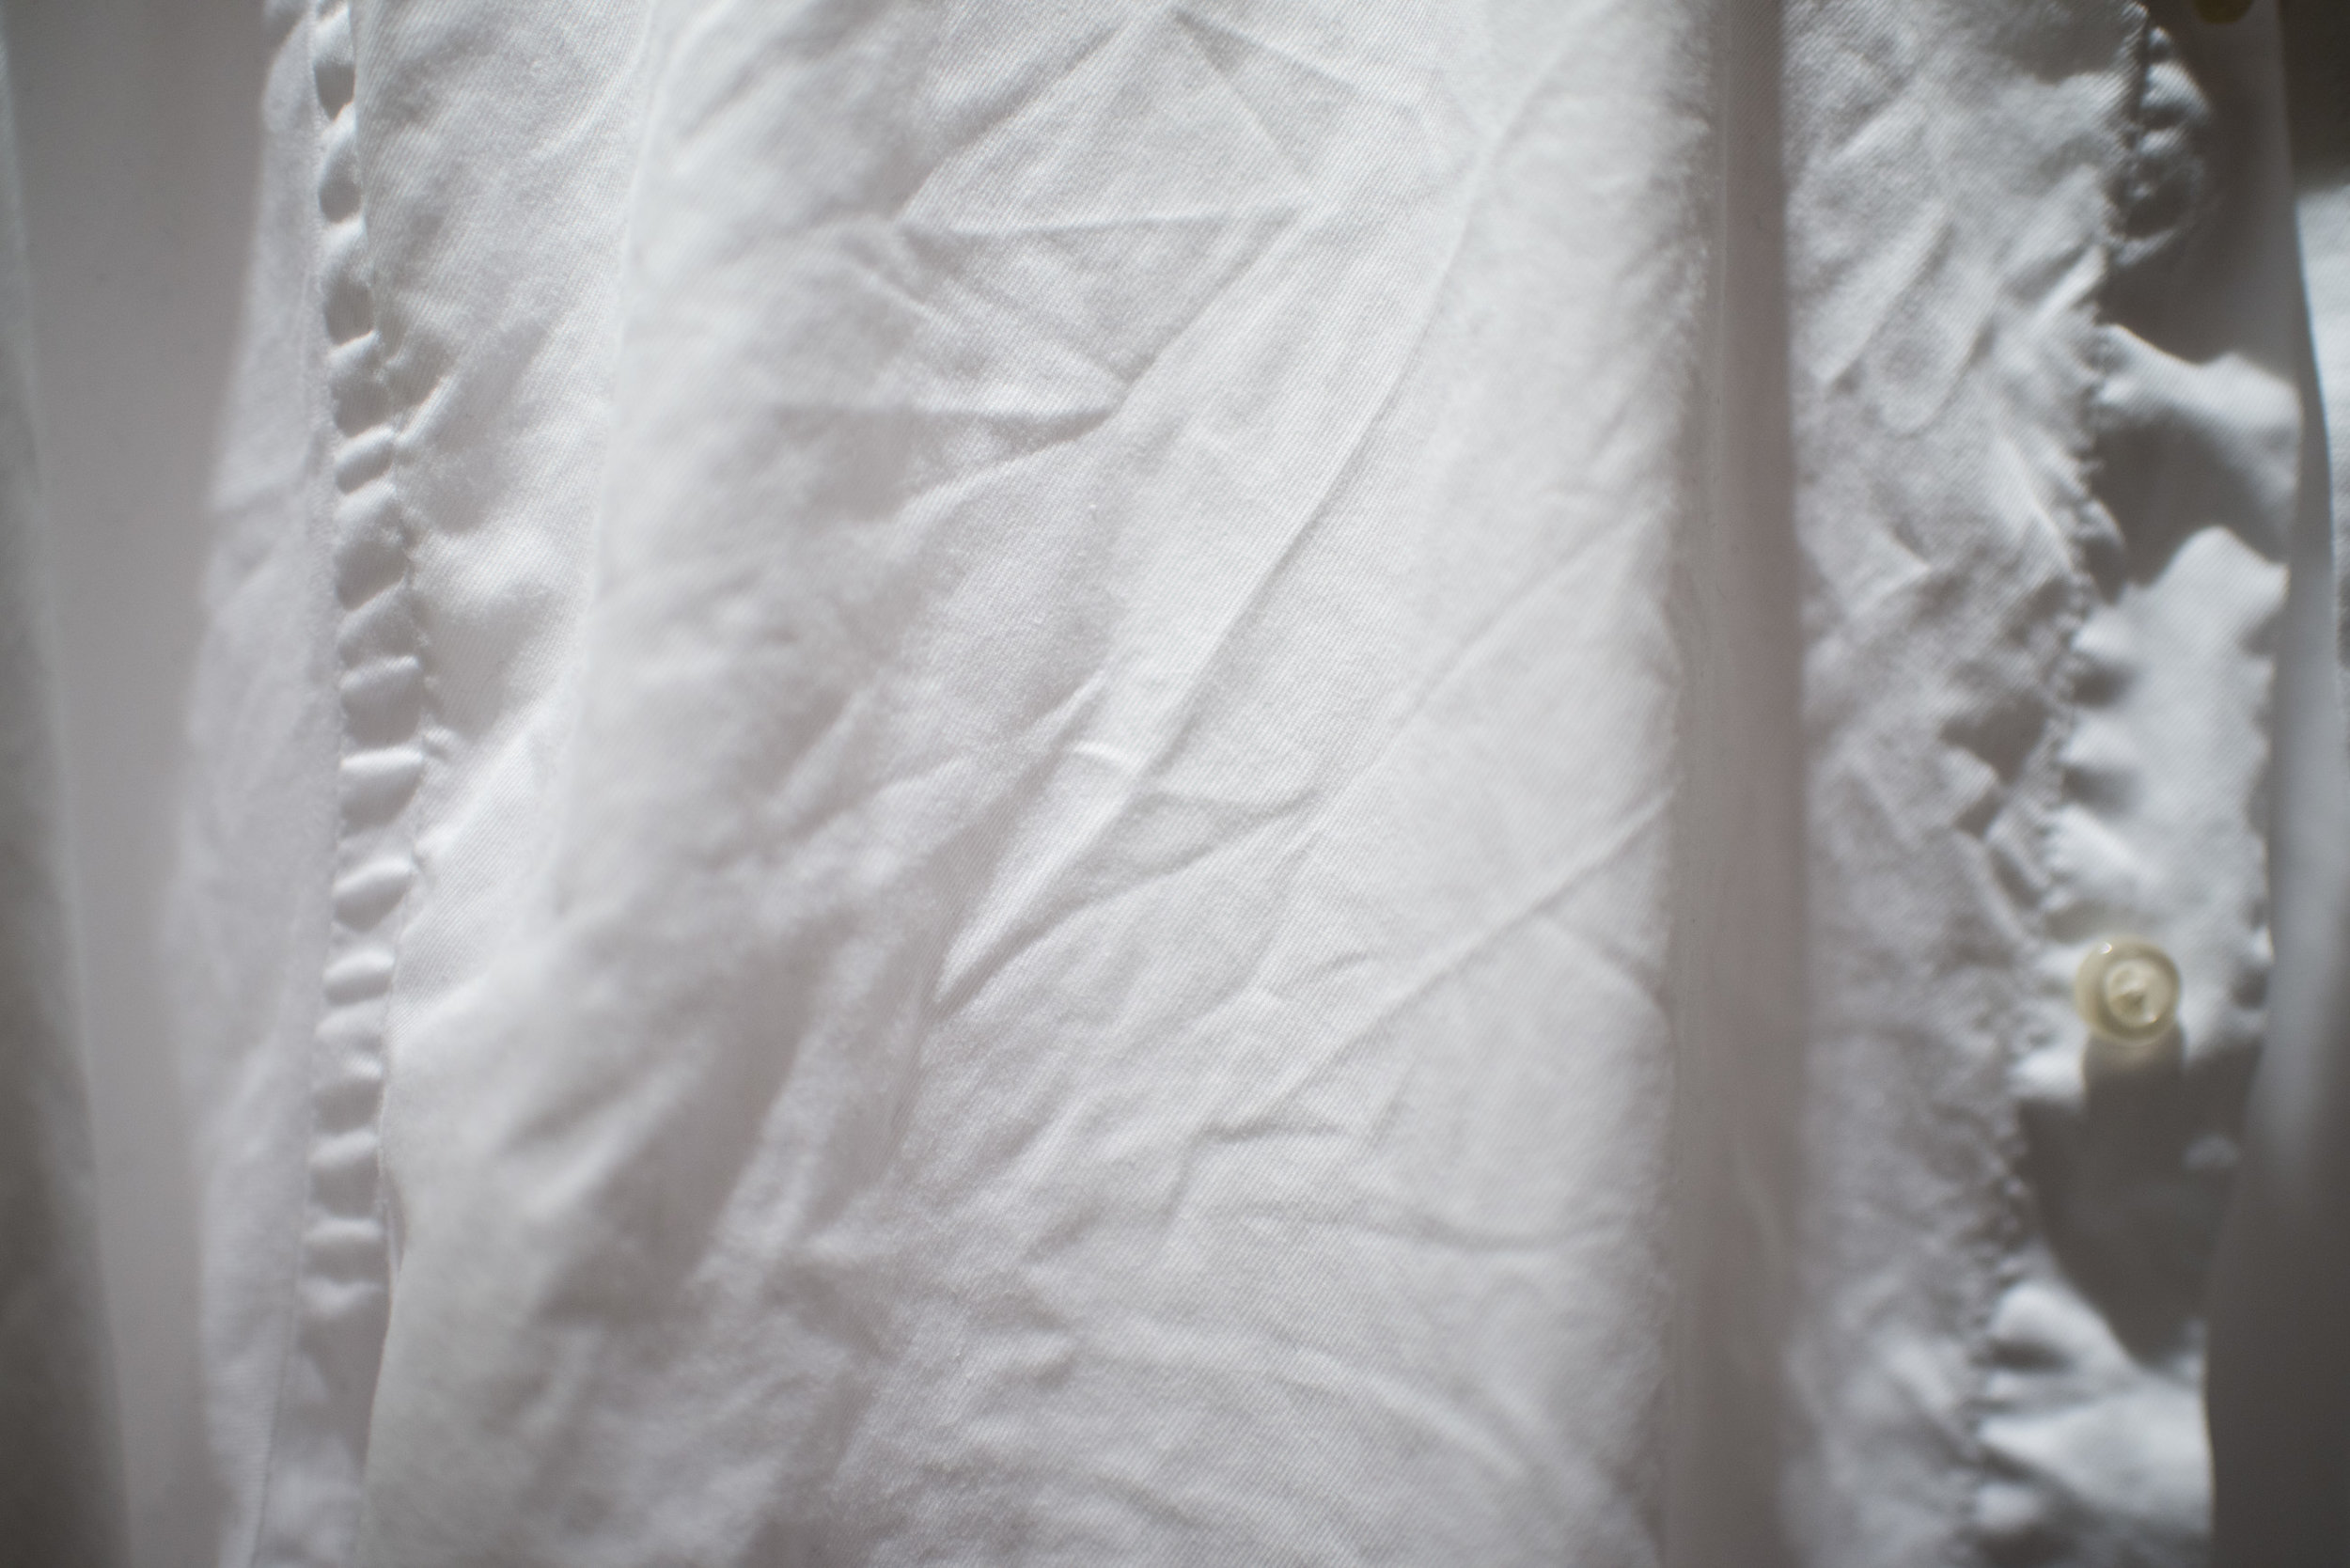
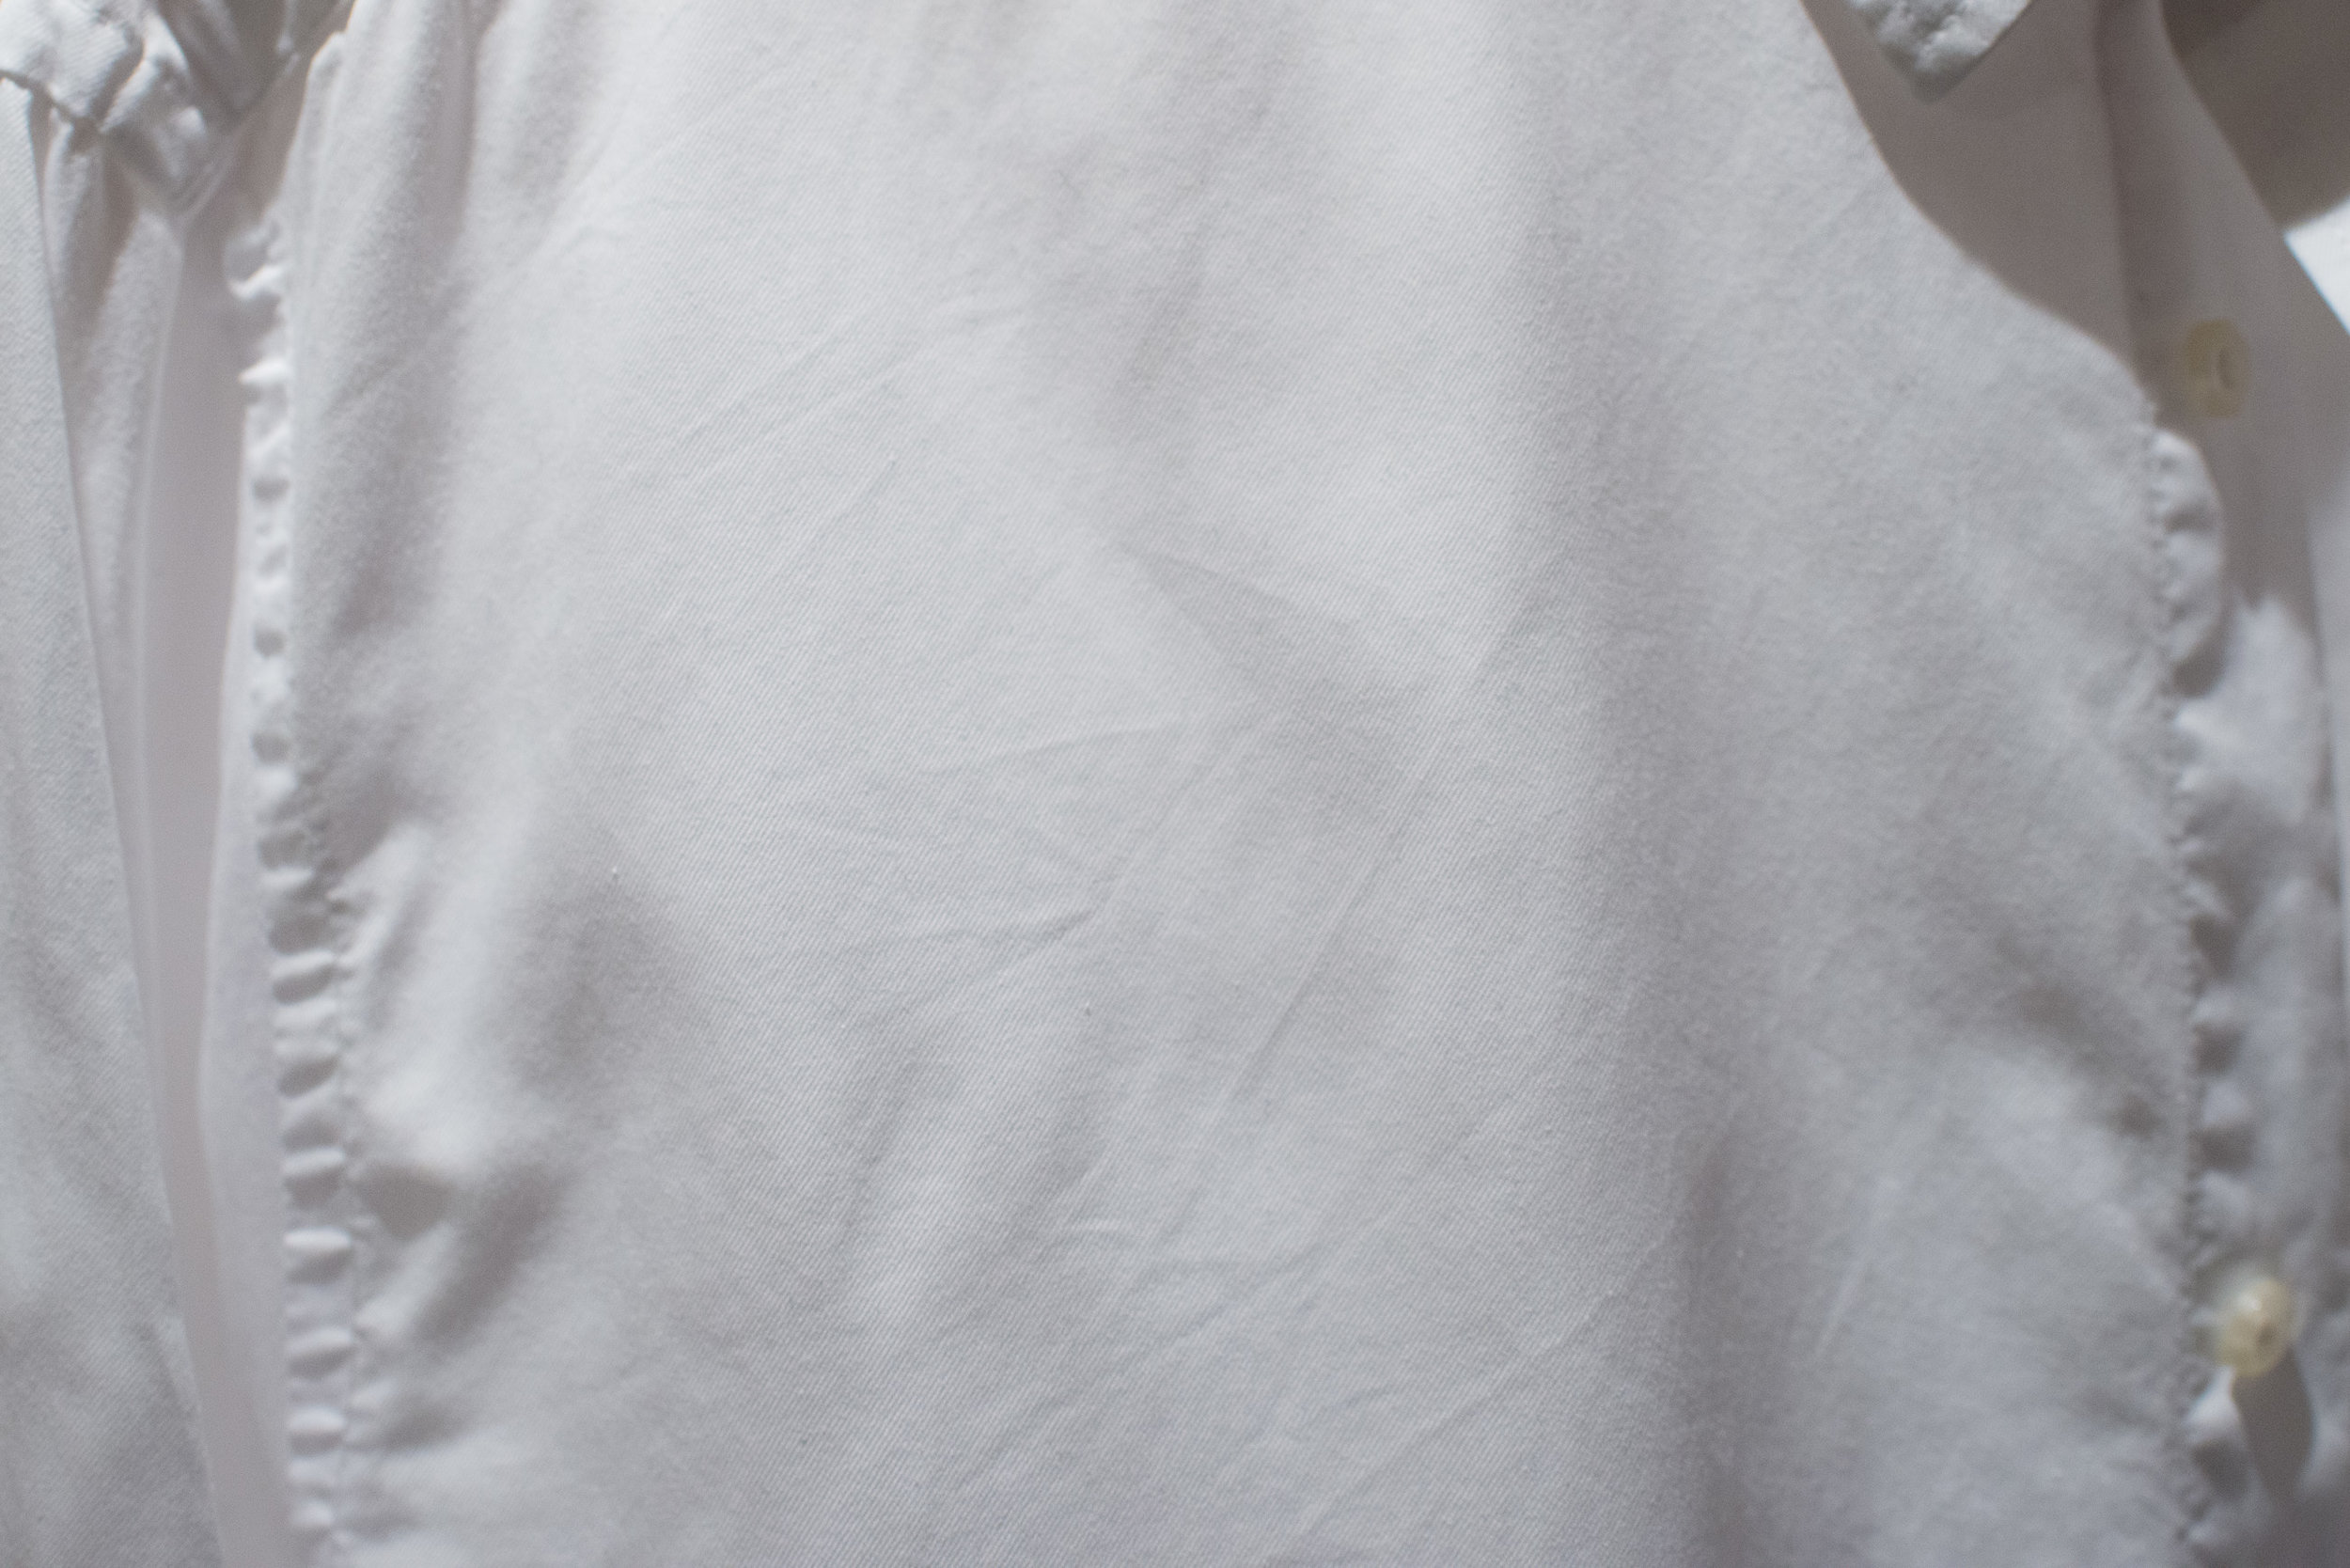
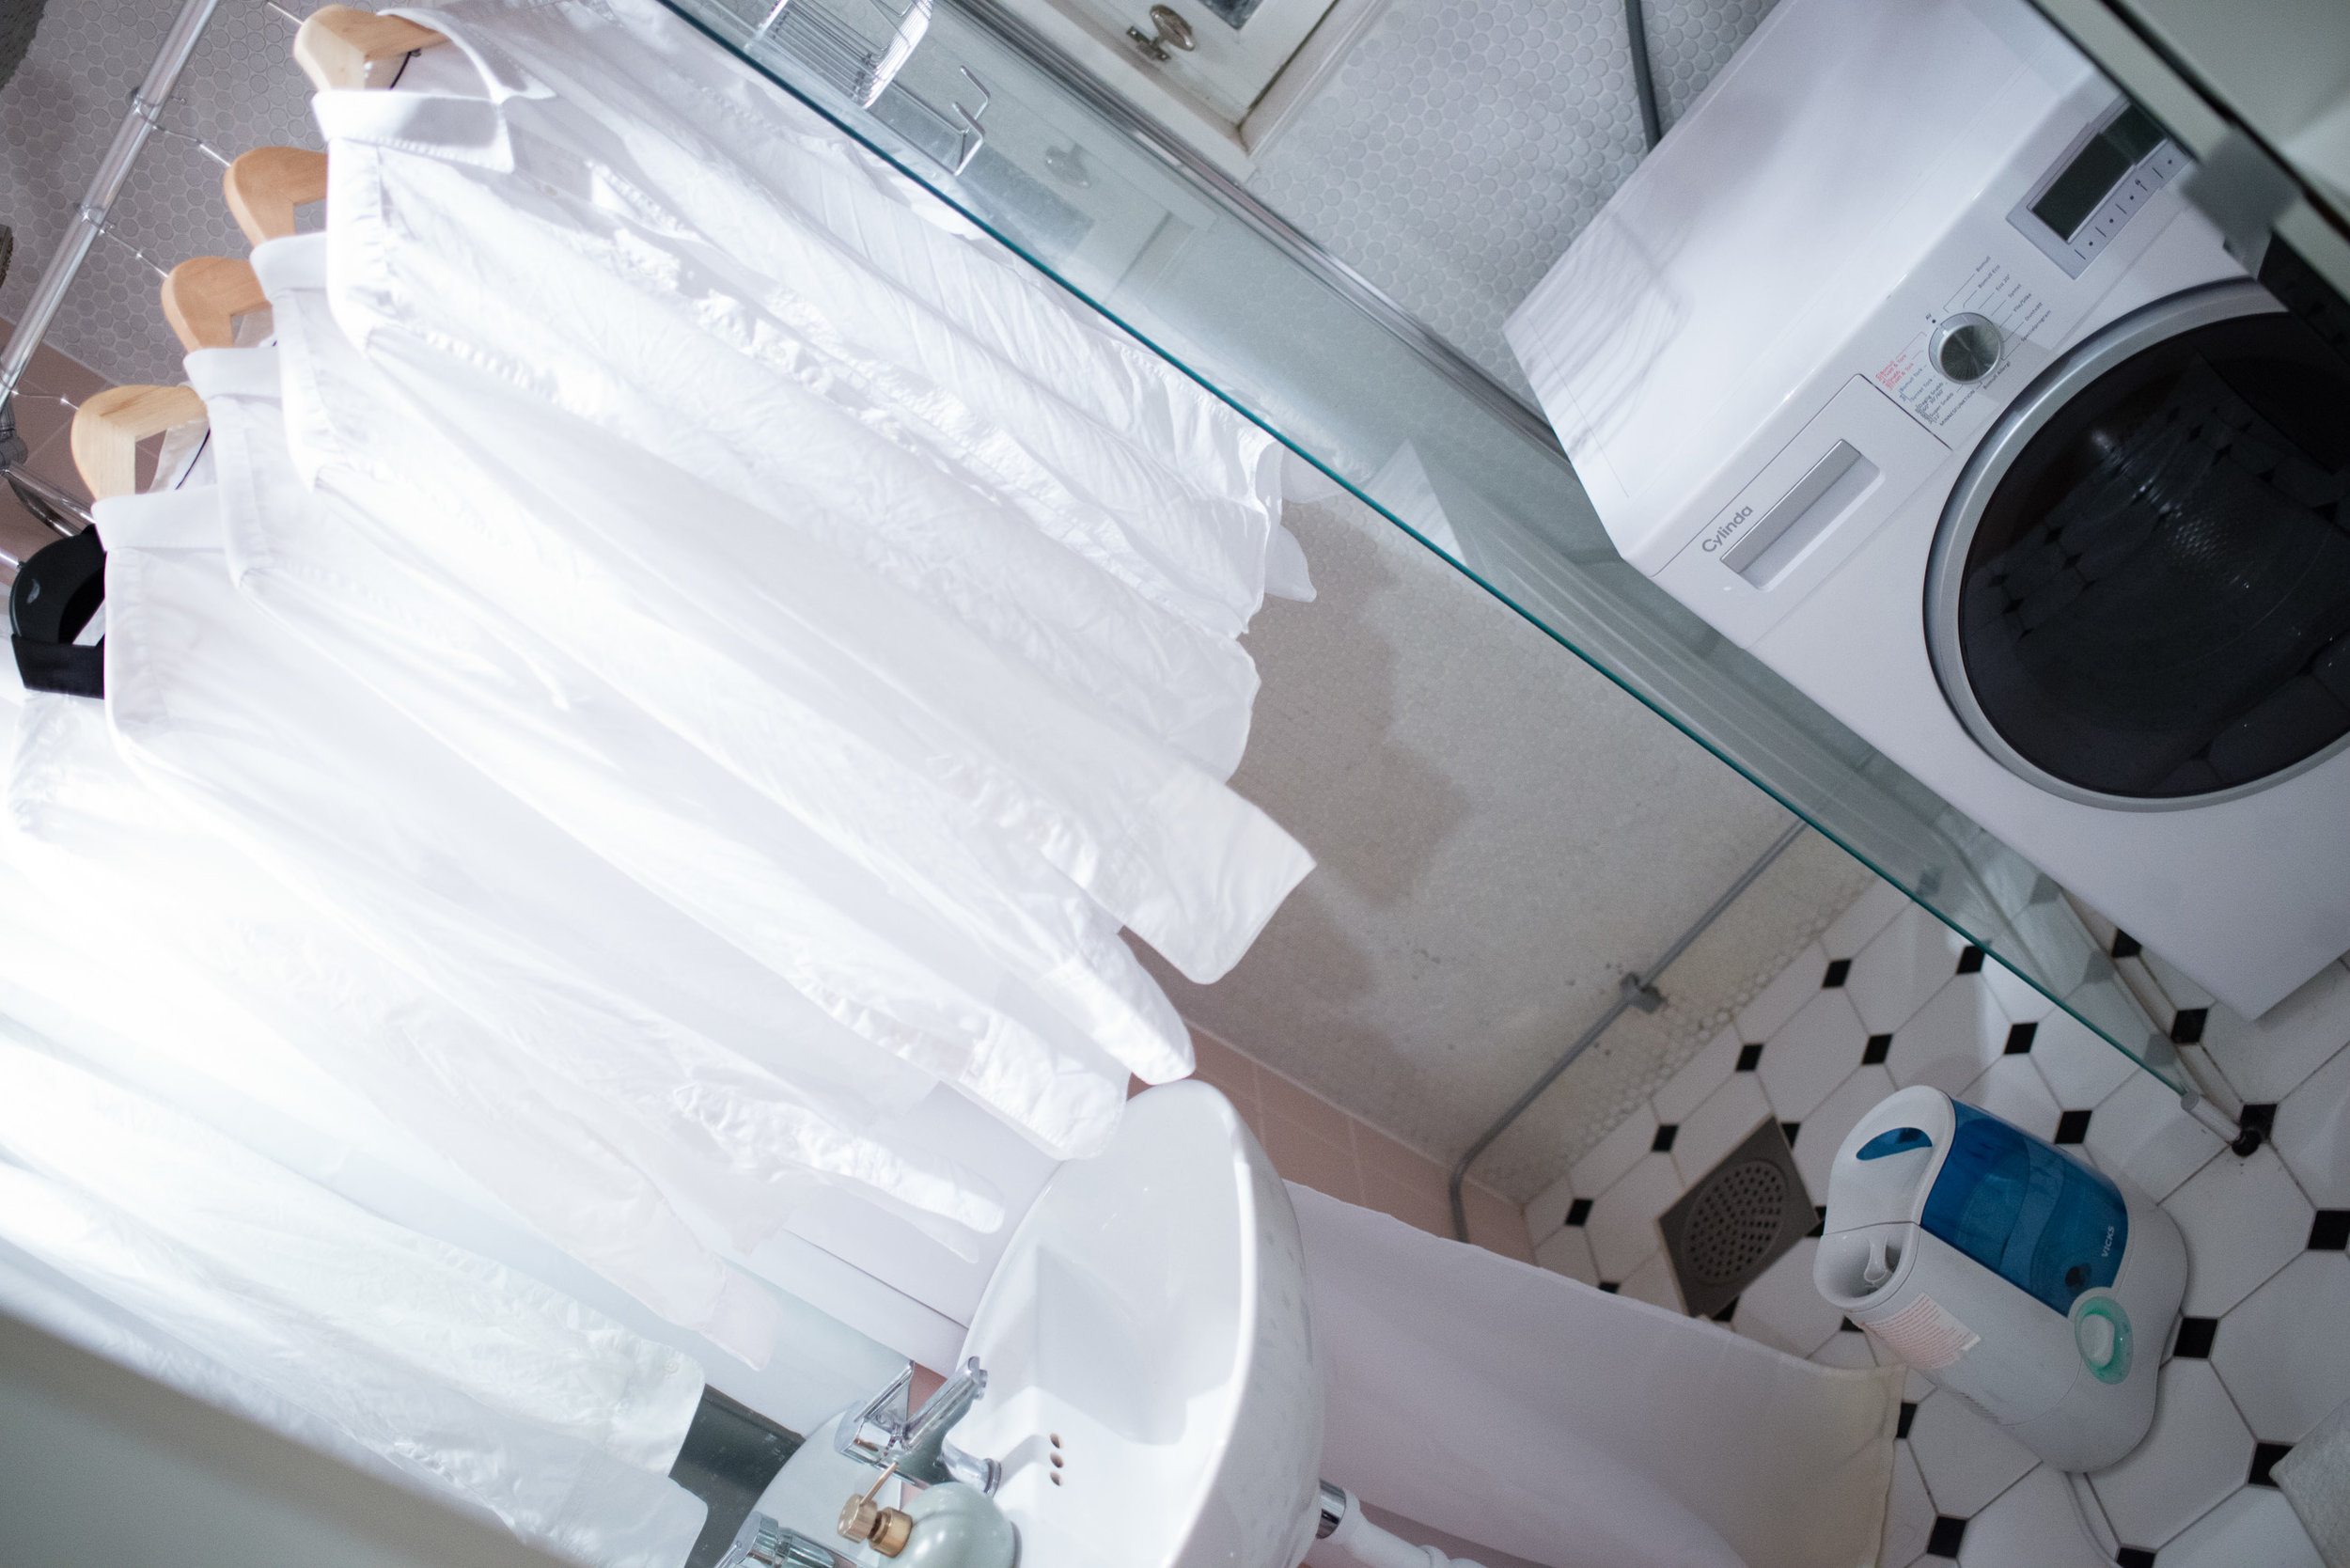
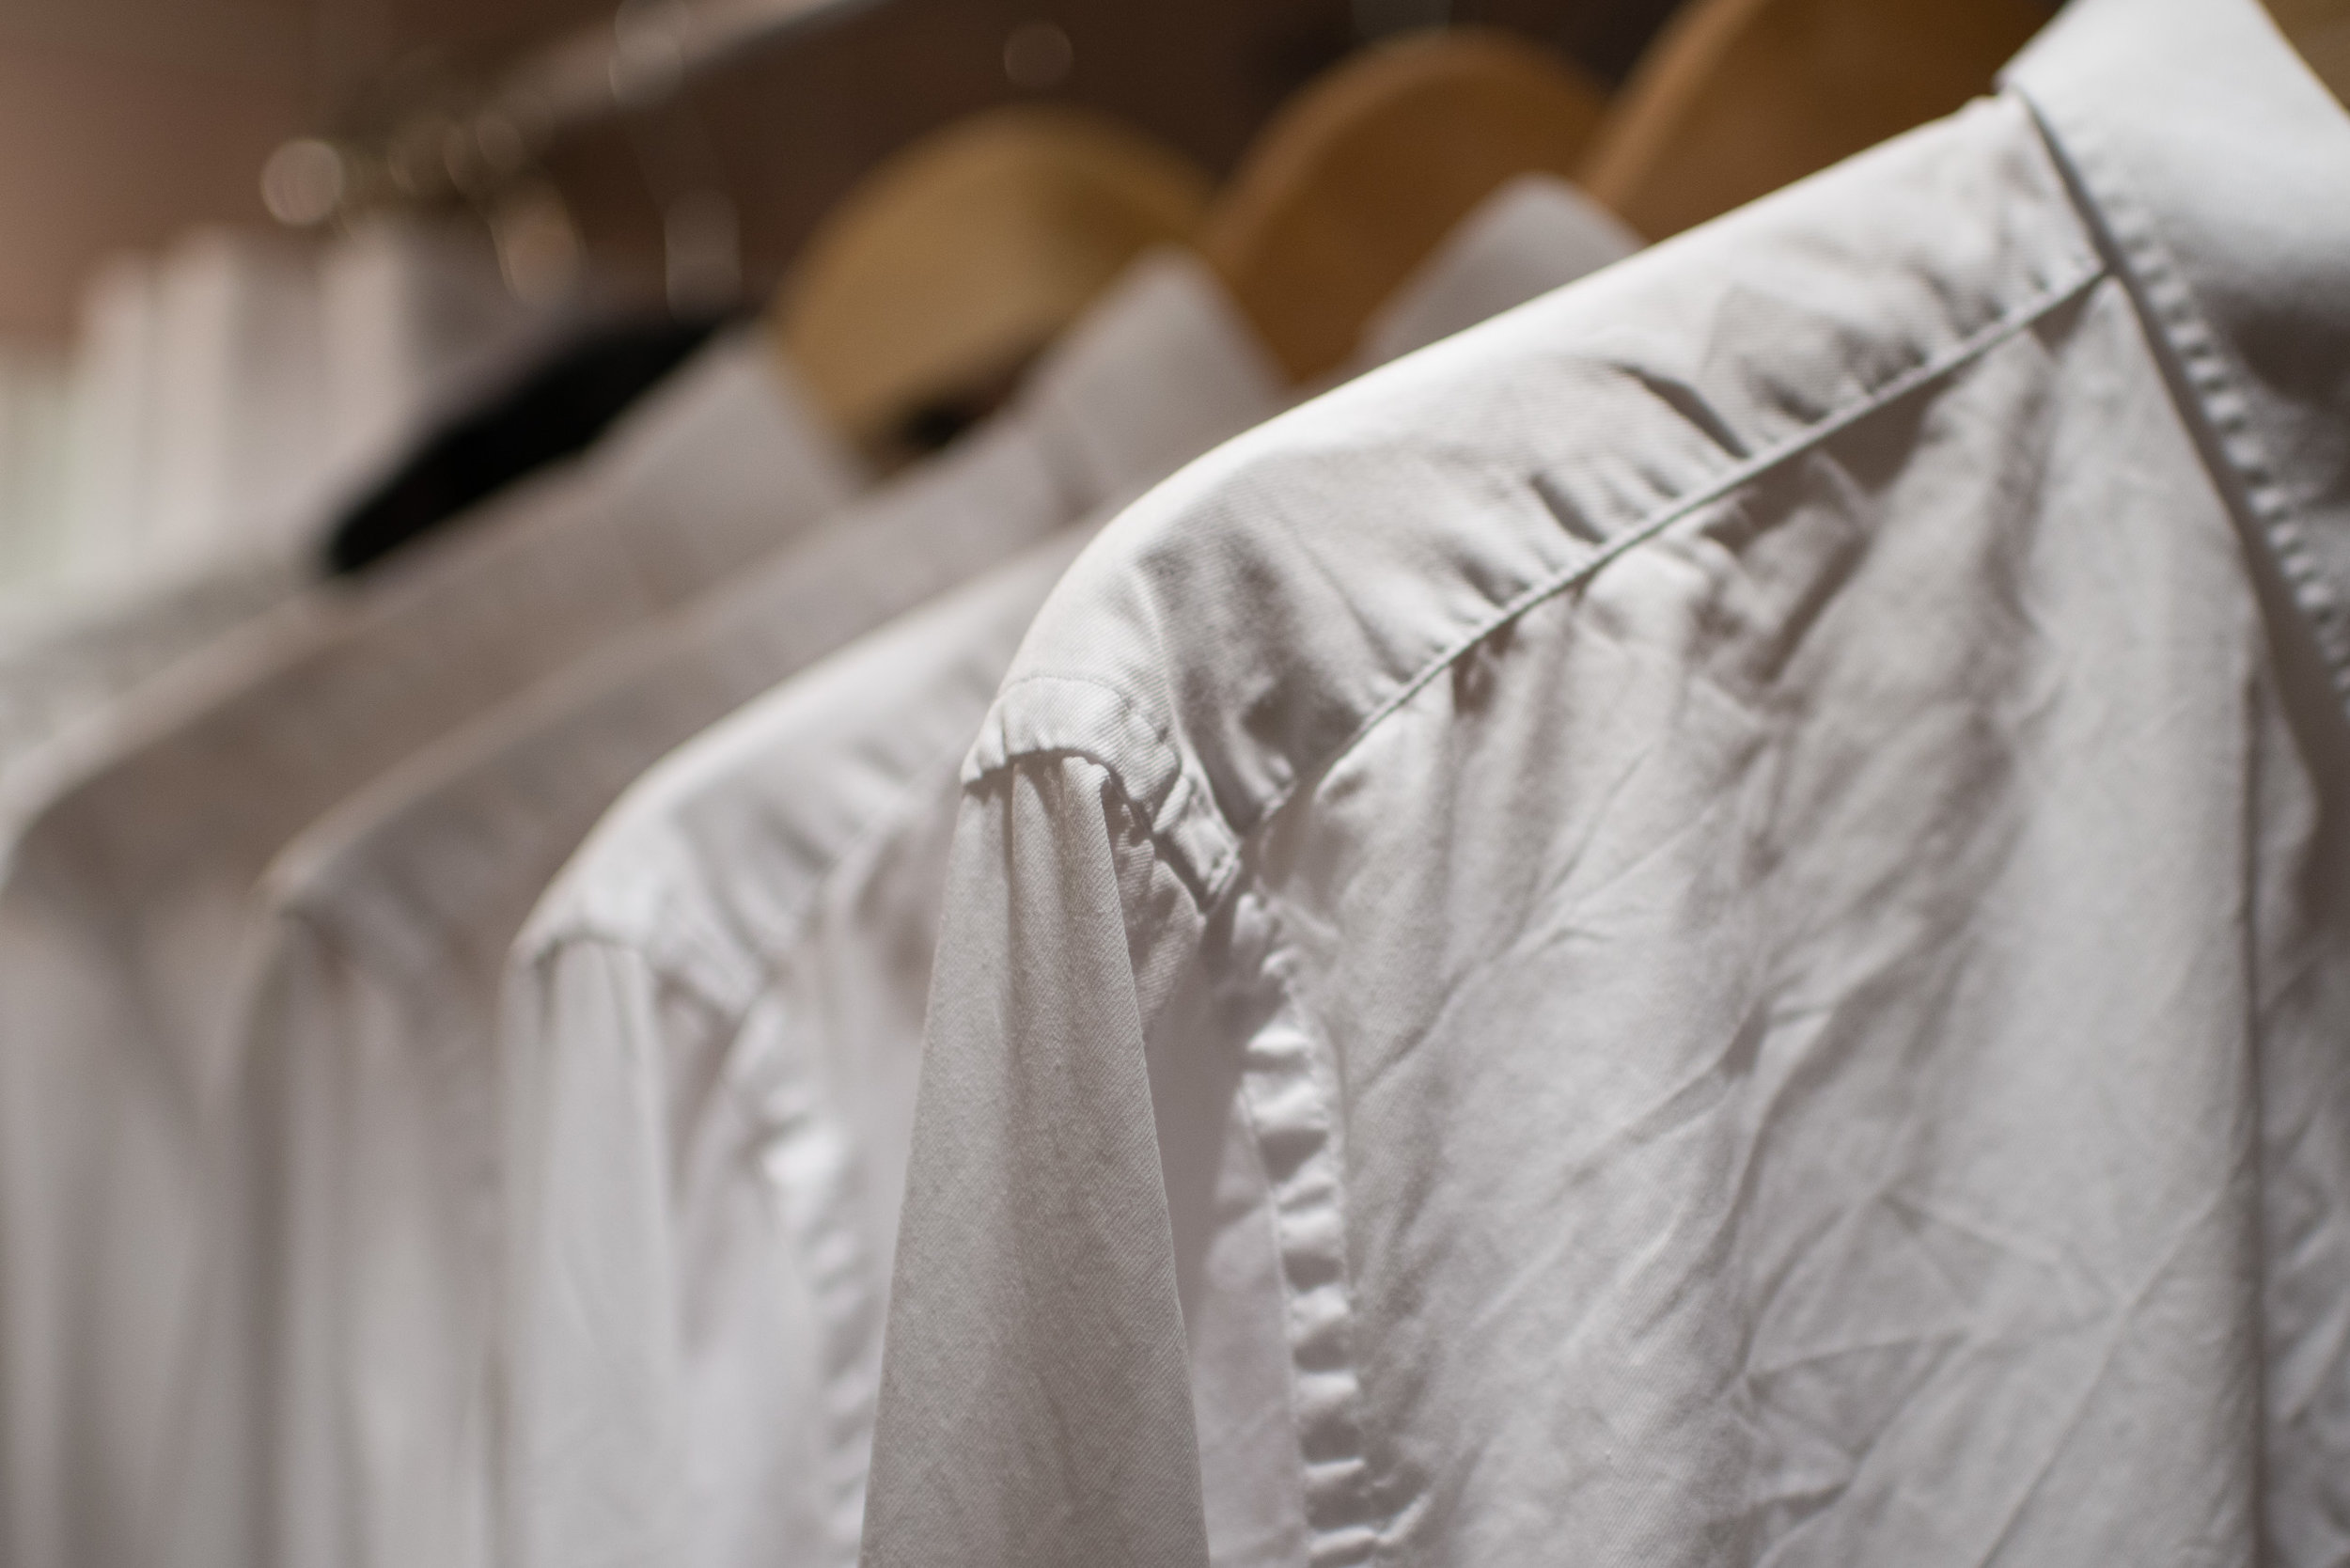
After every time I’ve washed my shirts I hang them in my small bathroom, place my humidifier in there, set it to max and close the door. After a couple of hours I turn of the humidifier and usually let the shirts hang there to dry until the next morning. Essentially I’ve built my own “steam closet” and even if ironing still does a better job, this makes the shirts perfectly fine for everyday use. I still iron my shirts for more special occasions, if I have the time that is. Otherwise I actually think the result from the steam closet is good enough even for those occasions.

If you don’t have a humidifier you can instead take a long and very hot shower with the door closed to build up steam. I would however recommend a humidifier as I have never gotten as good results that way.

The search continues

The tools

Last week I wrote about making my own notebook cover so that I could use “ugly” notebooks and loose paper. The reason was because I couldn’t find a notebook I actually liked. The cover is nice and all, but I still miss a nice insert so I decided that I should try and make my own.

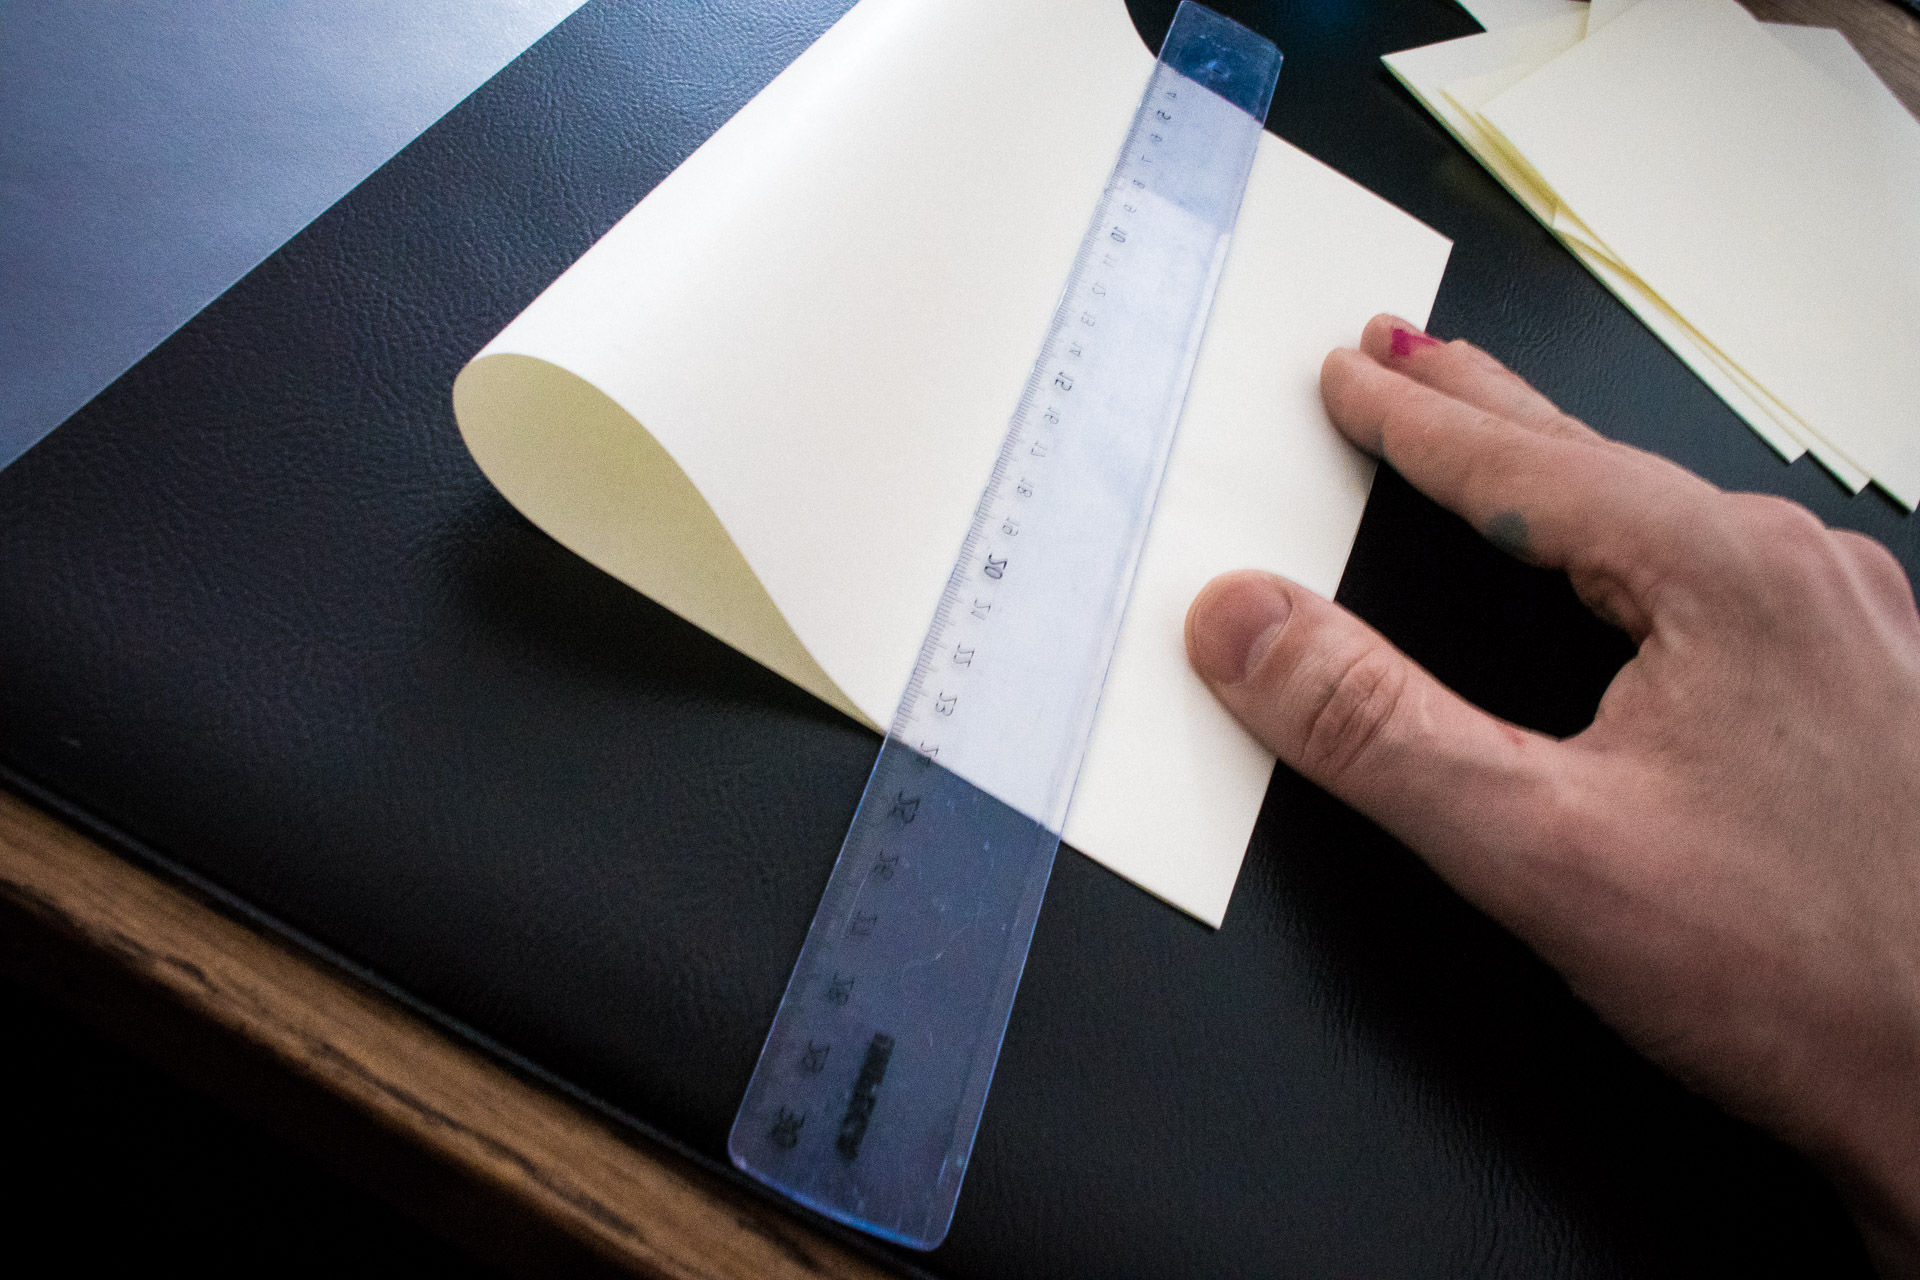
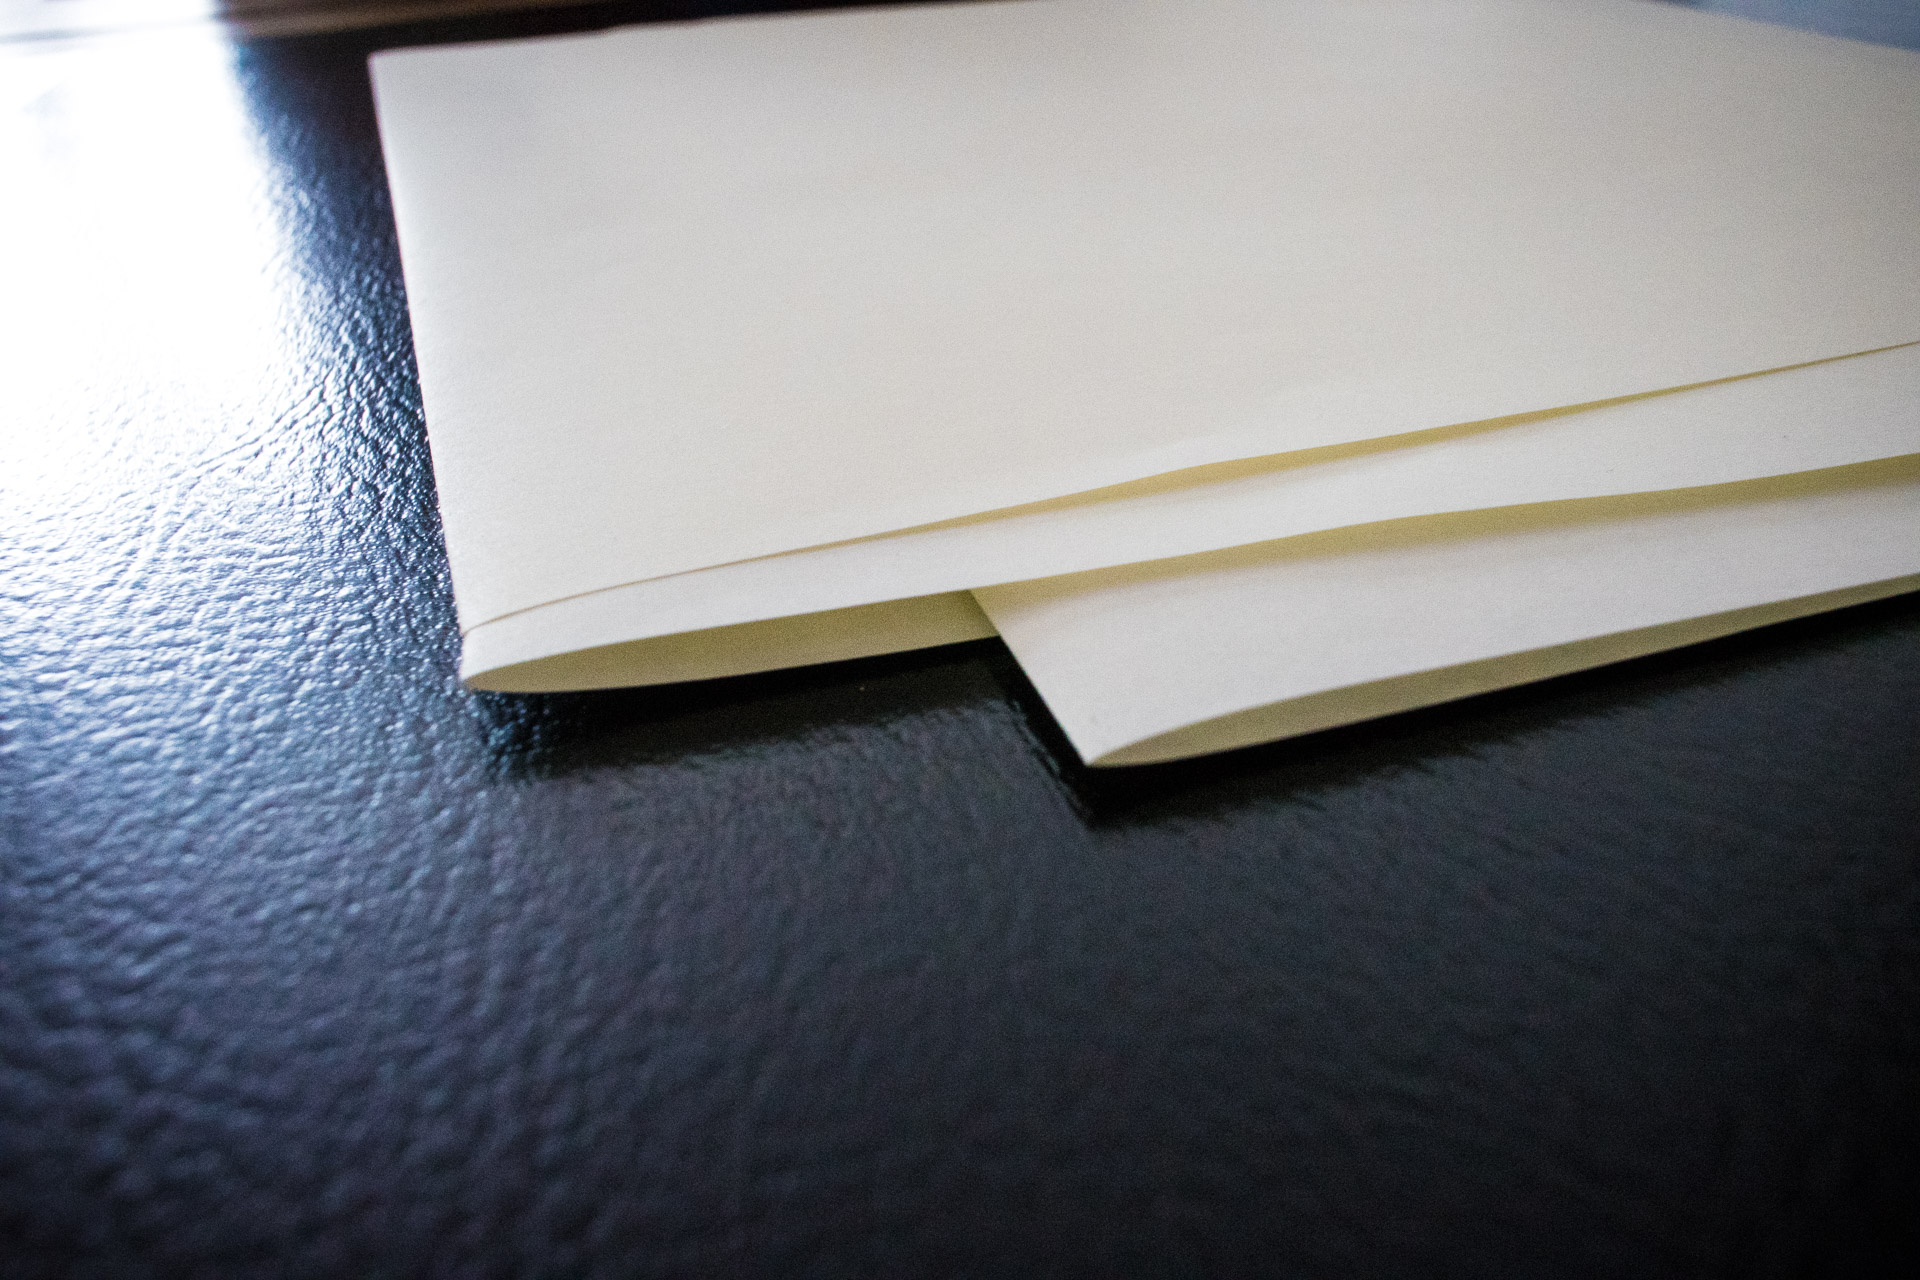
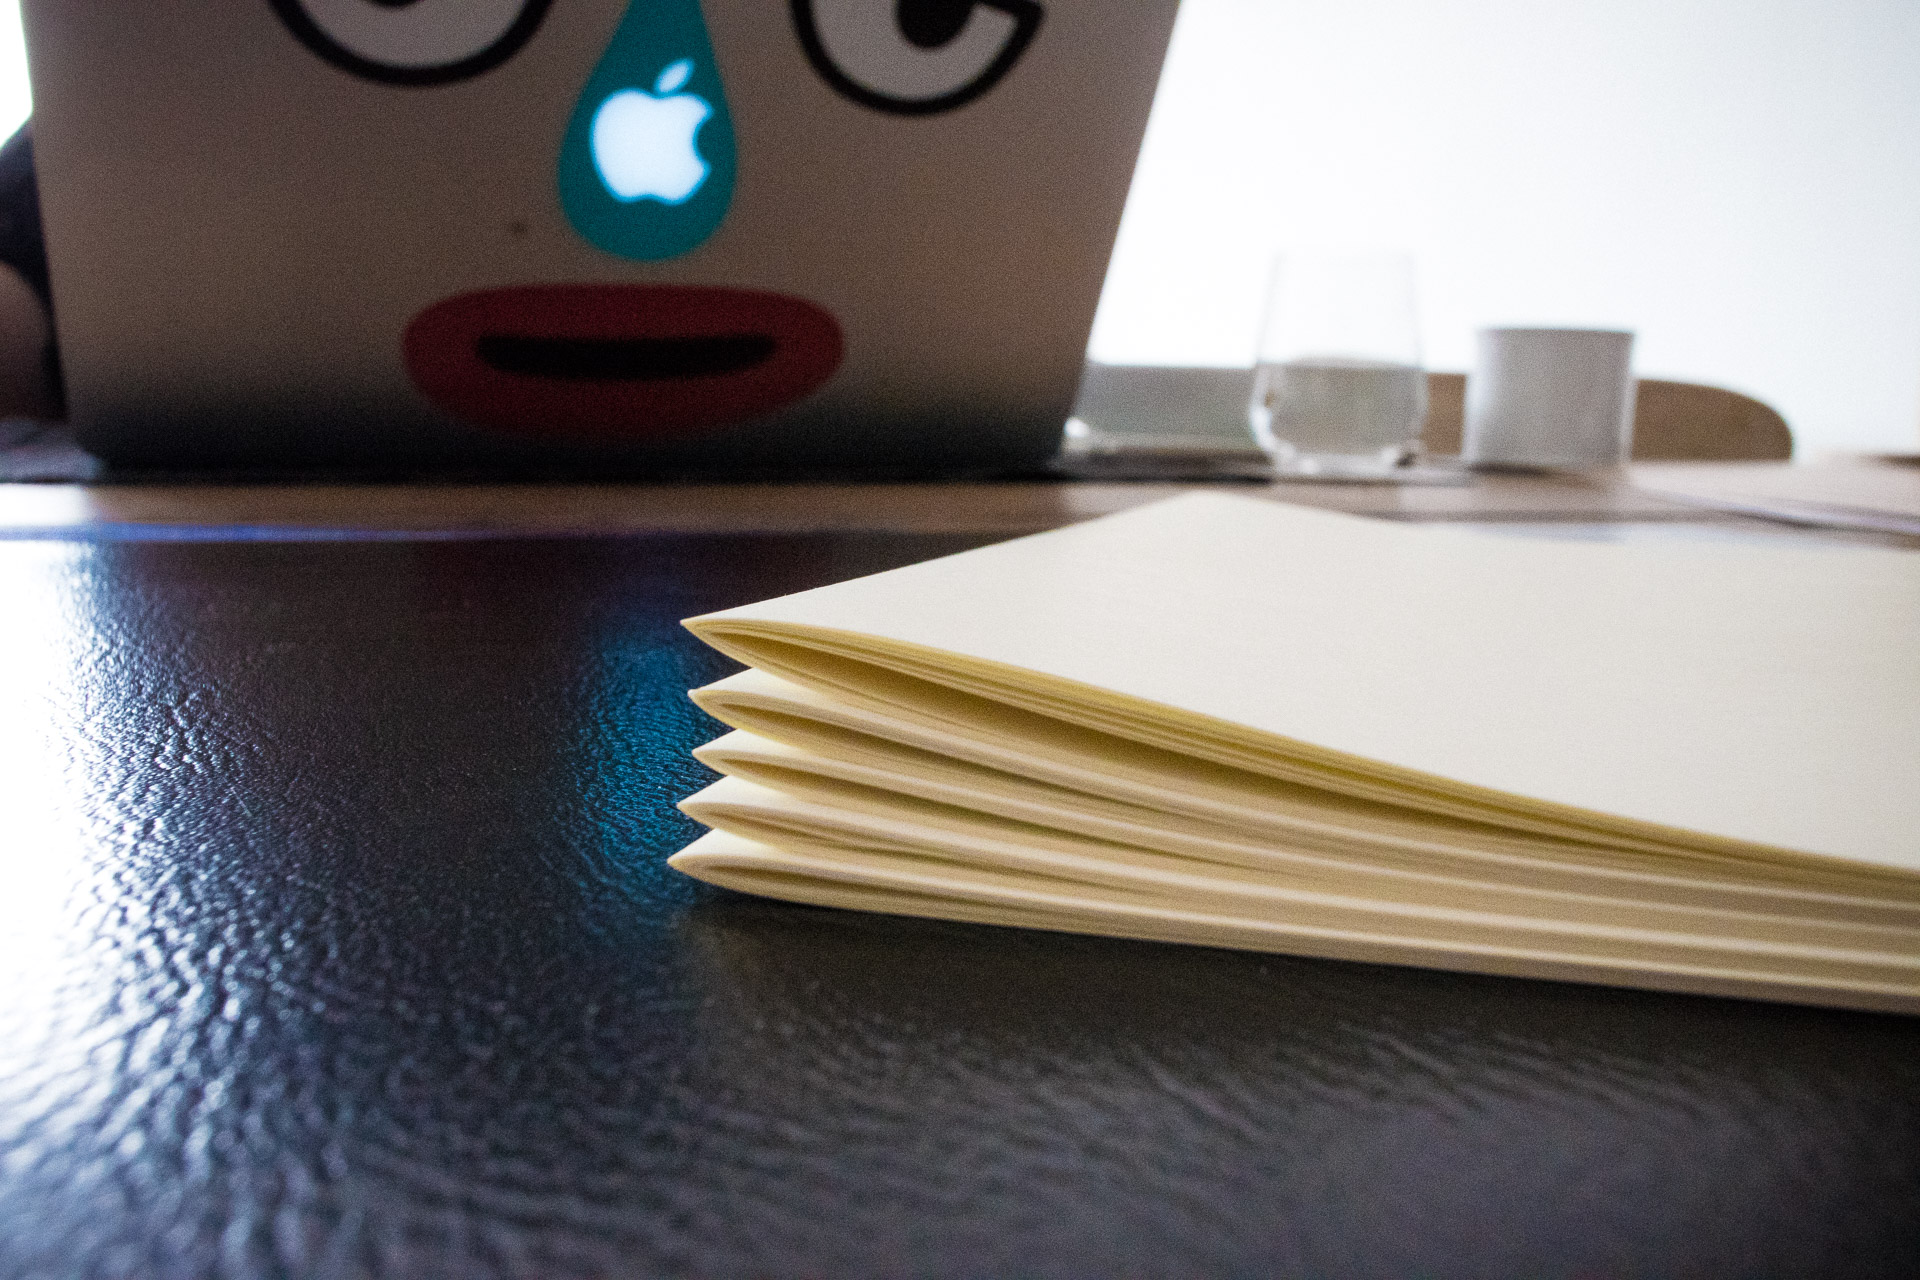
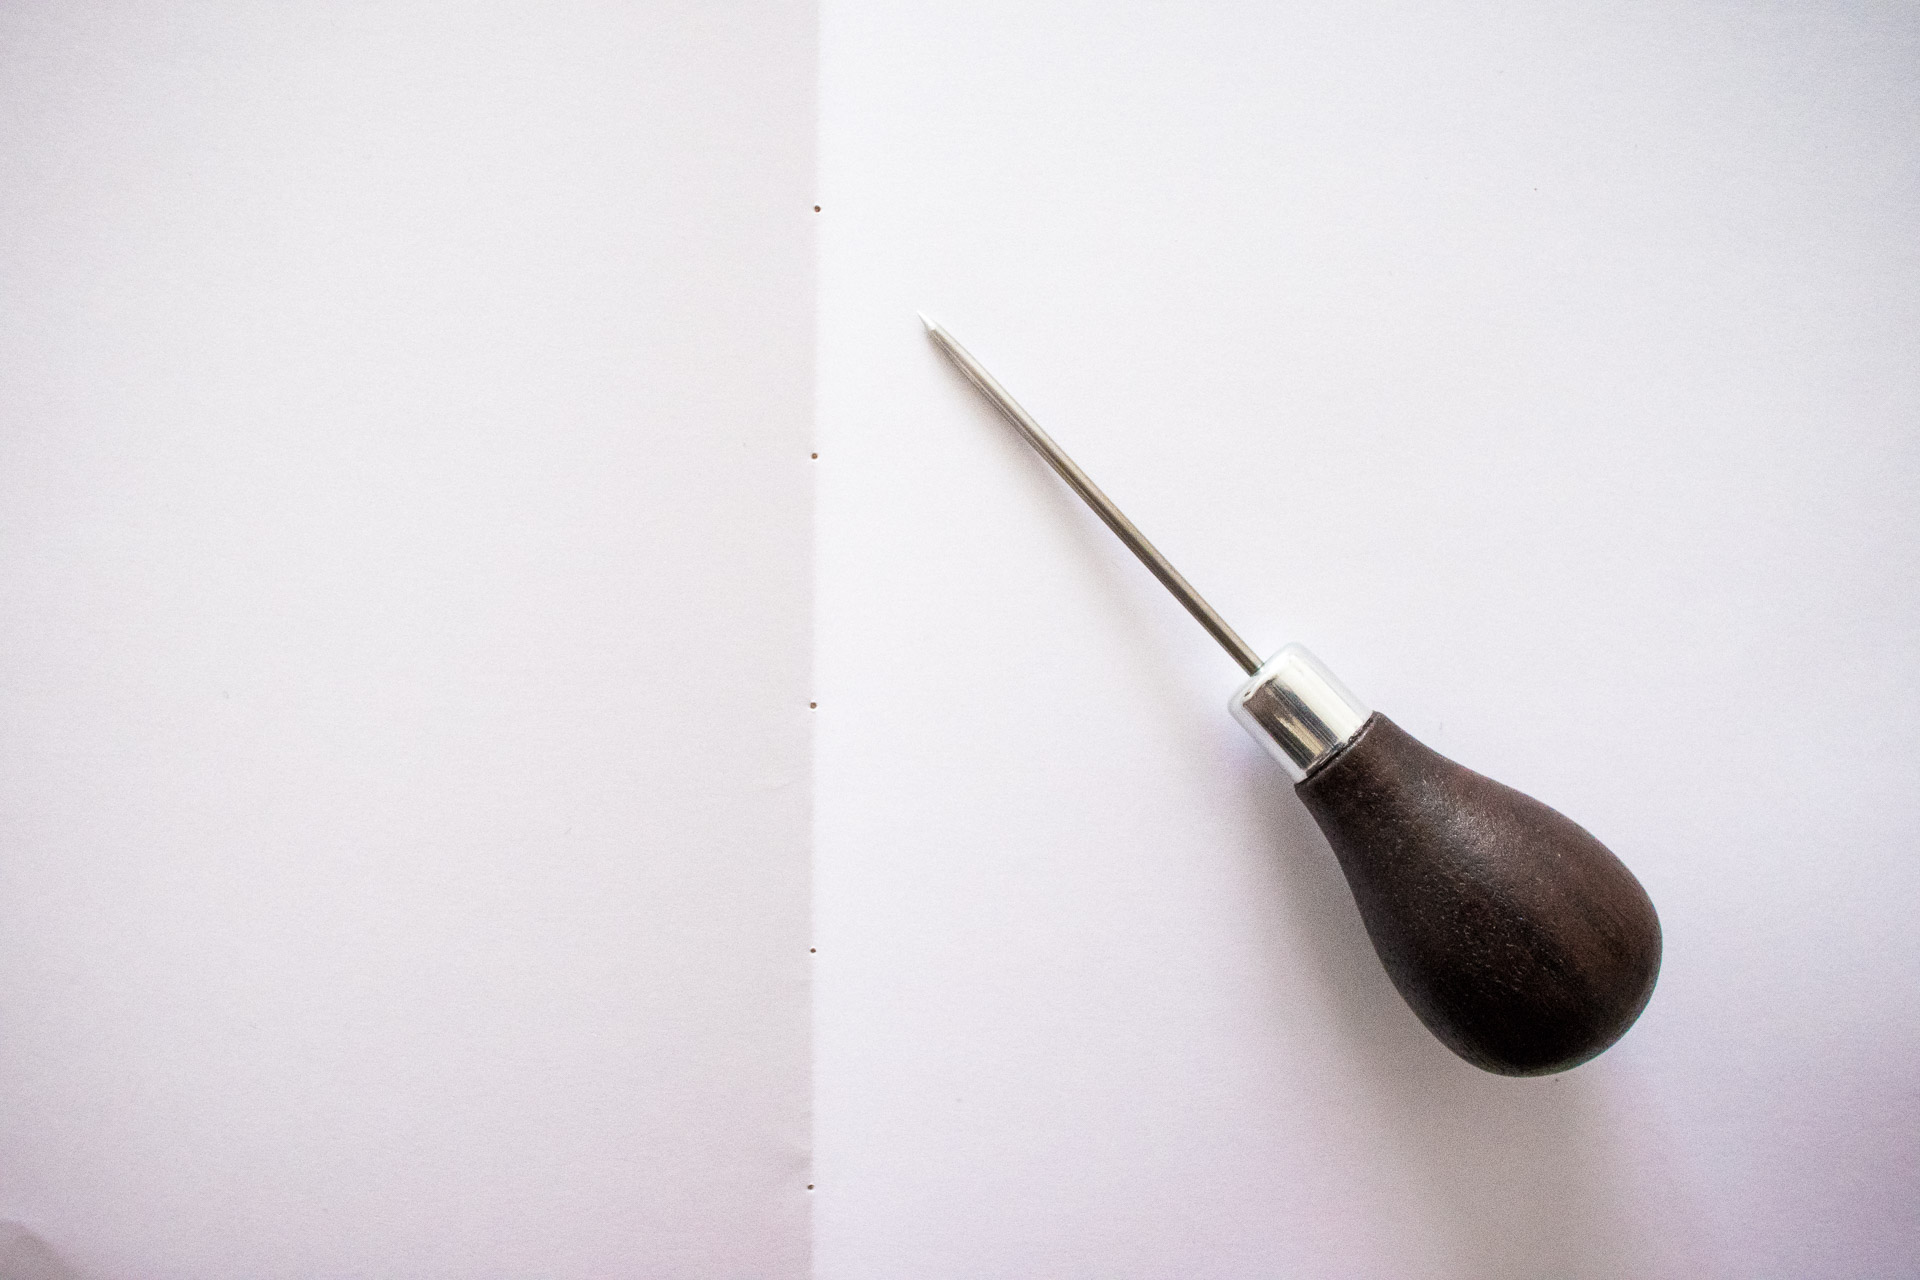
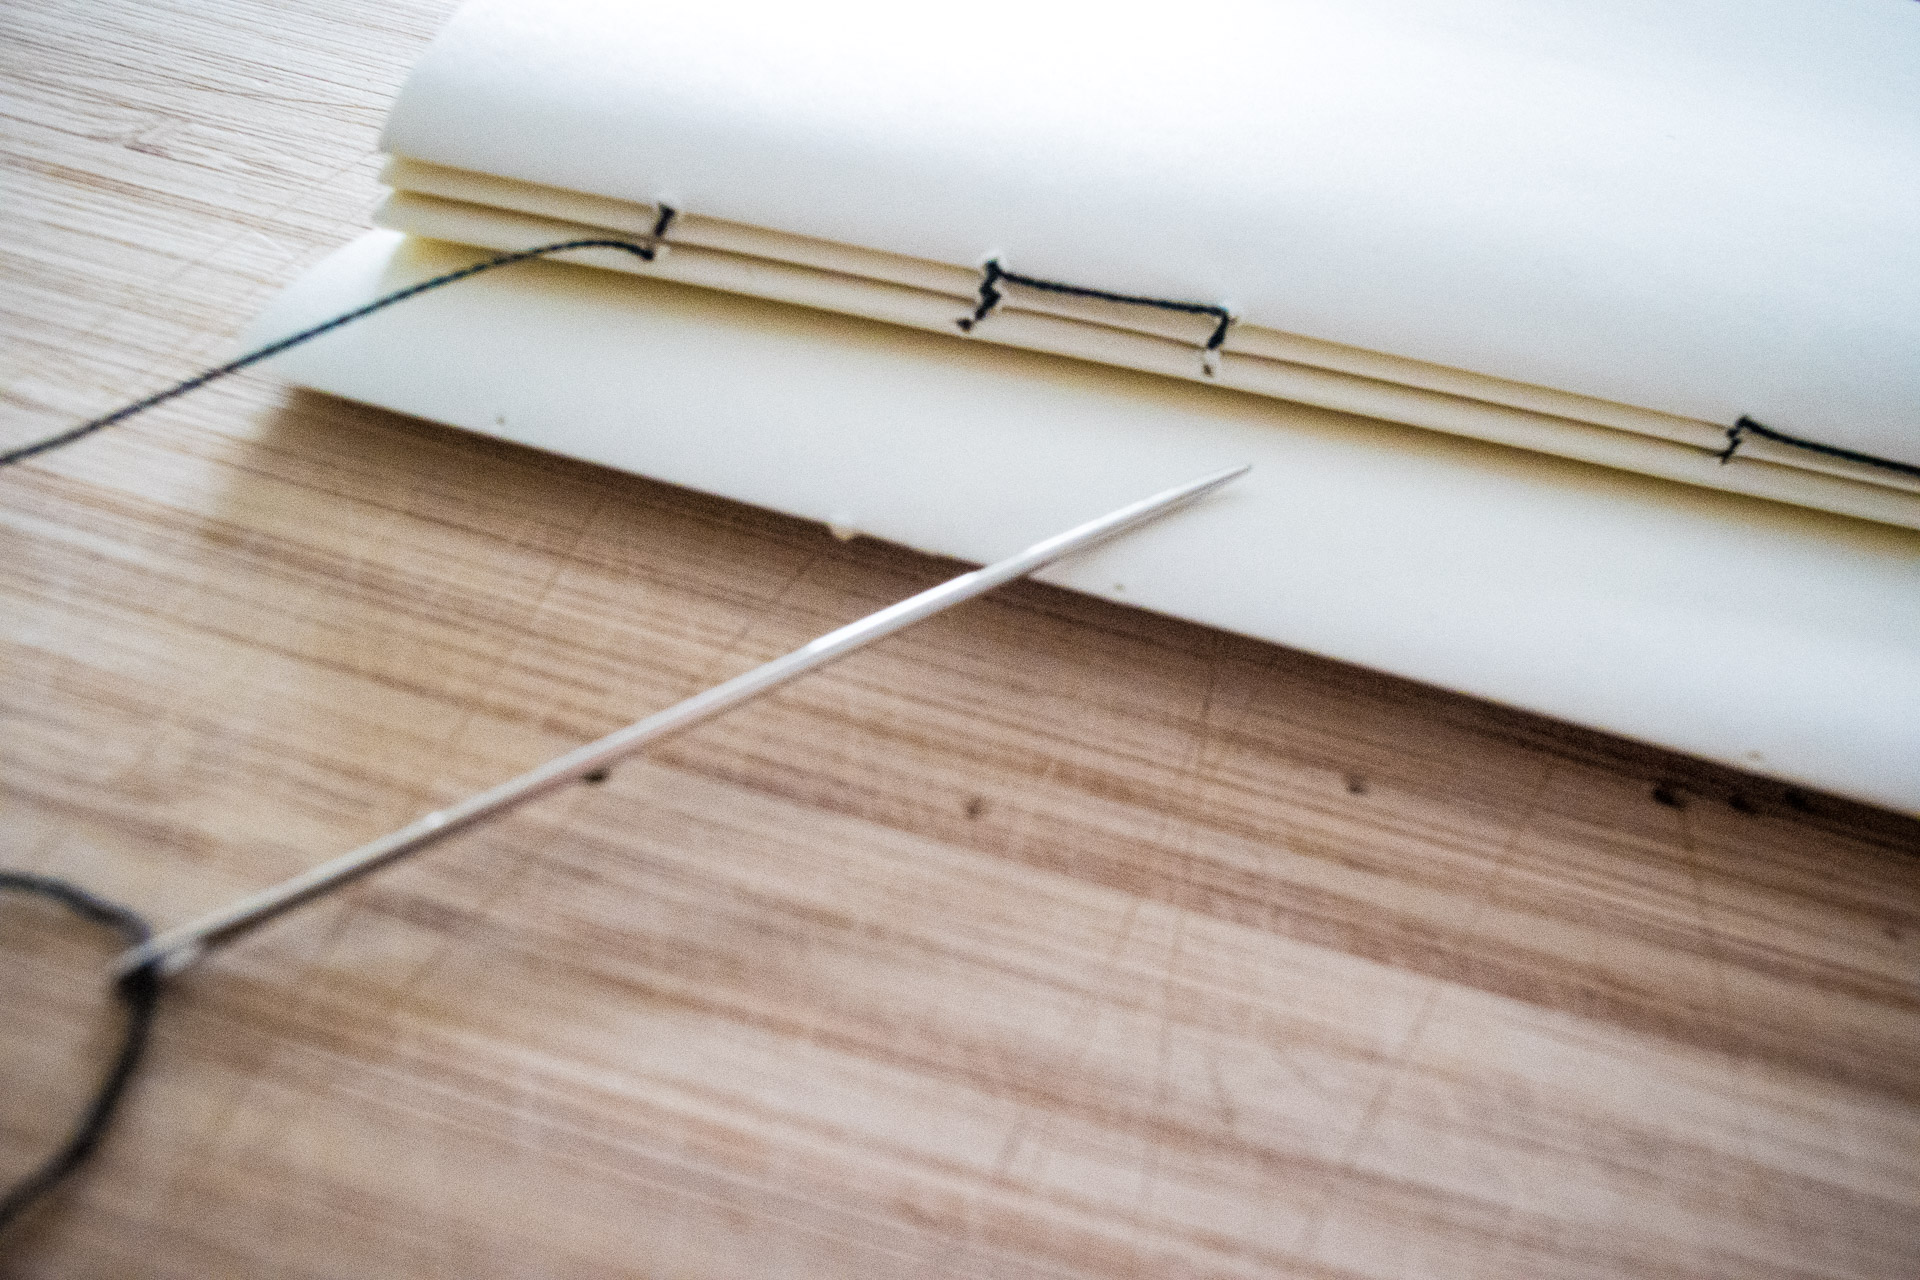
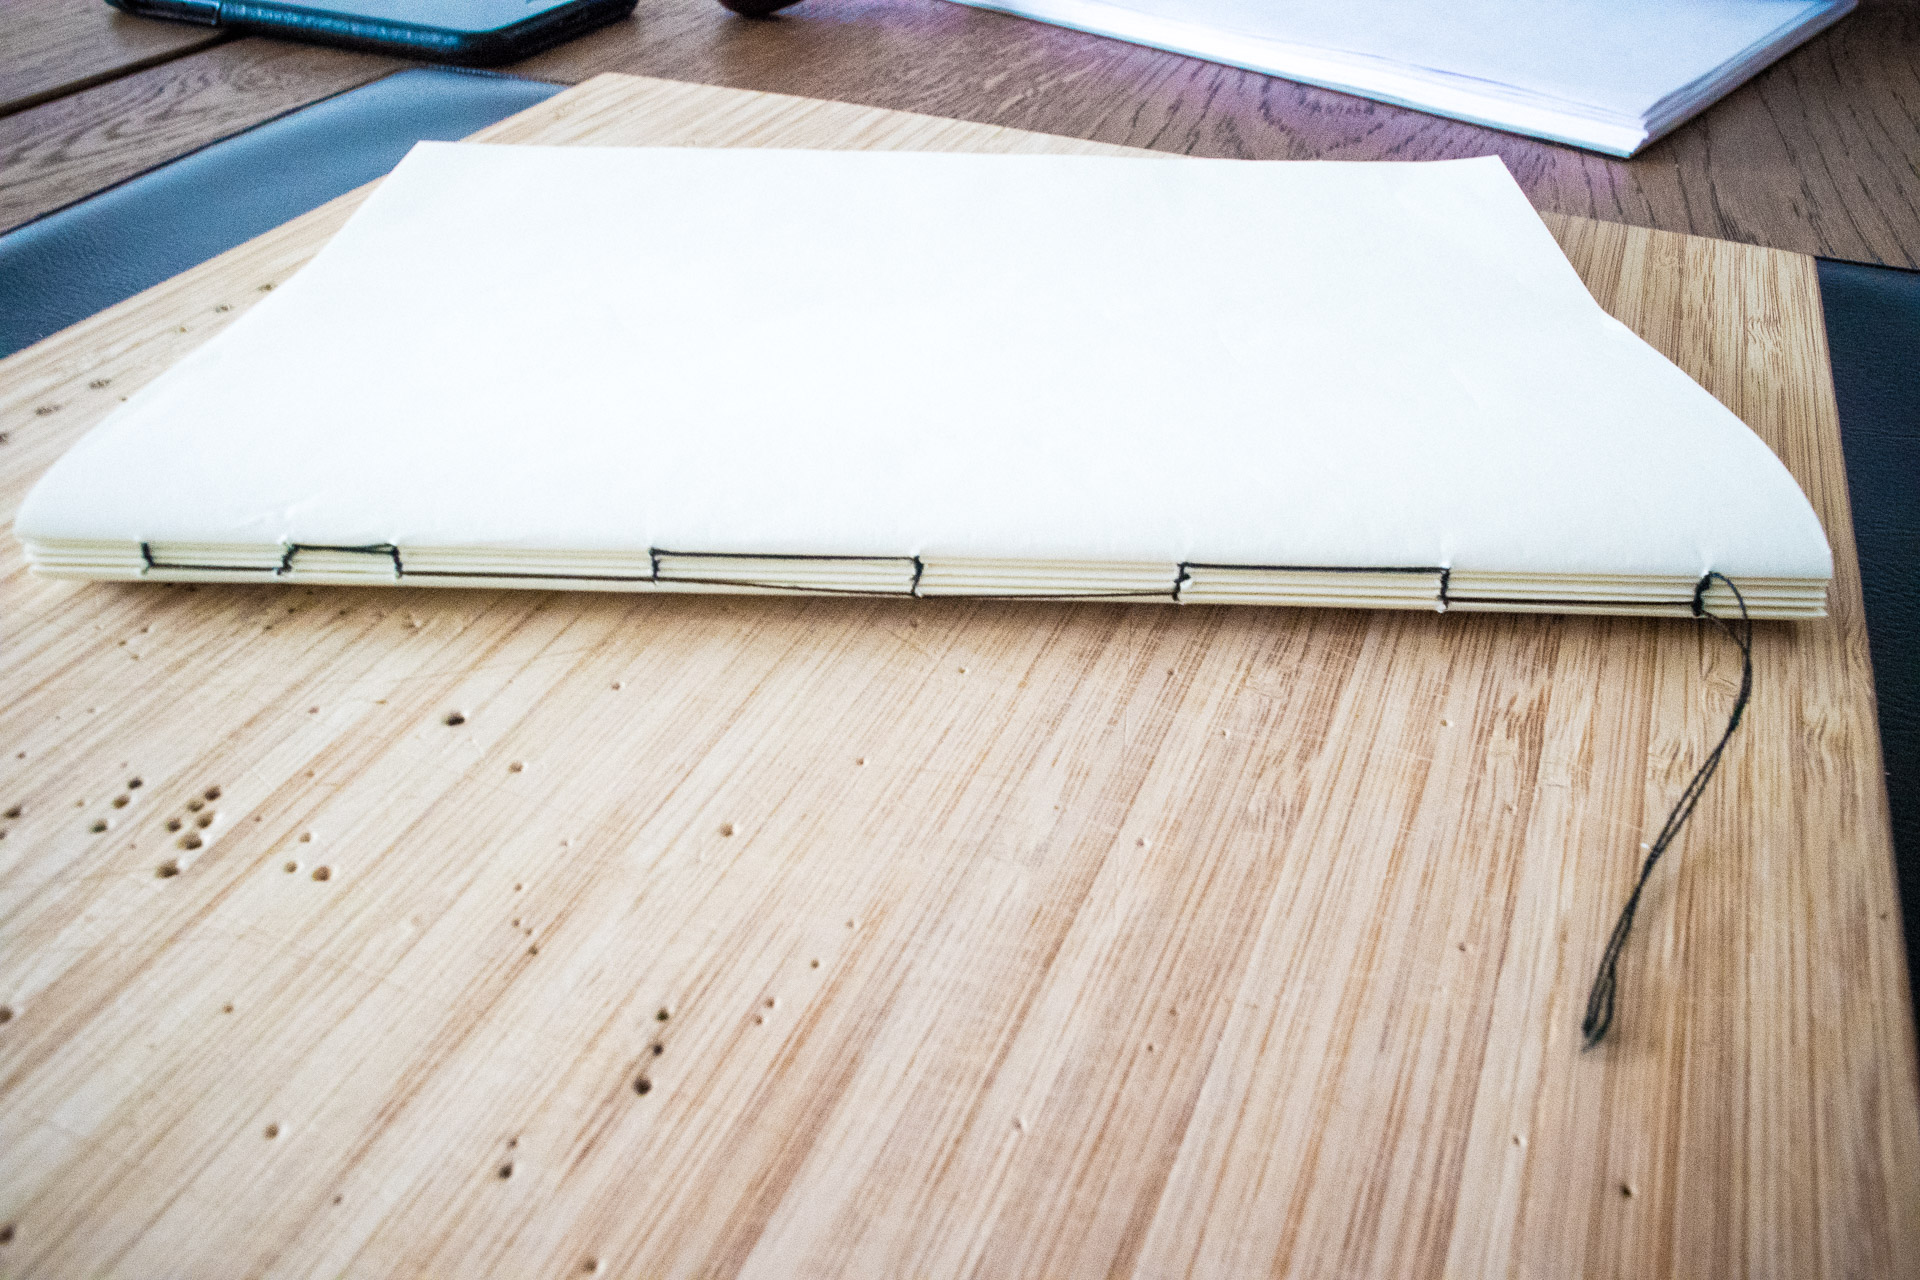
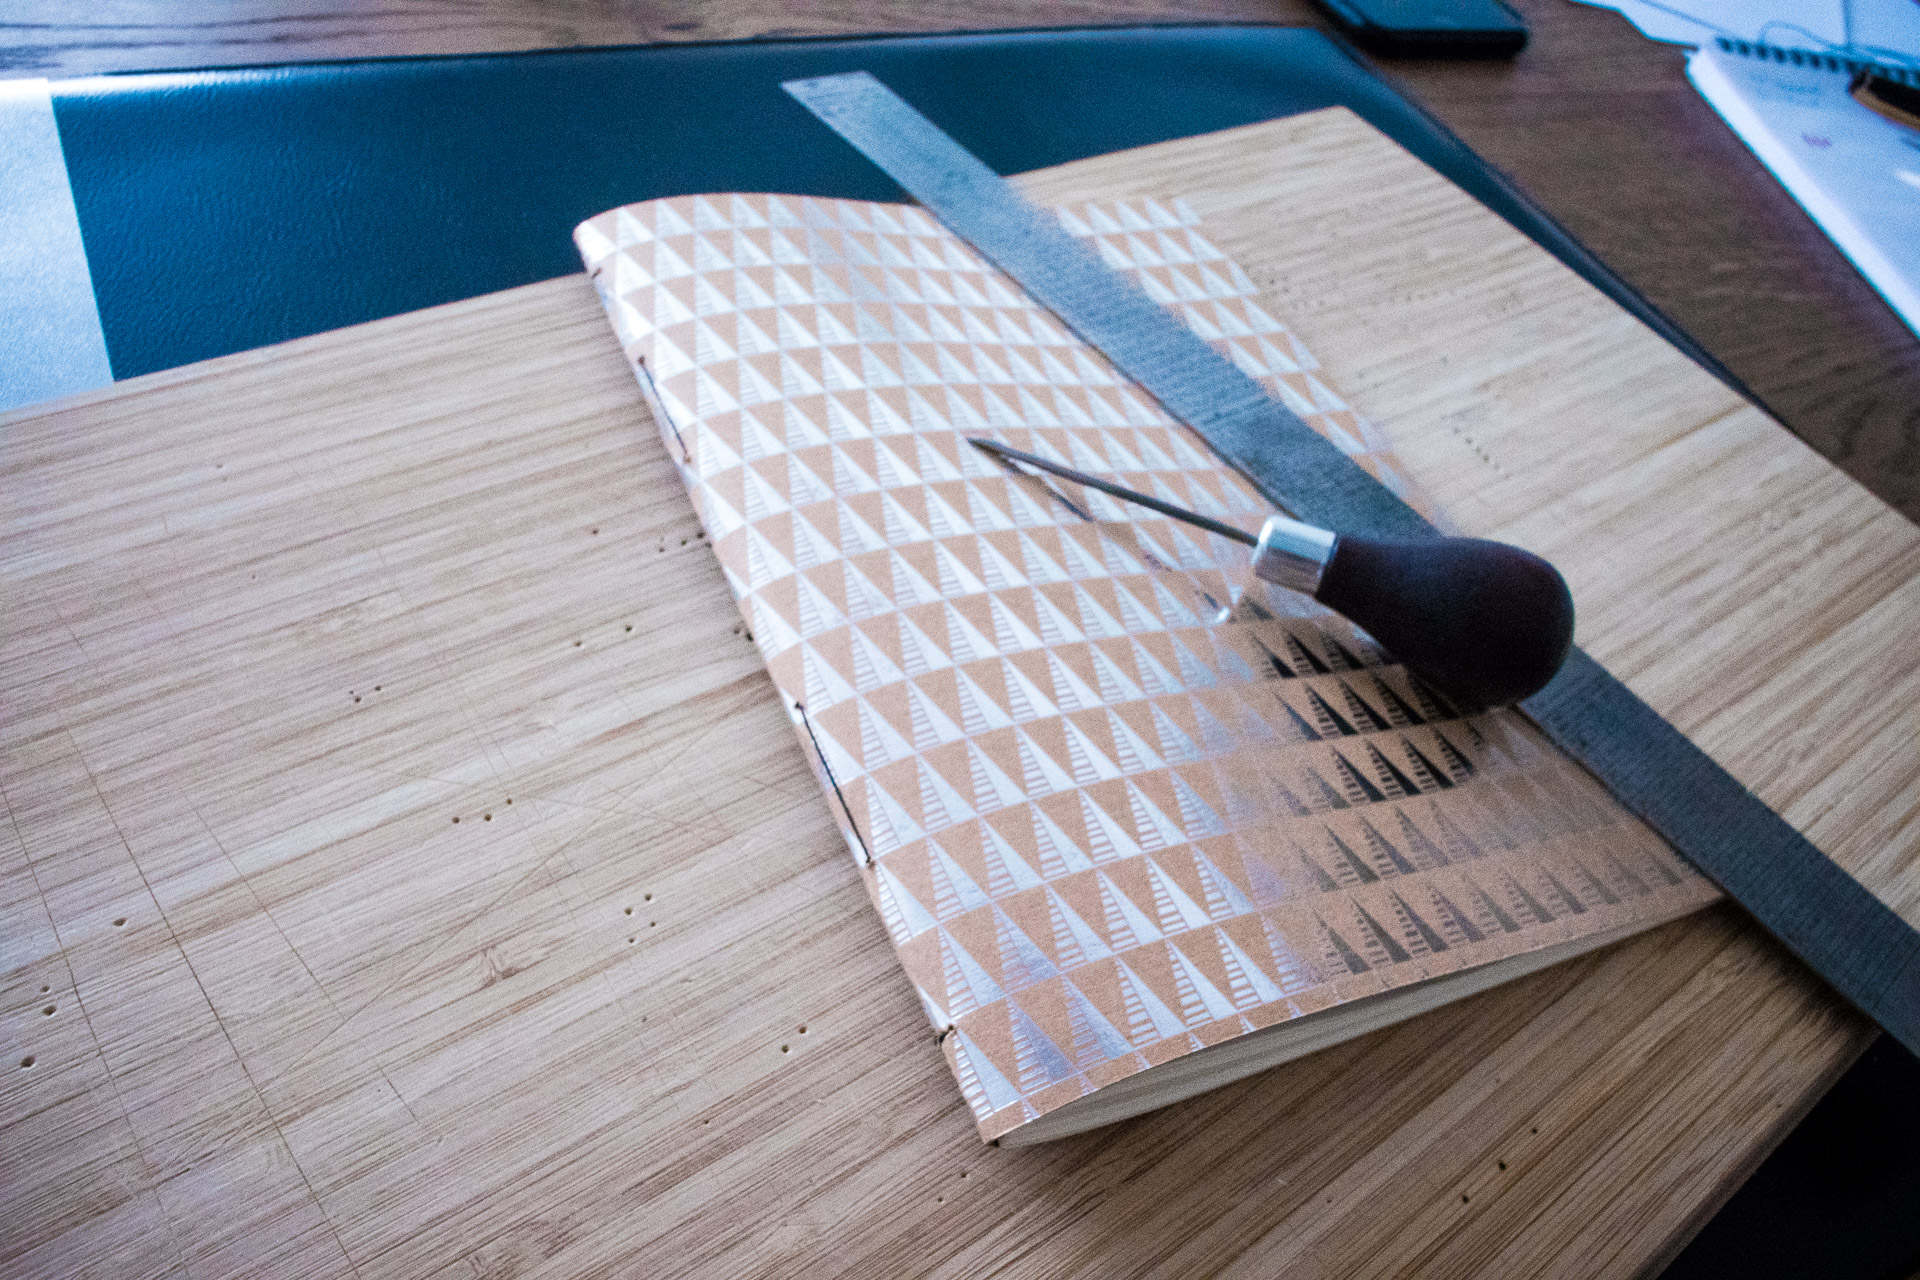
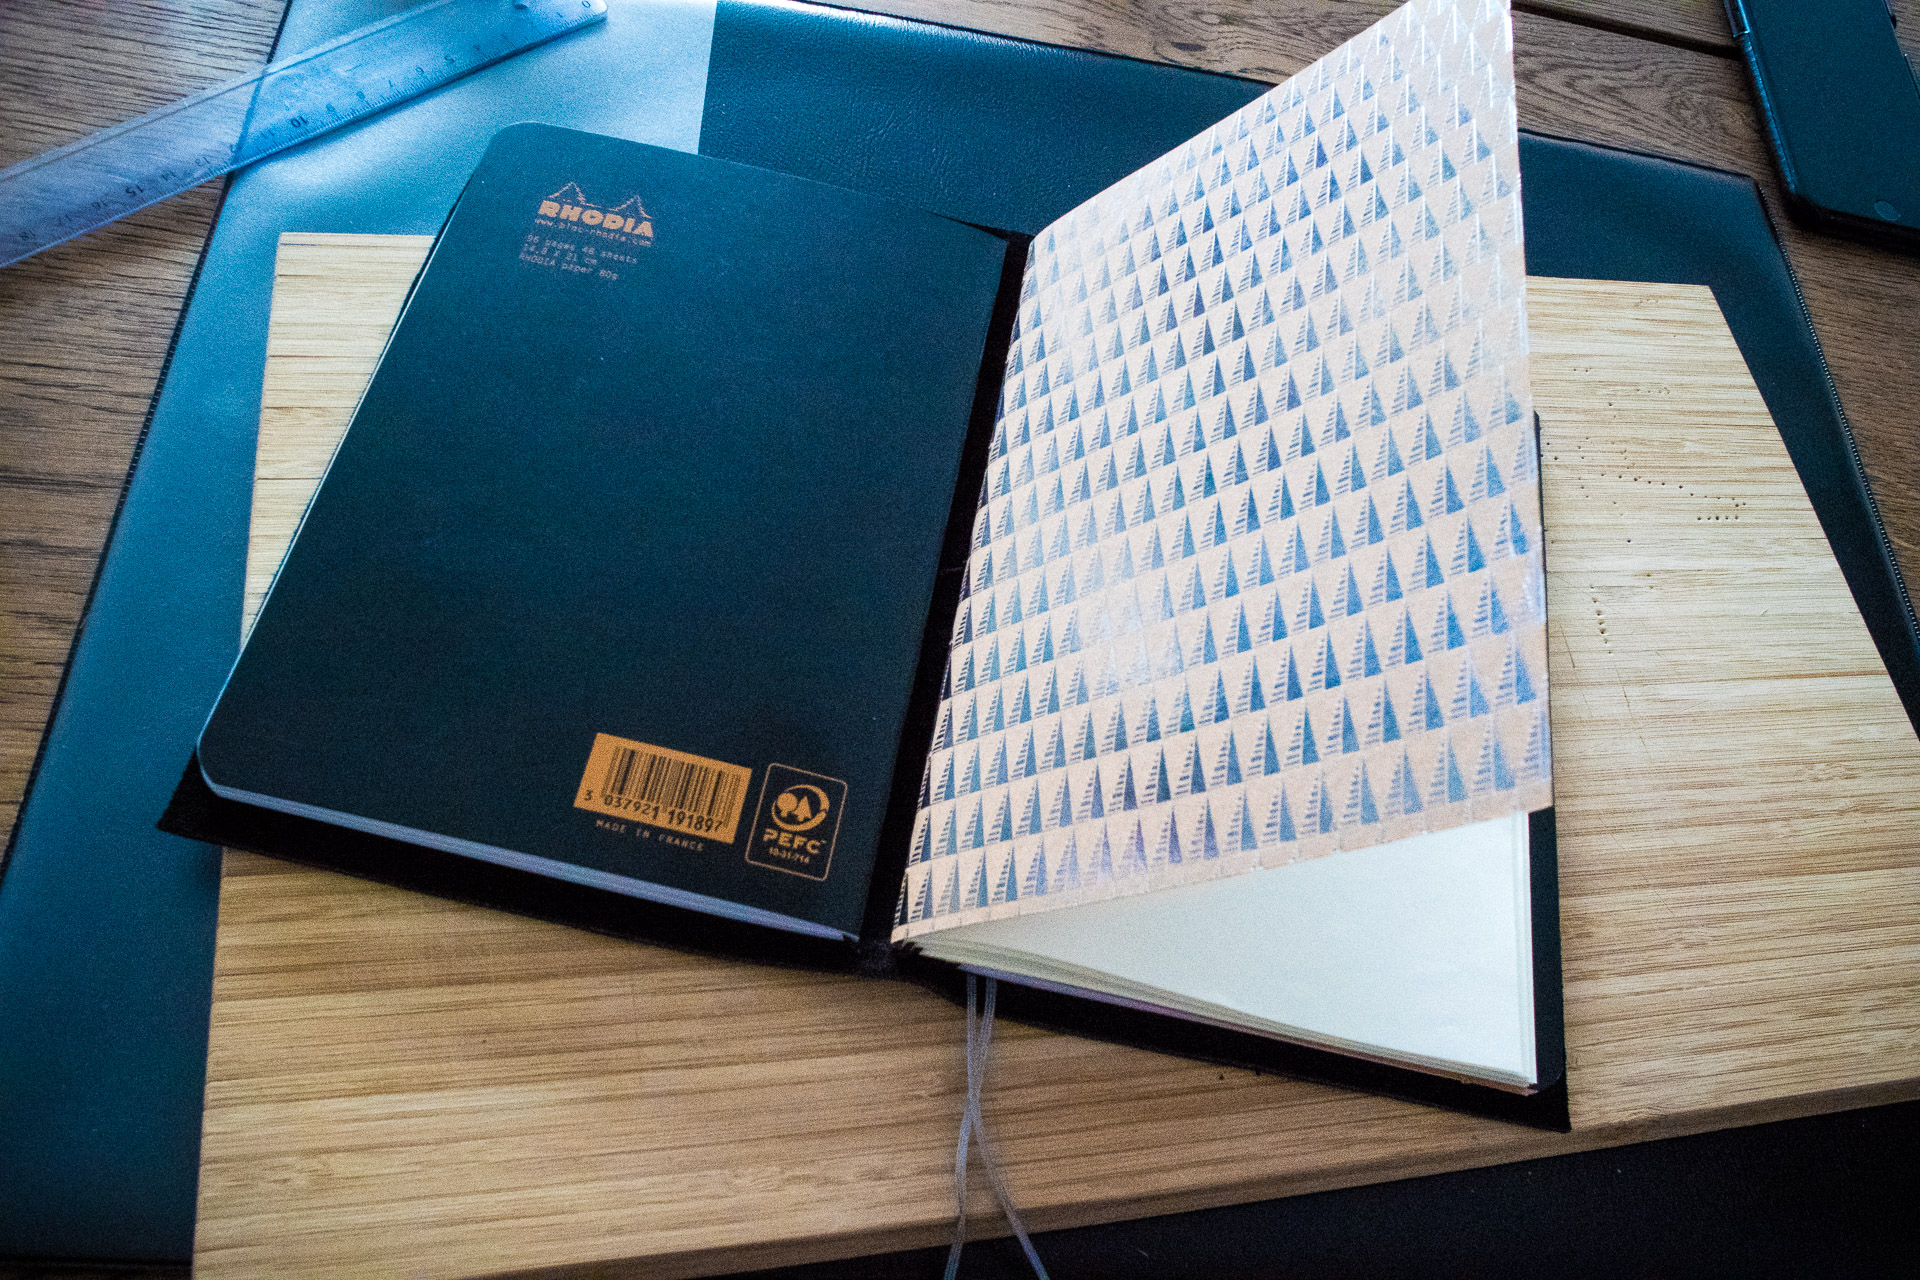
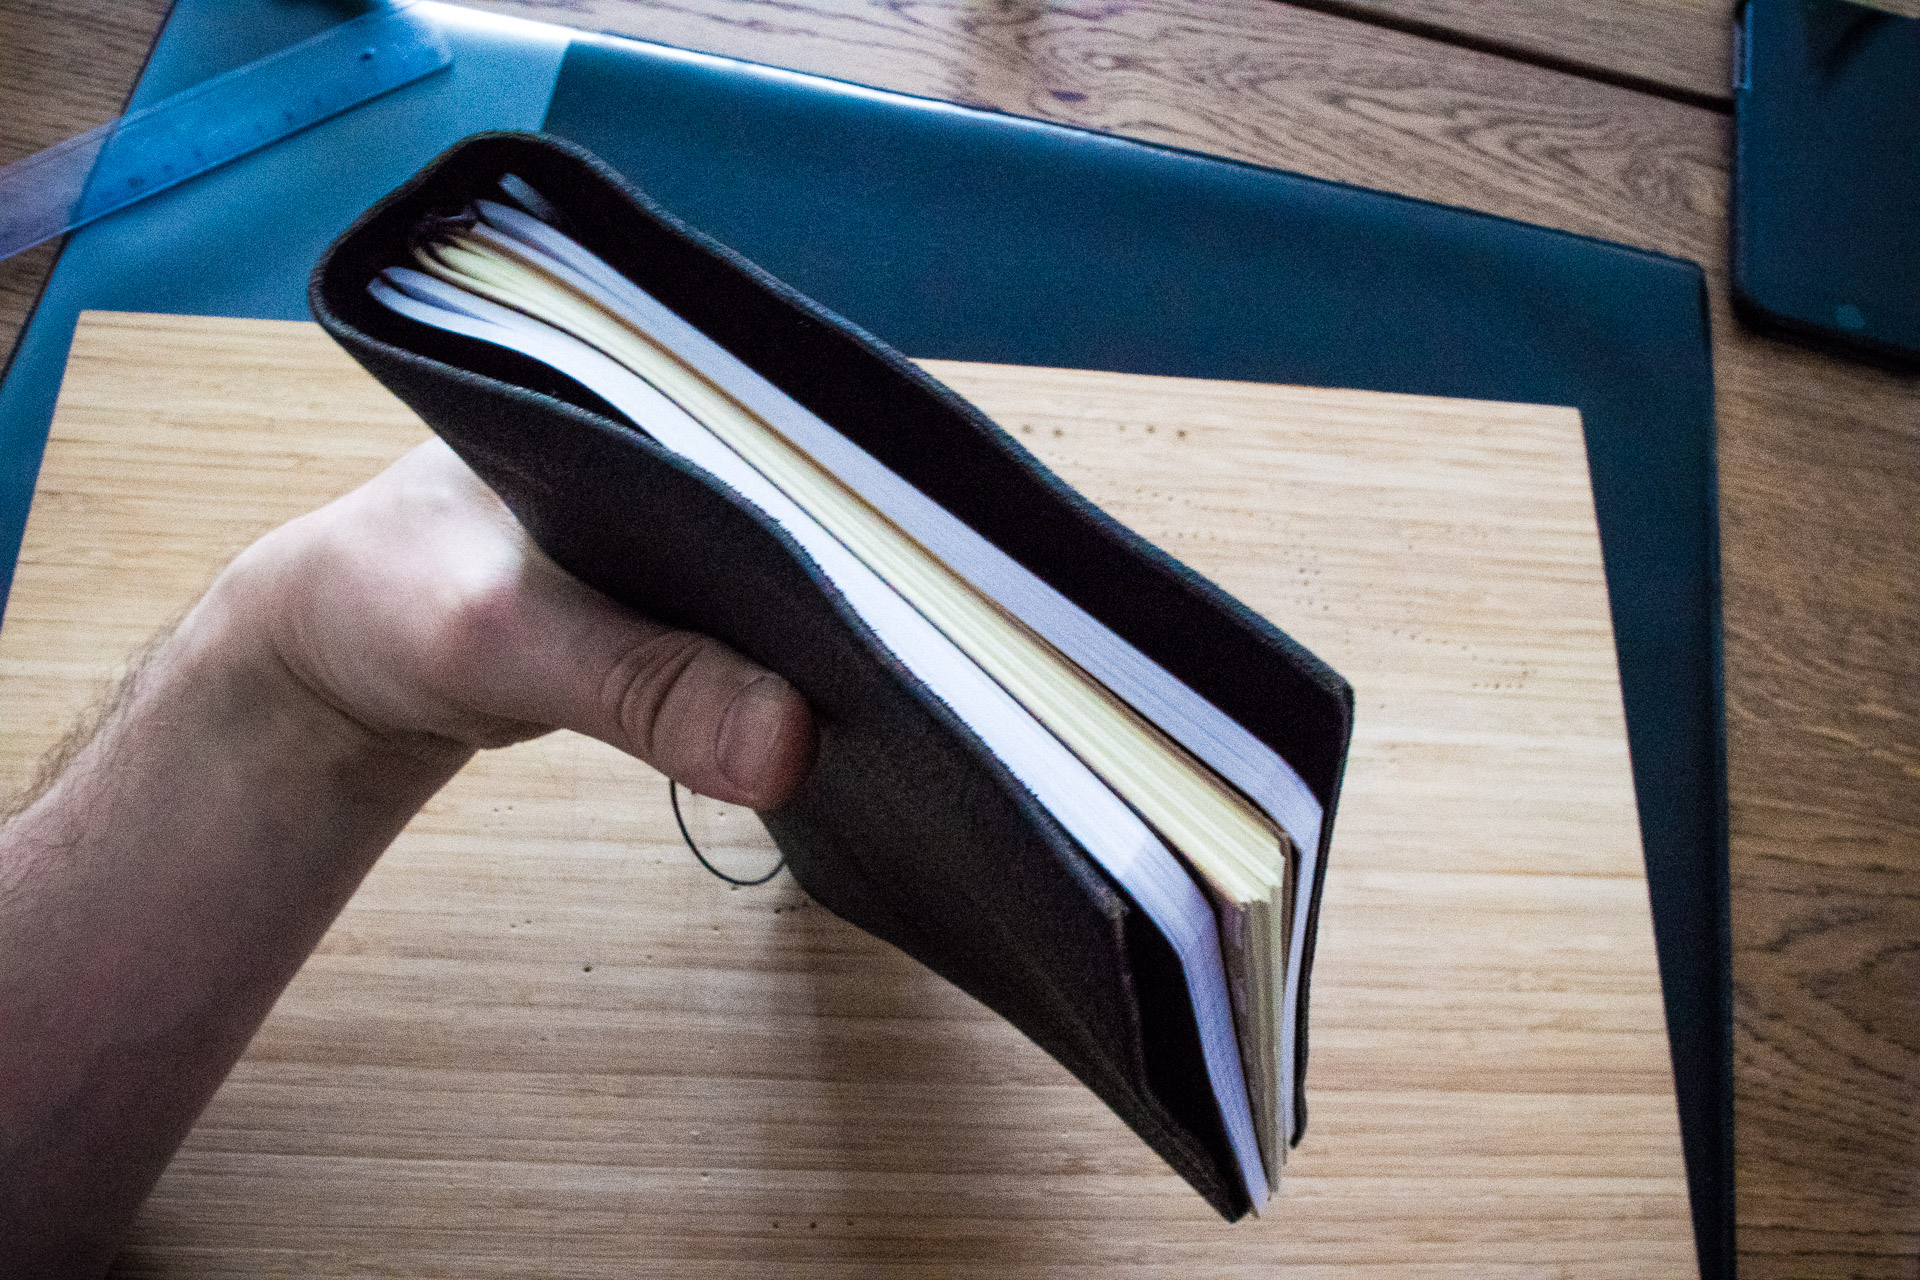
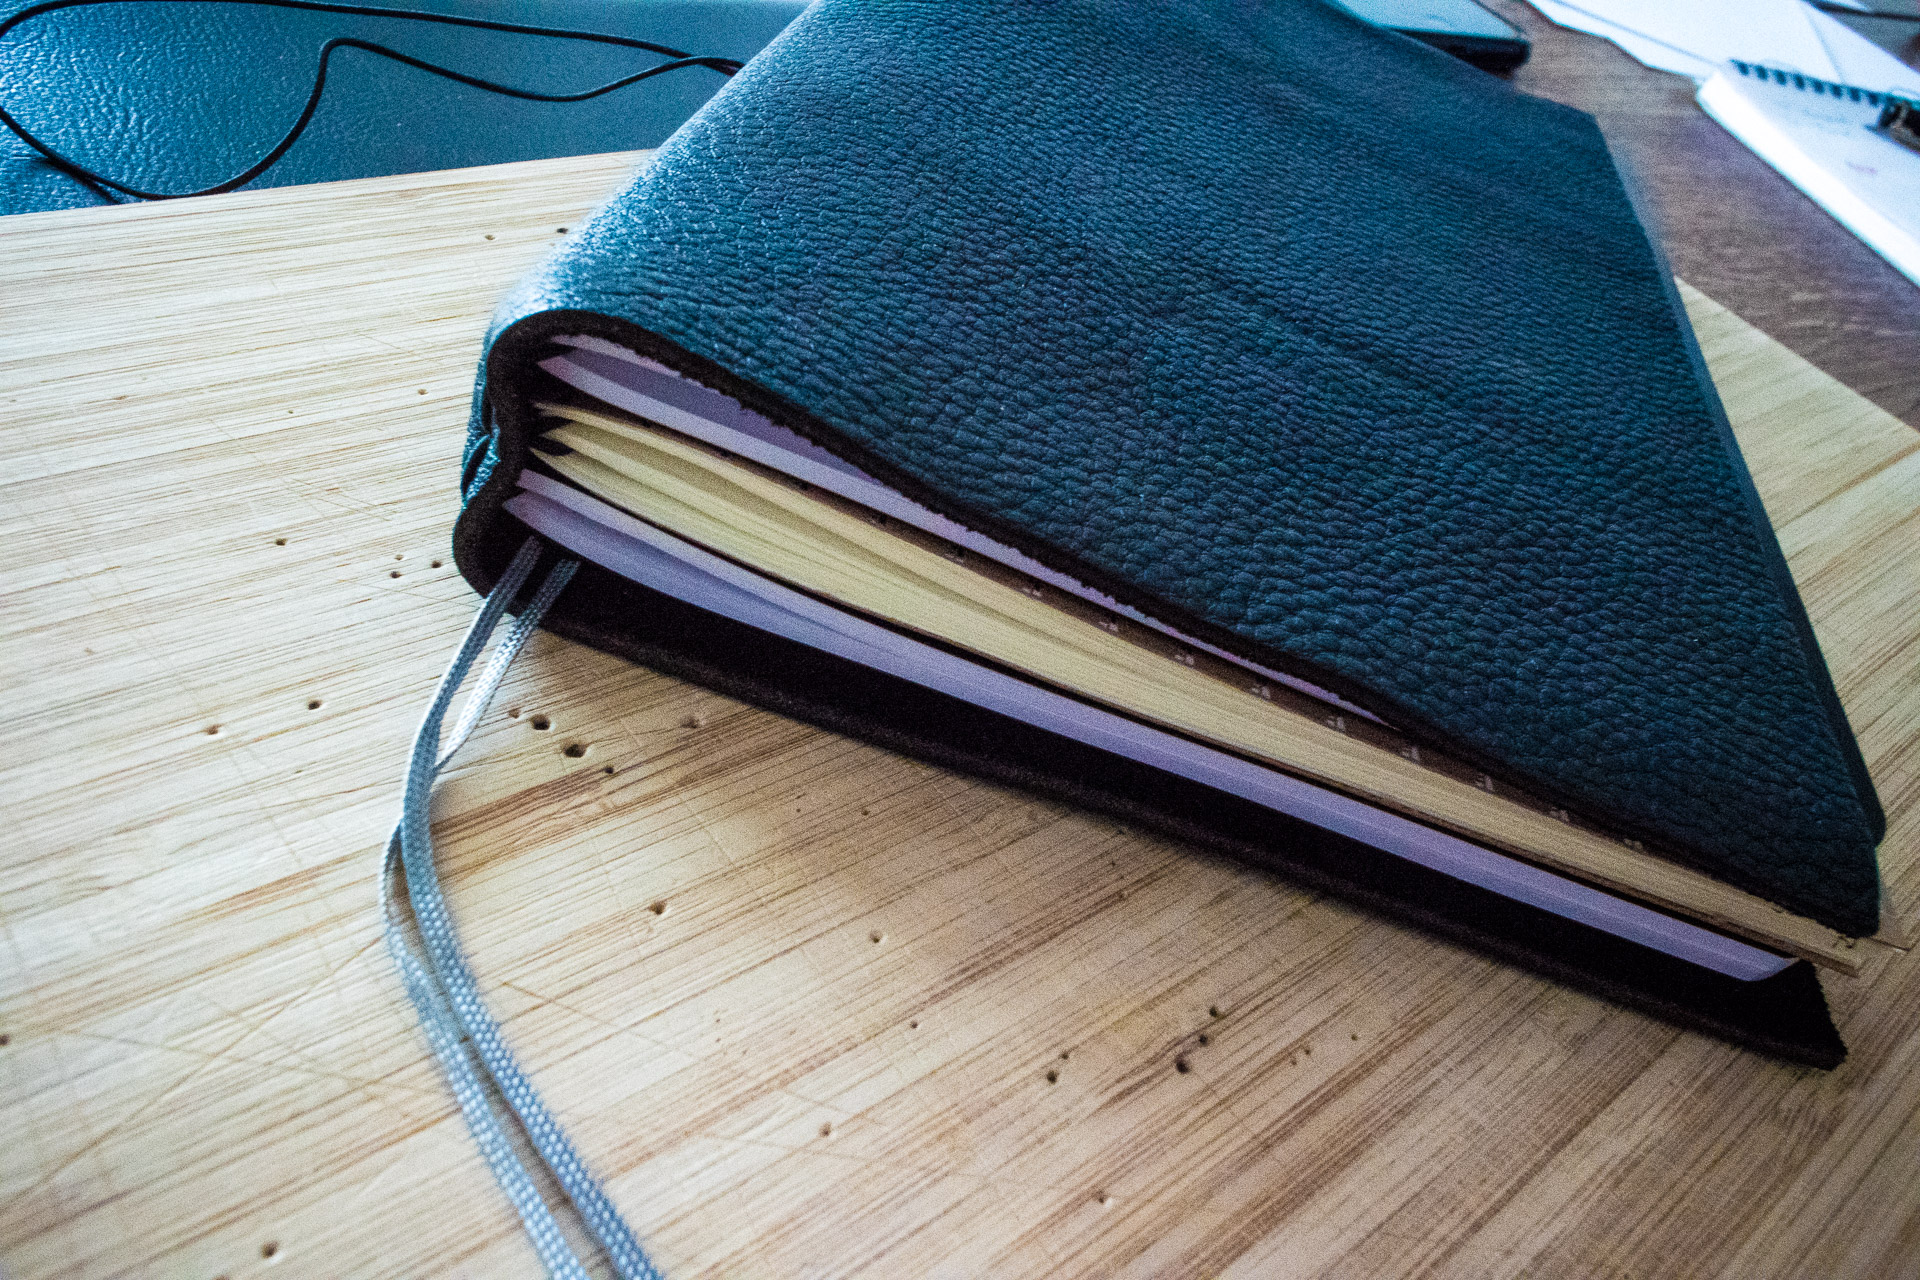
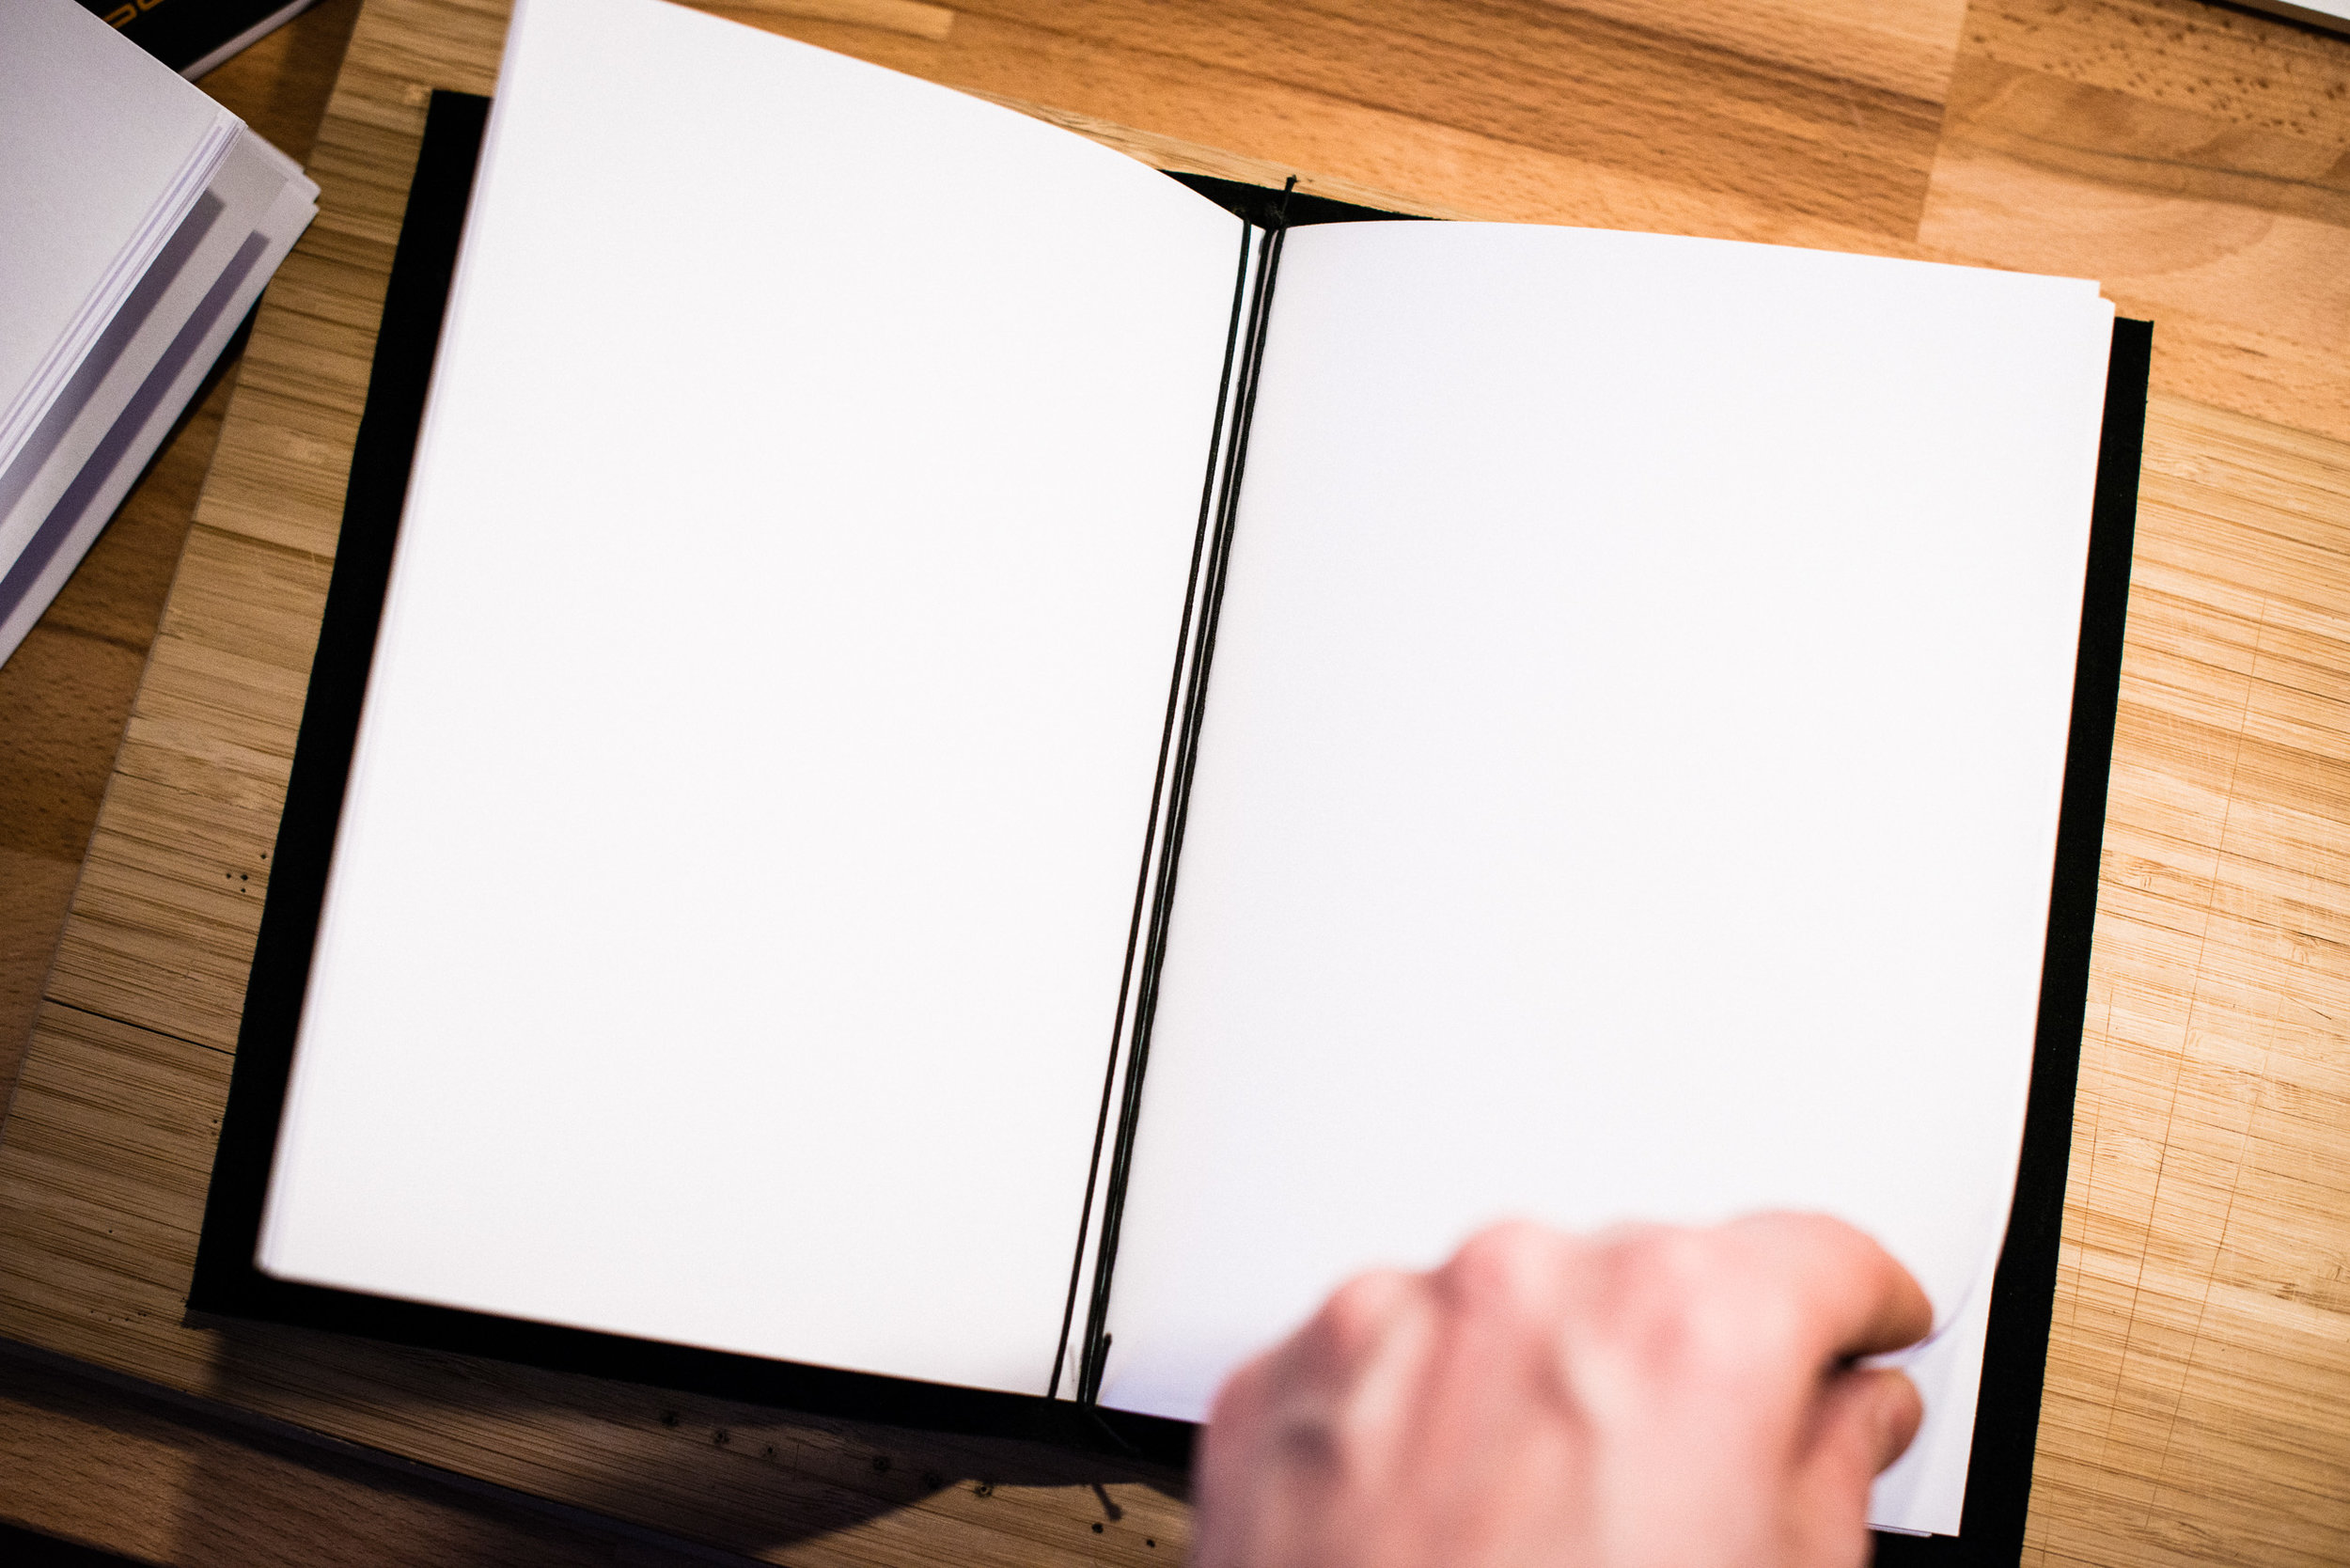
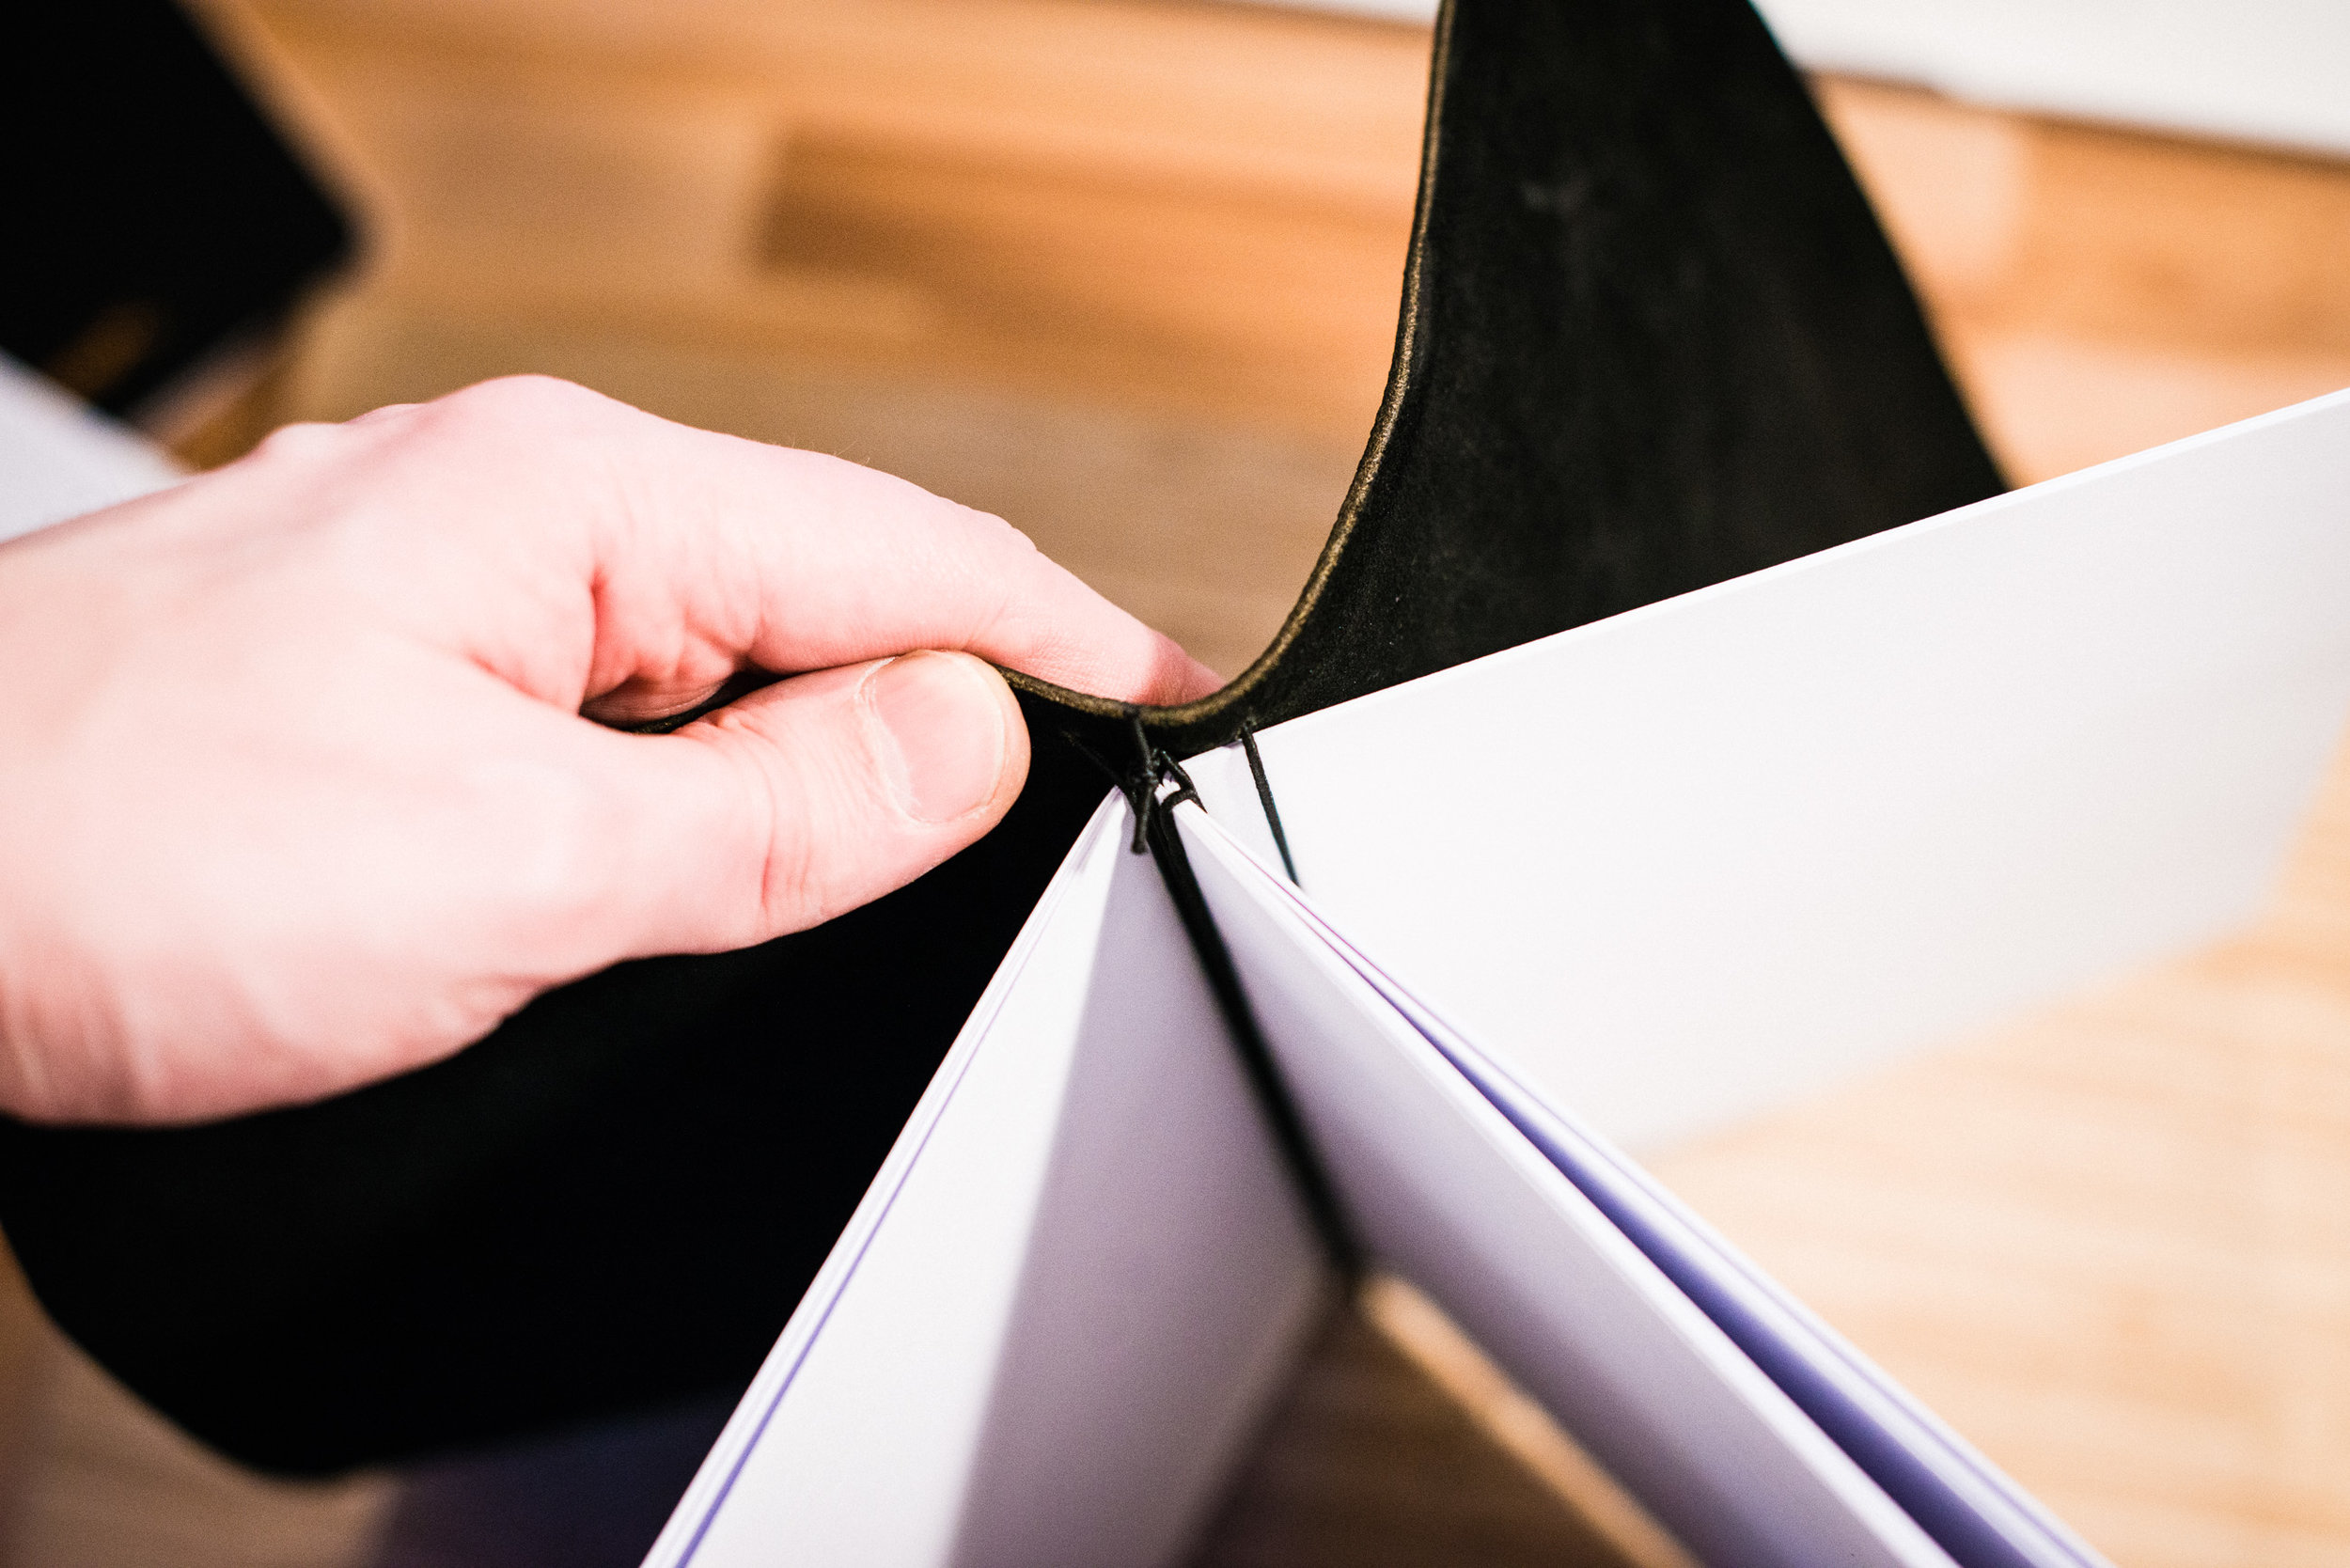
I bought some Tomoe River paper as it is the absolute best paper I have ever tried and if you haven’t tried it, you definitely should! After the paper arrived, I turned to the best school I know, Youtube, to try and learn how to do book binding. I found a couple of videos and also read some blog posts about it and got to work. What you see in the pictures is my first attempt and I will not say that it came out great, but at least it works!

Of course this notebook immediately went into my leather cover and yes, it is the best notebook I have. I also like that I can use it together with a couple of other notebooks in the cover. Right now for example I also have a sketchbook and a lines Rhodia notebook for writing blog posts.

The big problem though? I will probably not have the time and energy to bind my own books in the future, even if it was a fun experiment. So the search continues.

The hunt for the perfect notebook

I have been in the hunt for a great notebook for quite some time, without any luck. In the end I got tired of looking and instead “made” my own.

As a fountain pen user the paper quality becomes super important, and most notebooks with “normal” just won’t do it. The reason is that fountain pens write a bit wetter than normal pens and often bleed through or feather a lot on bad paper. Good paper also helps you get the most out of your cool inks.

So with the majority of notebooks out of contention there aren’t many left andthe only two that are readily available here in Sweden are Rhodia and Leuchtturm. I do like the Leuchtturm notebooks overall, but the paper is a bit too absorbent to really let the ink shine. Rhodia is better when it comes to showing of the inks properties, but their notebooks are just too ugly. So what should I do?

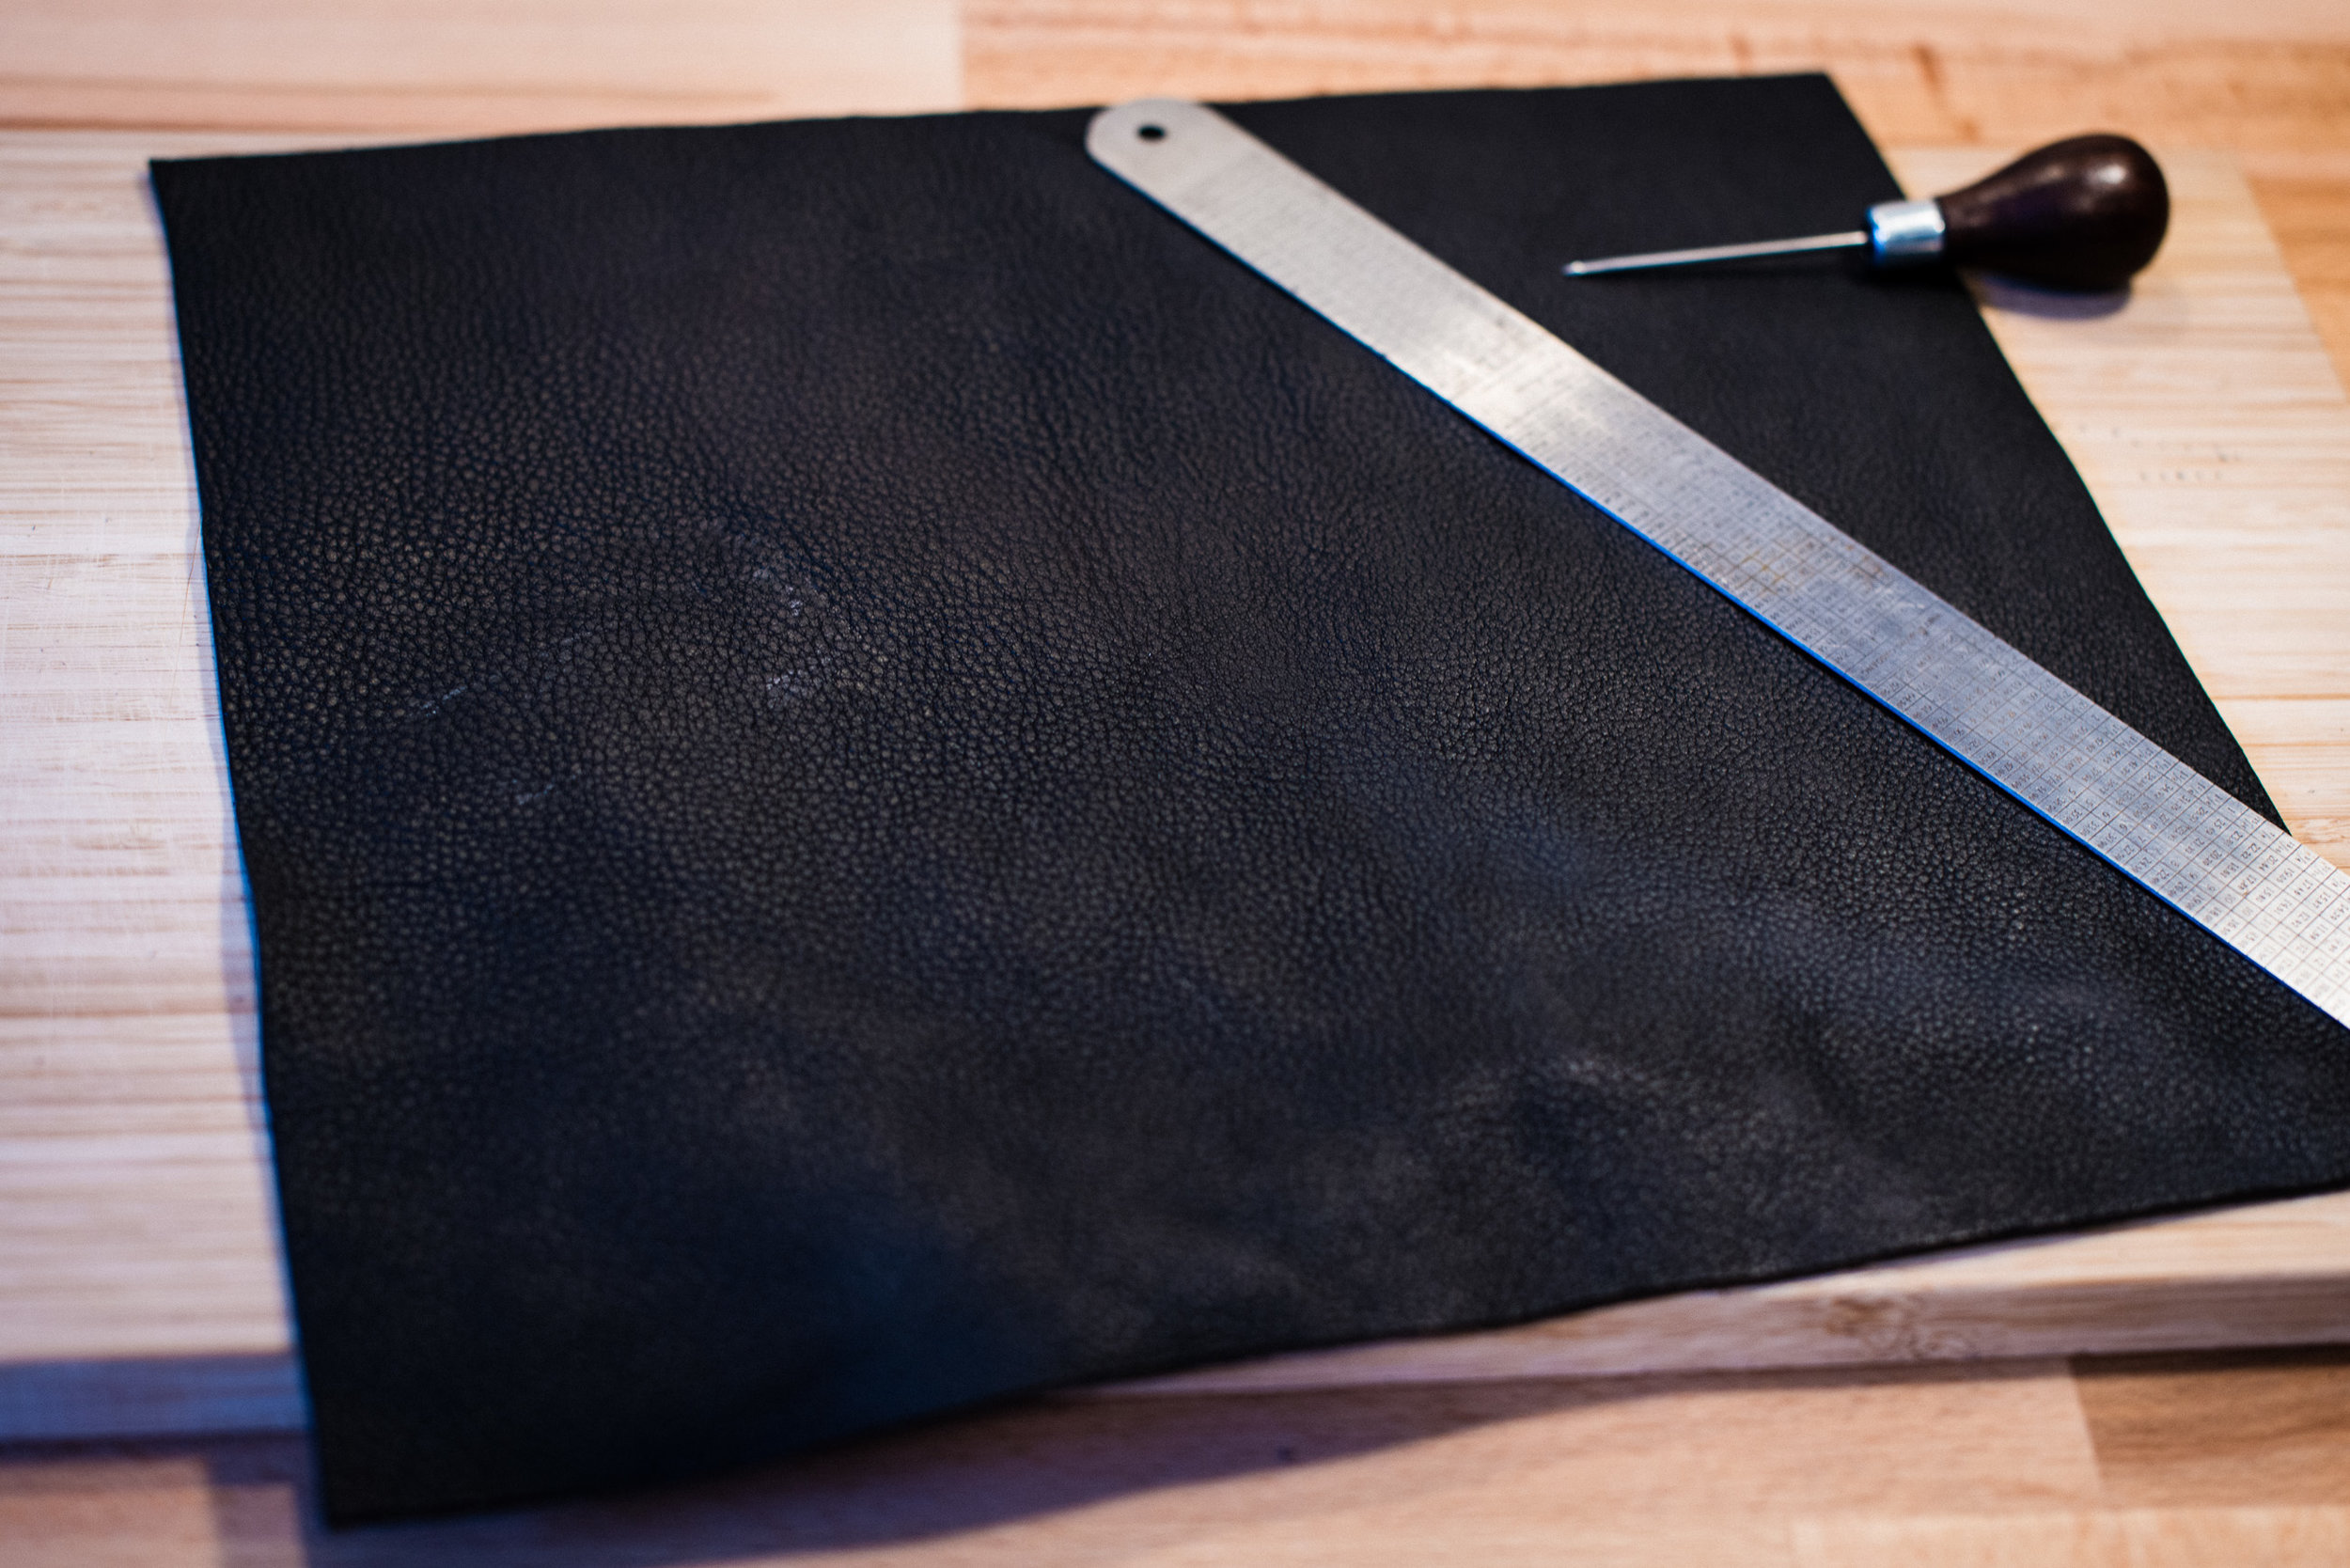
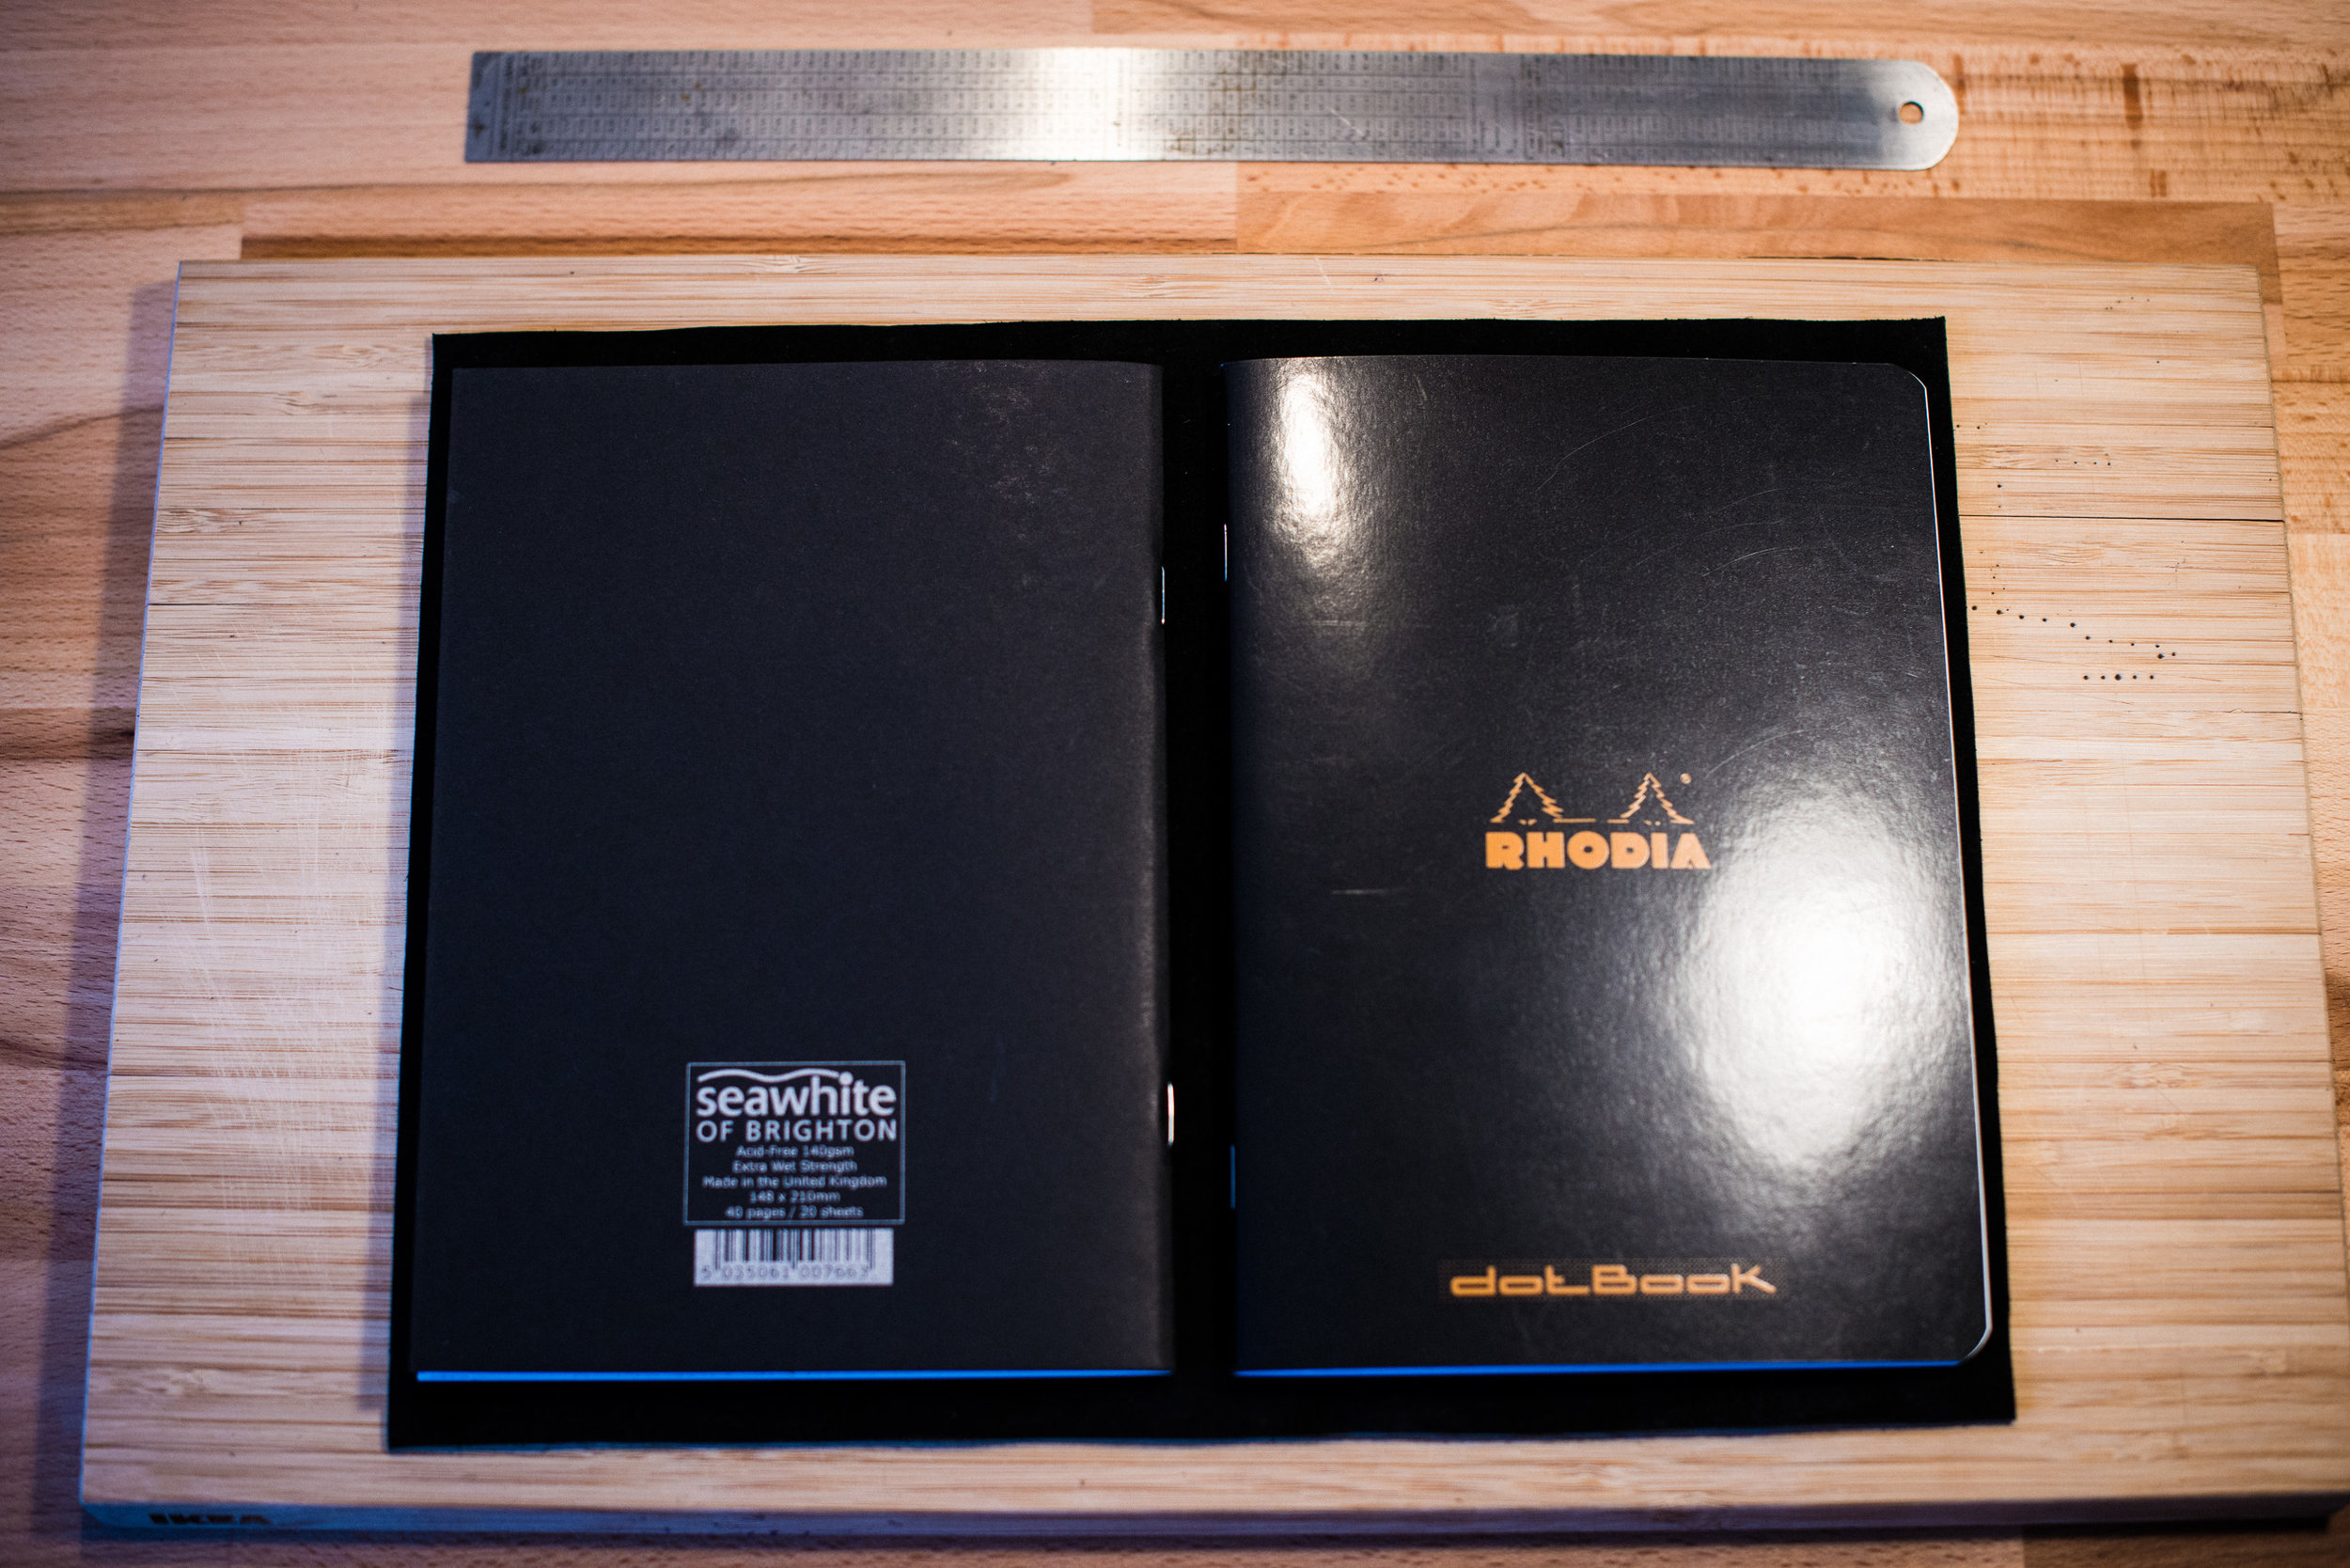
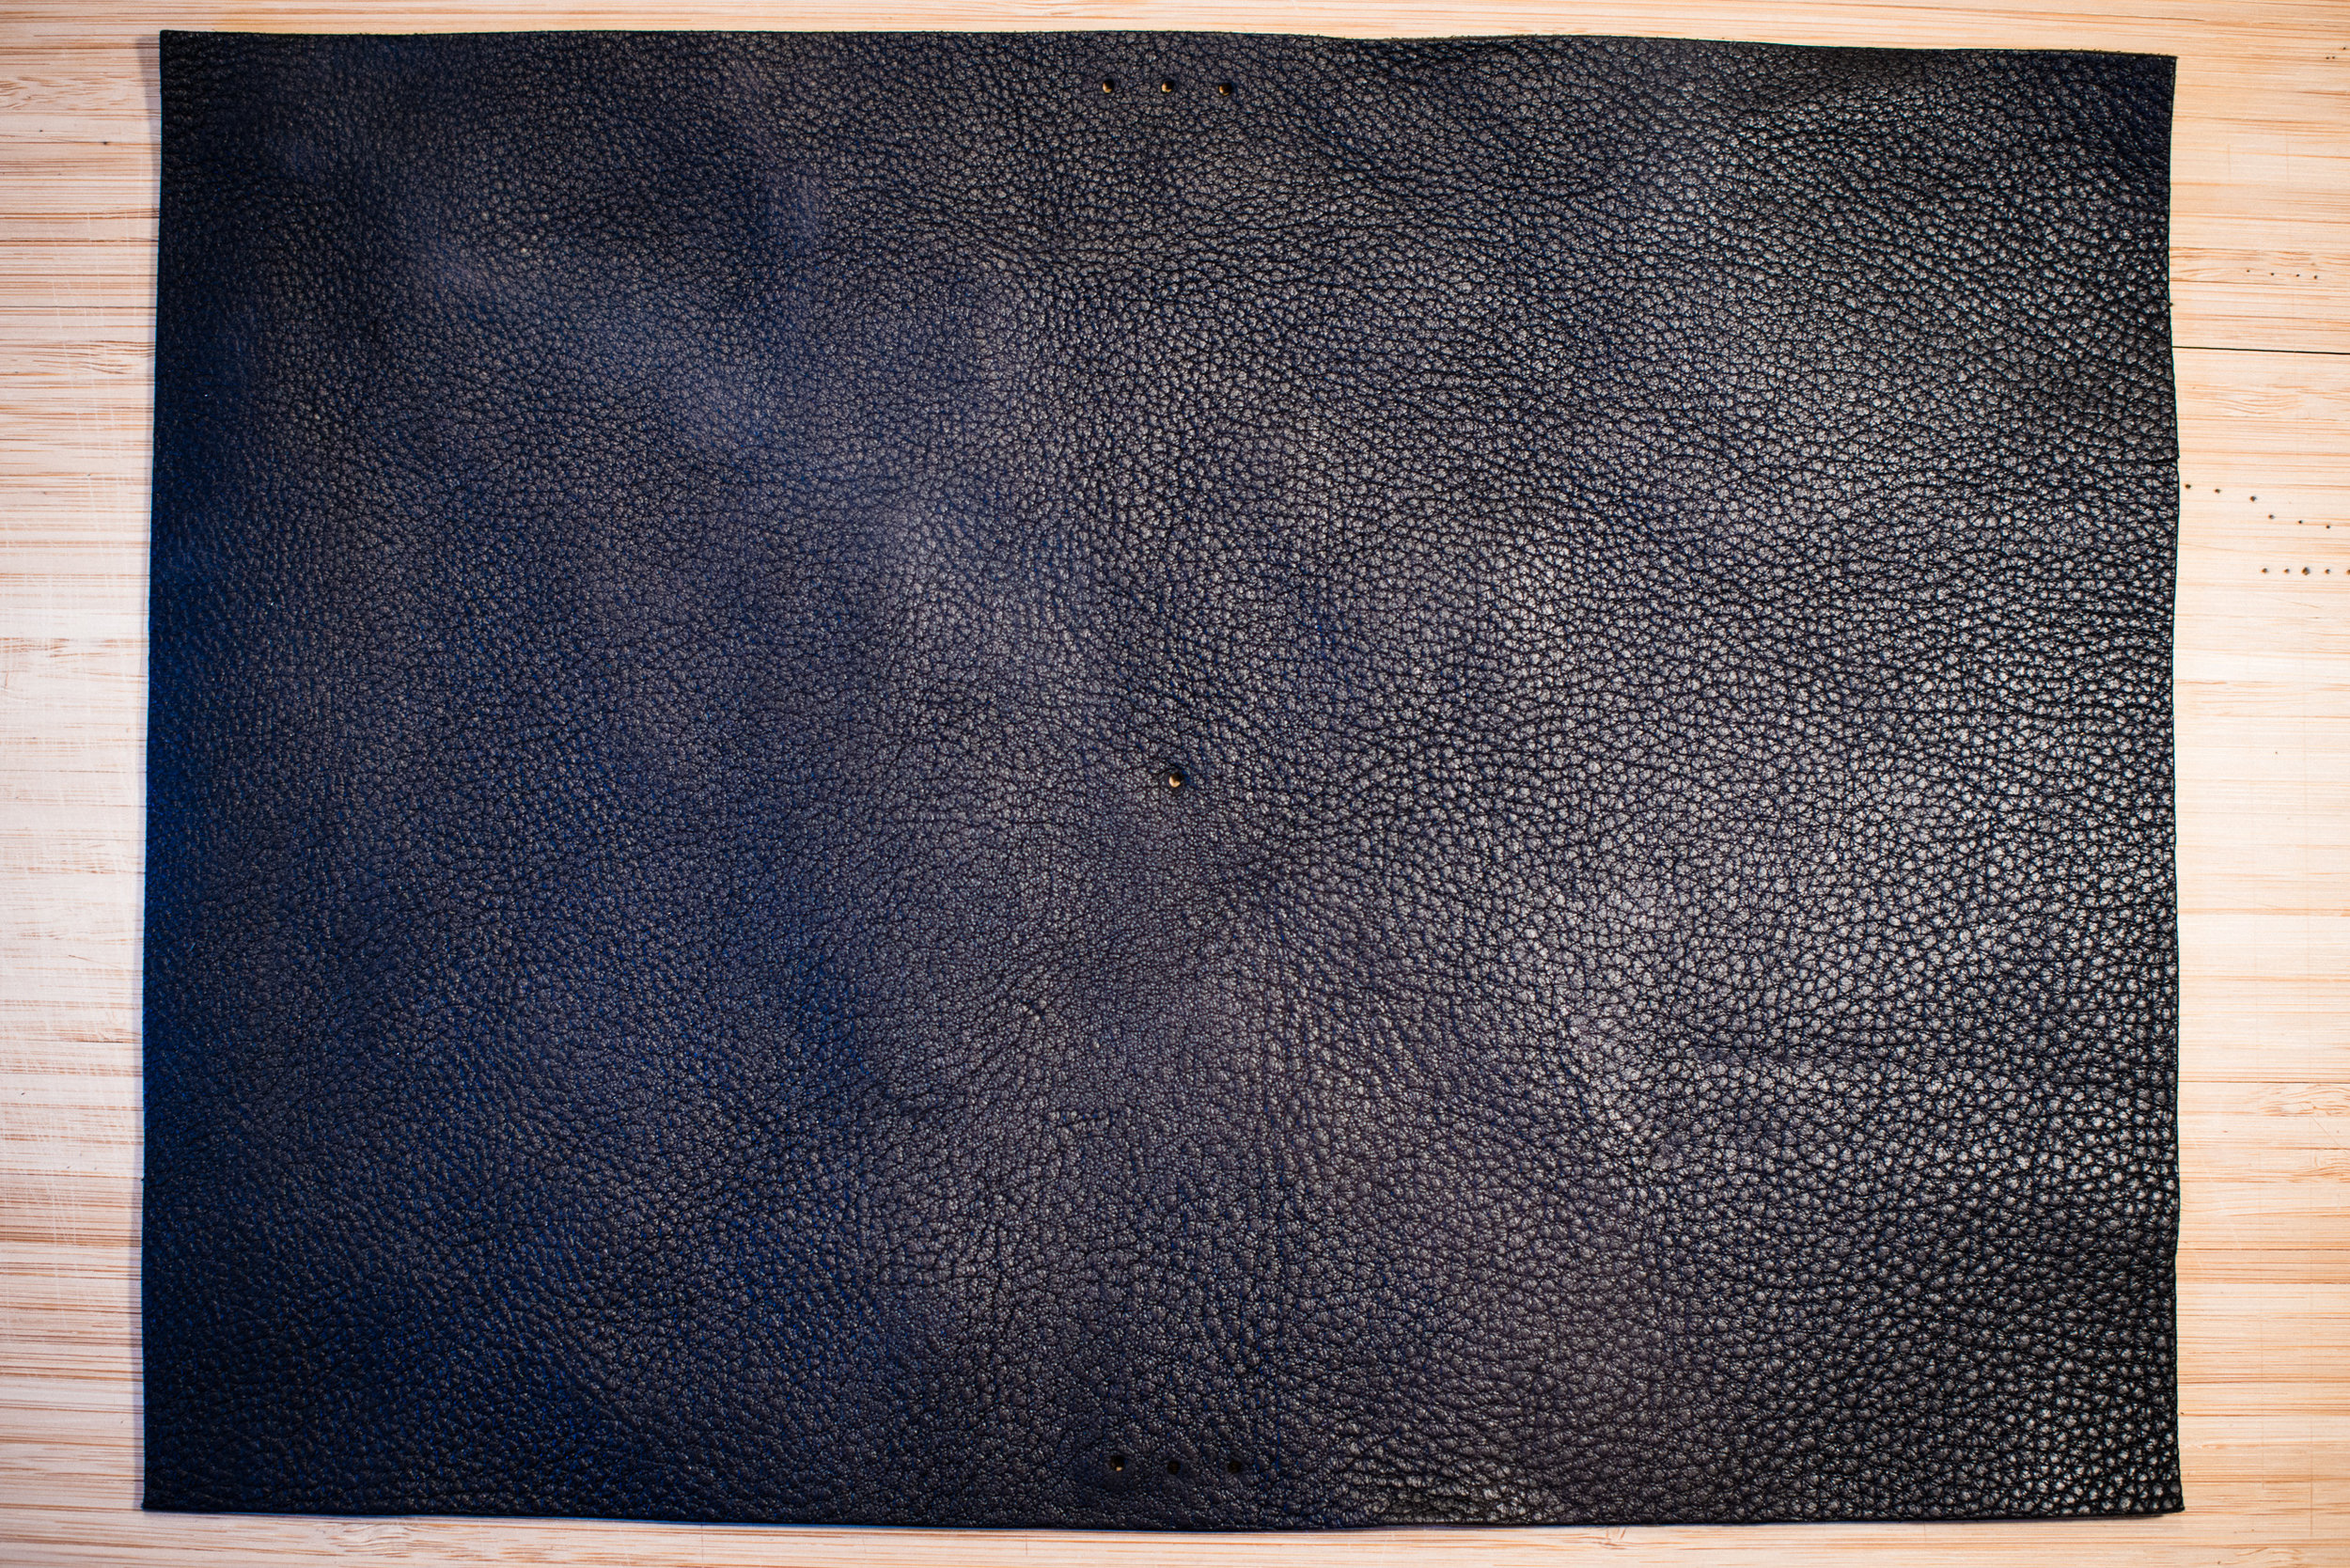
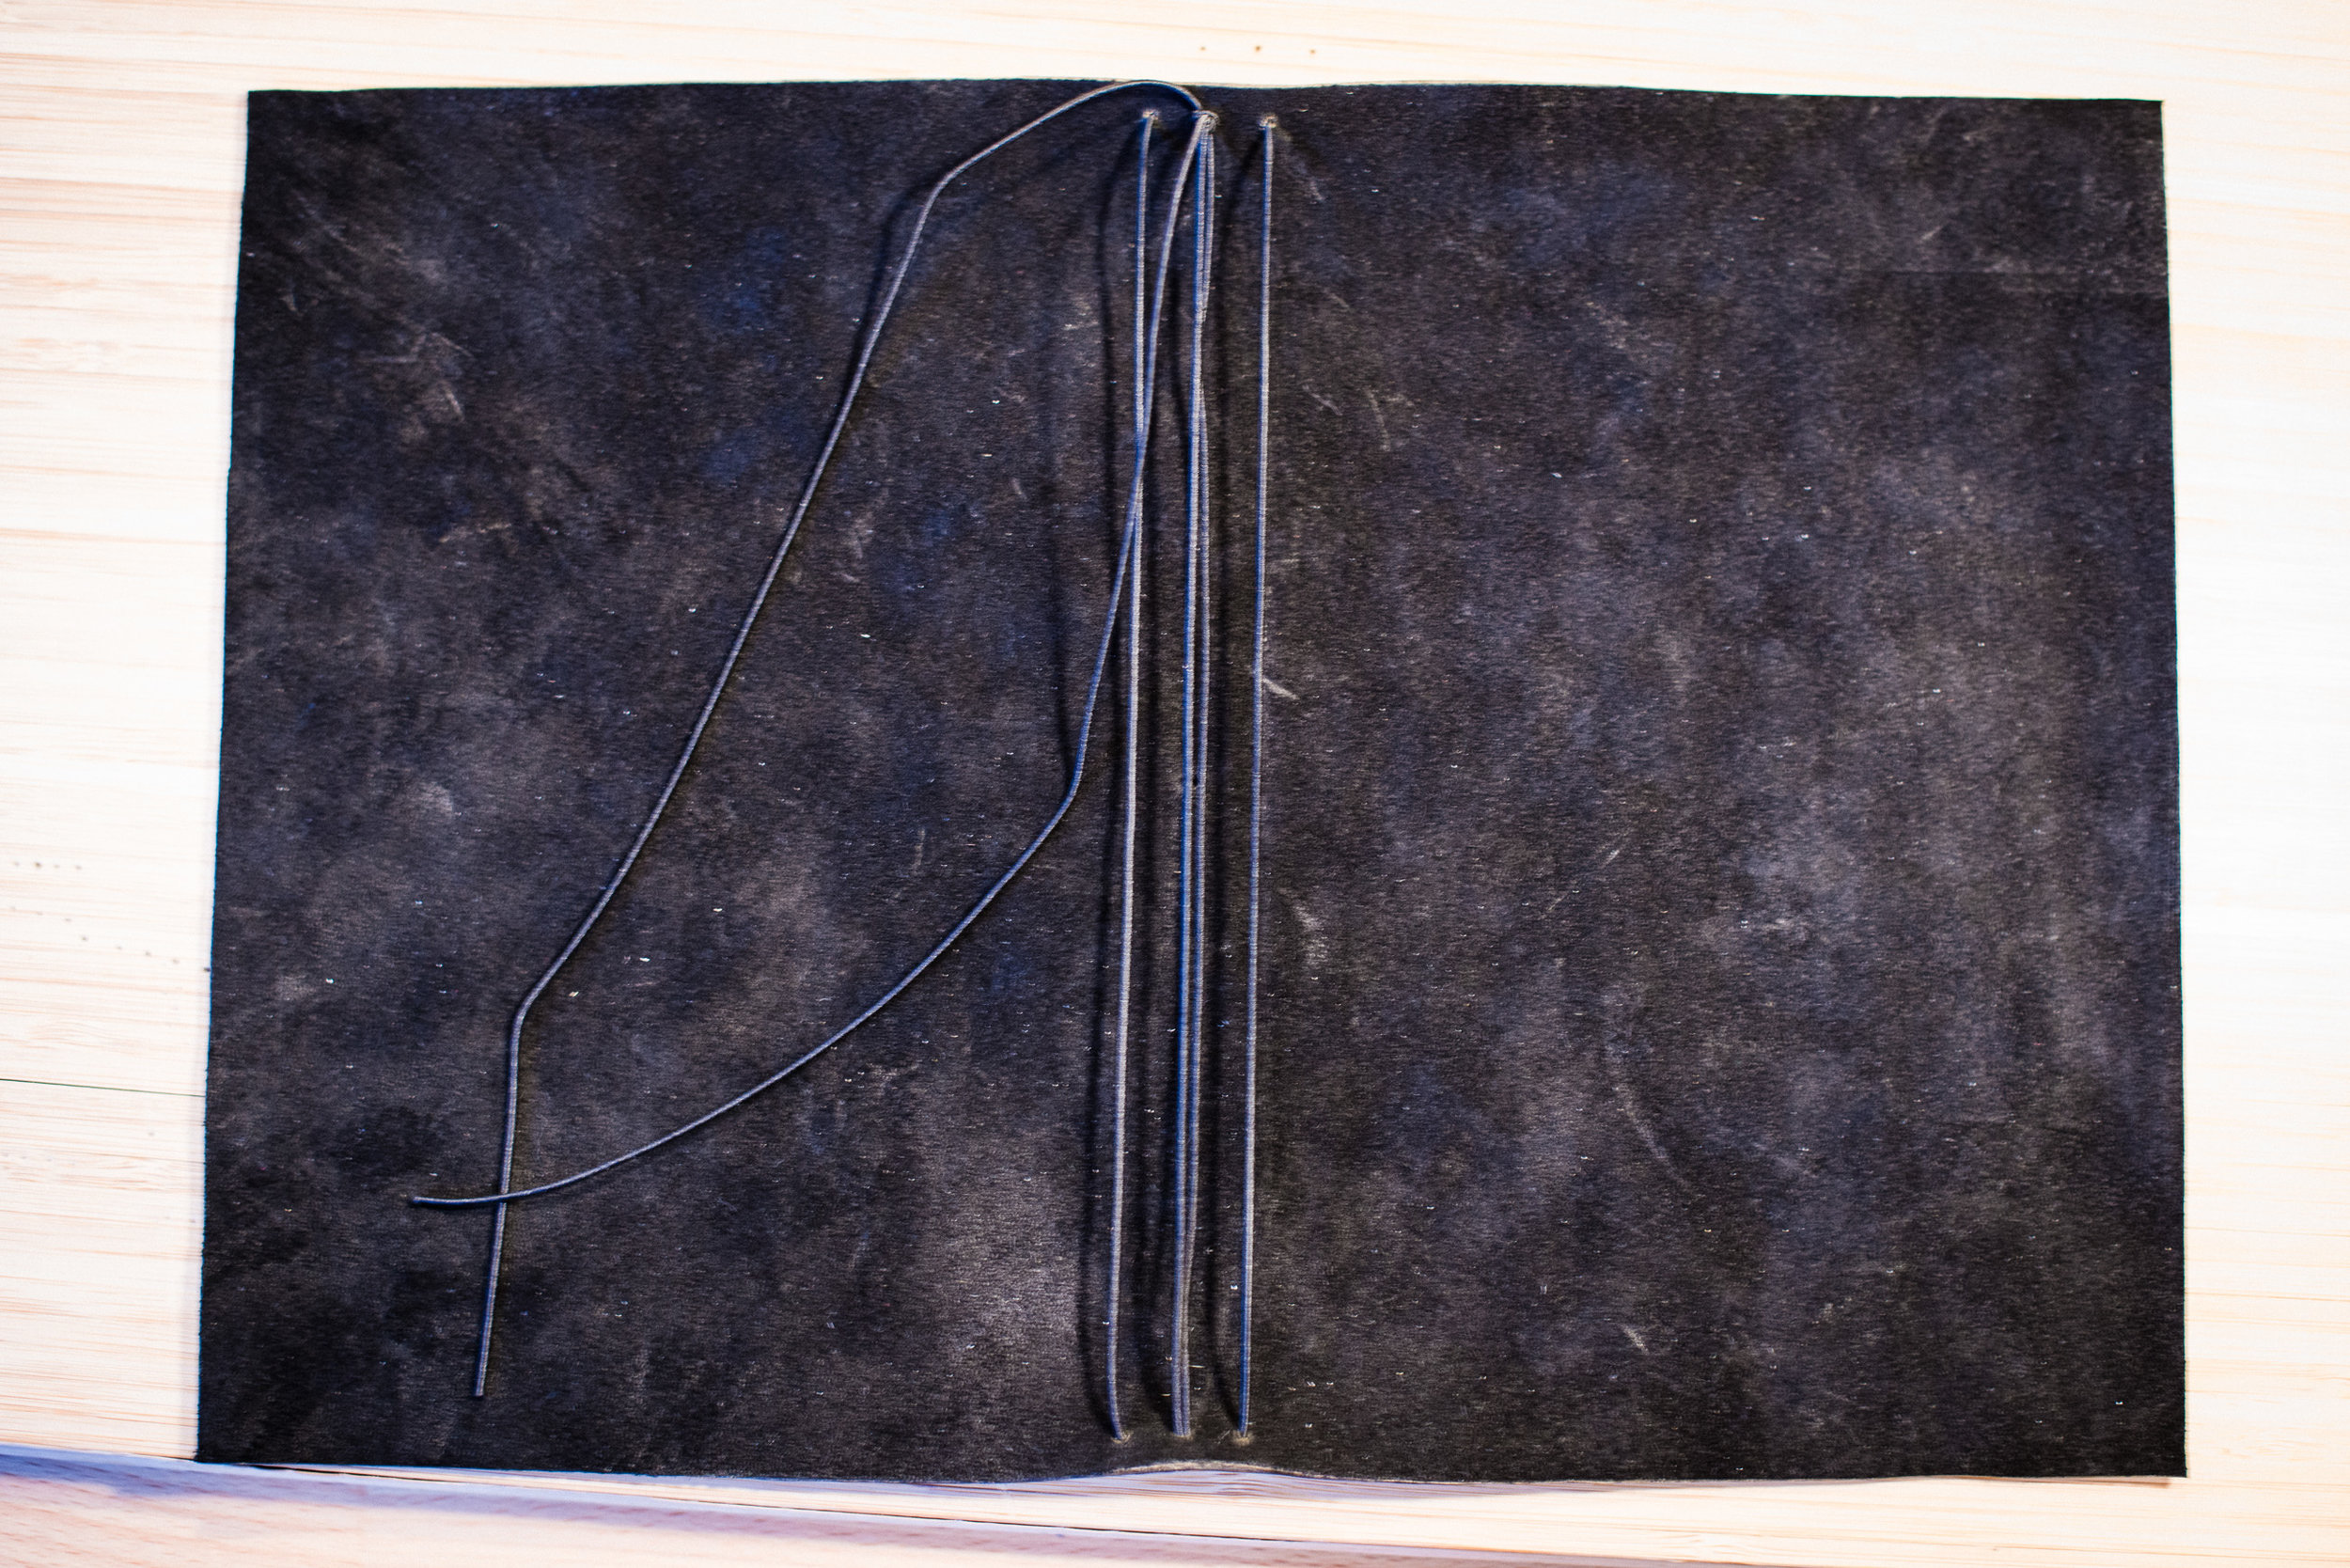
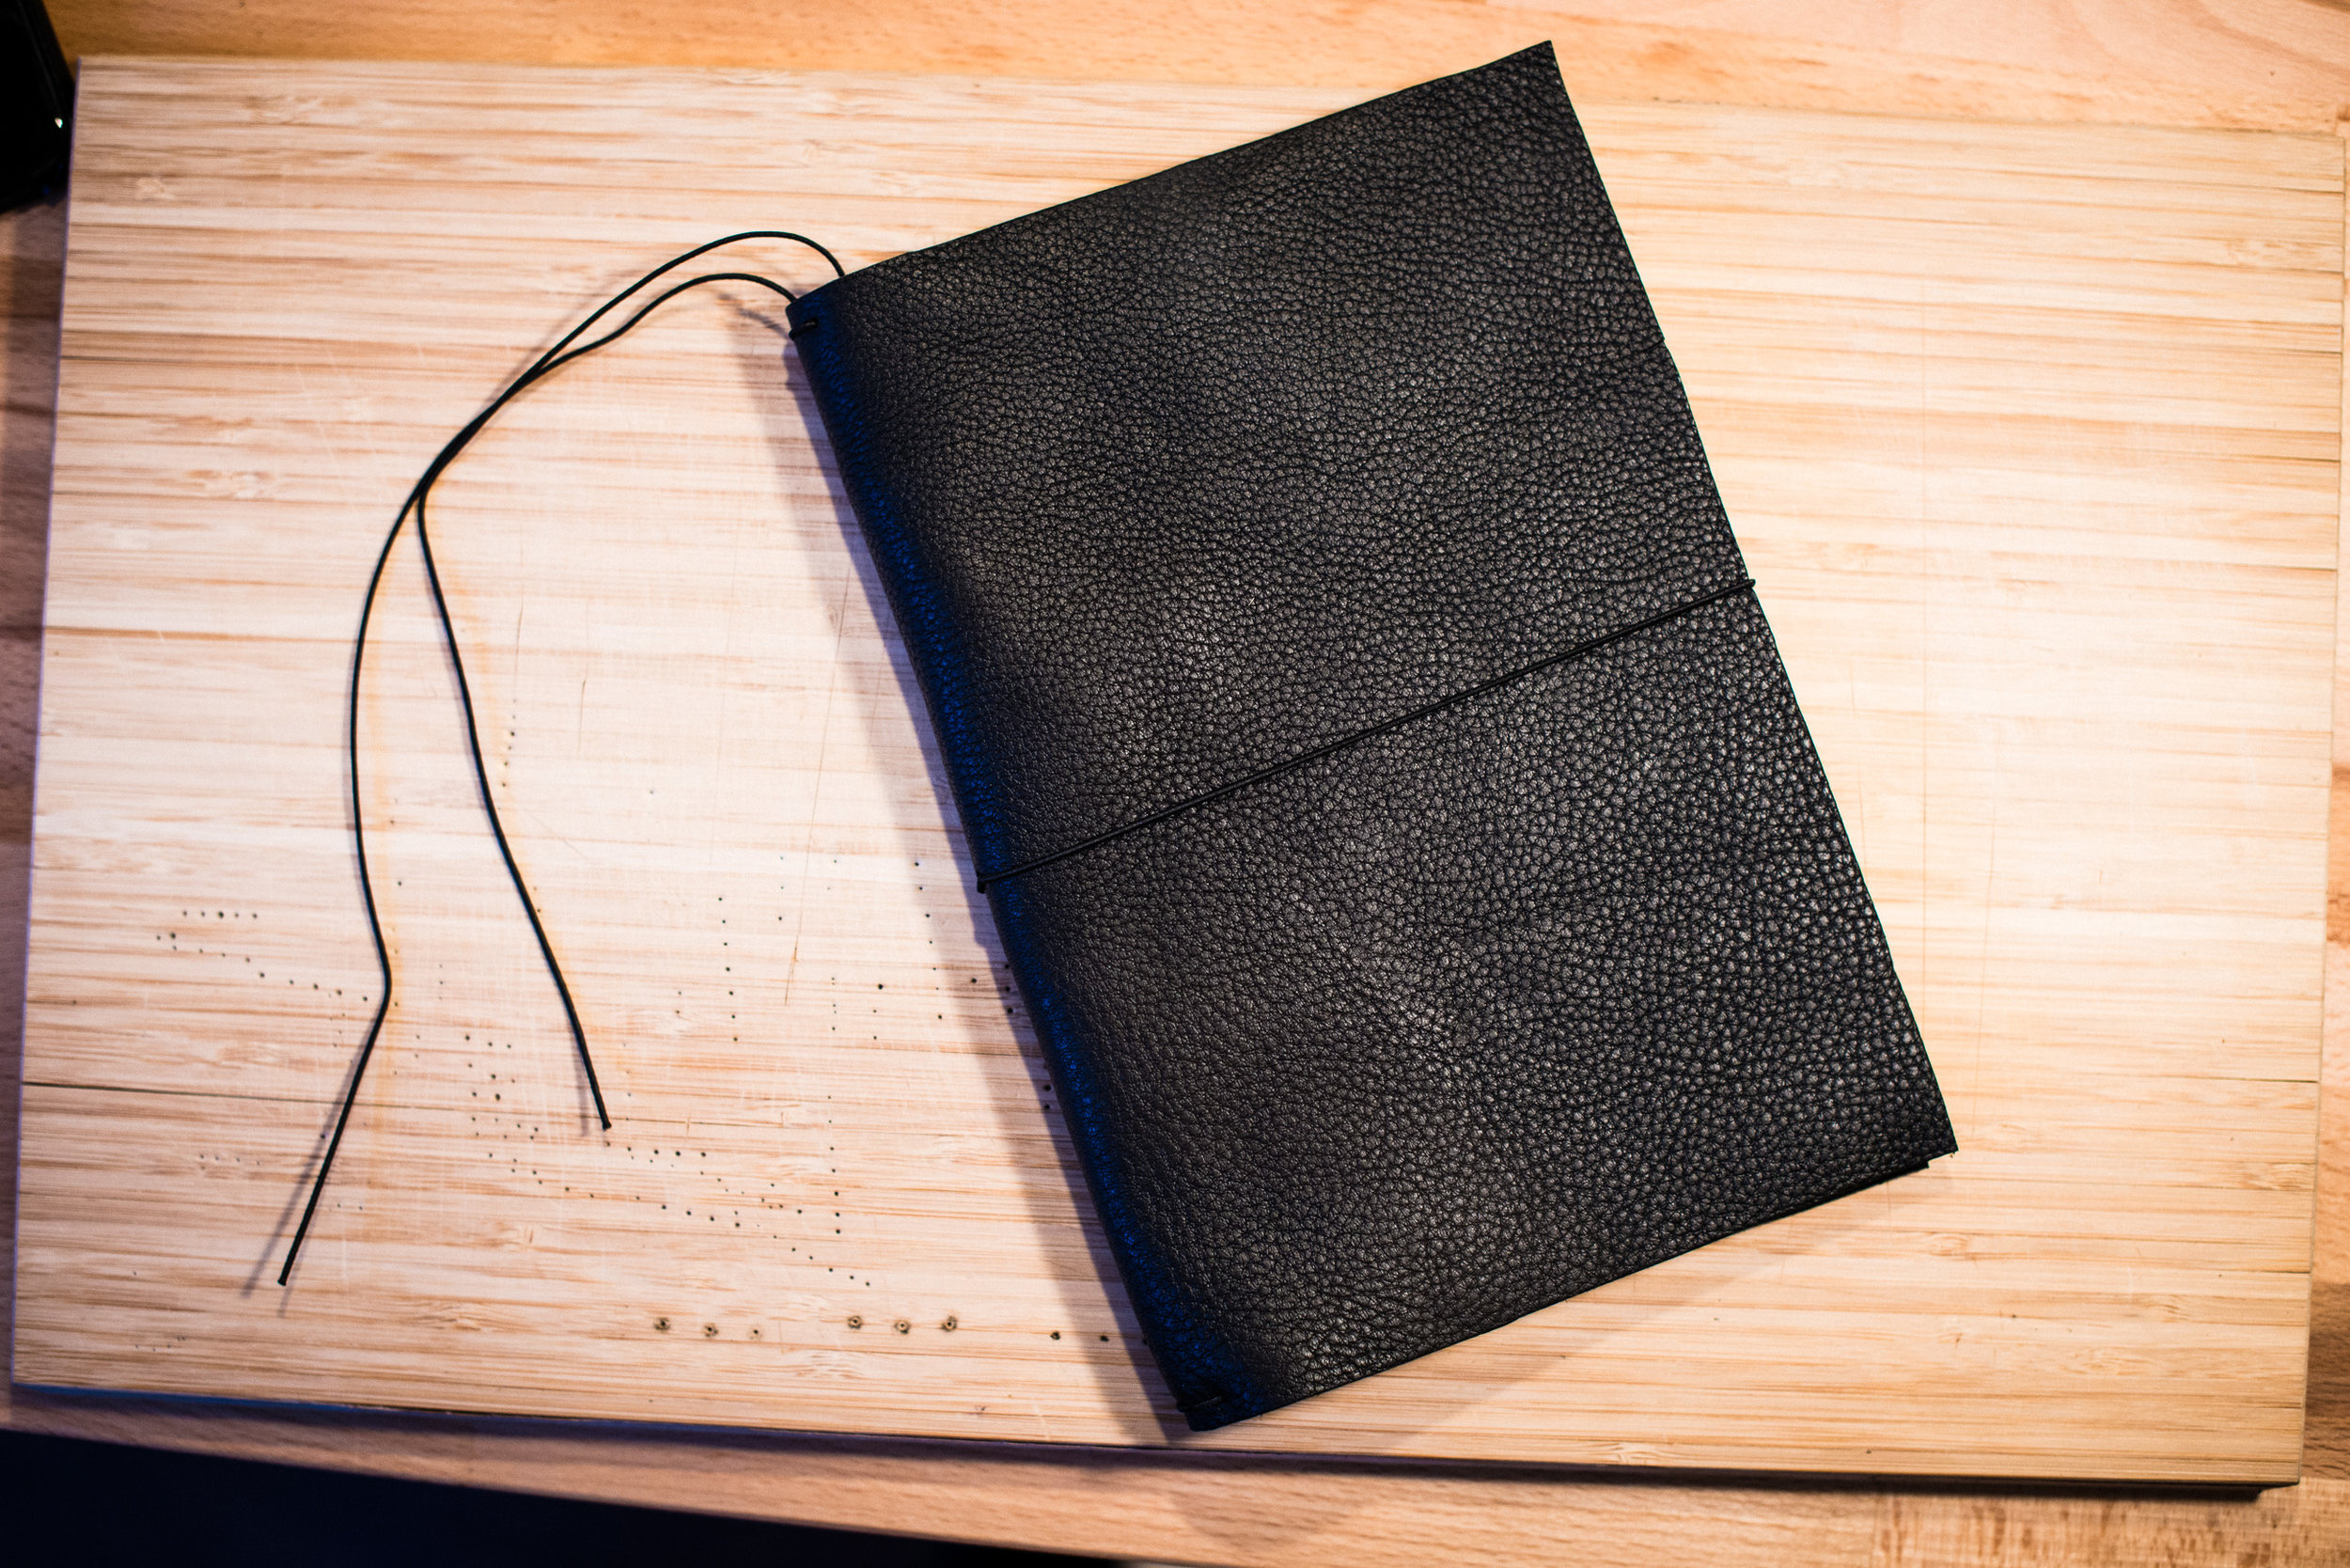
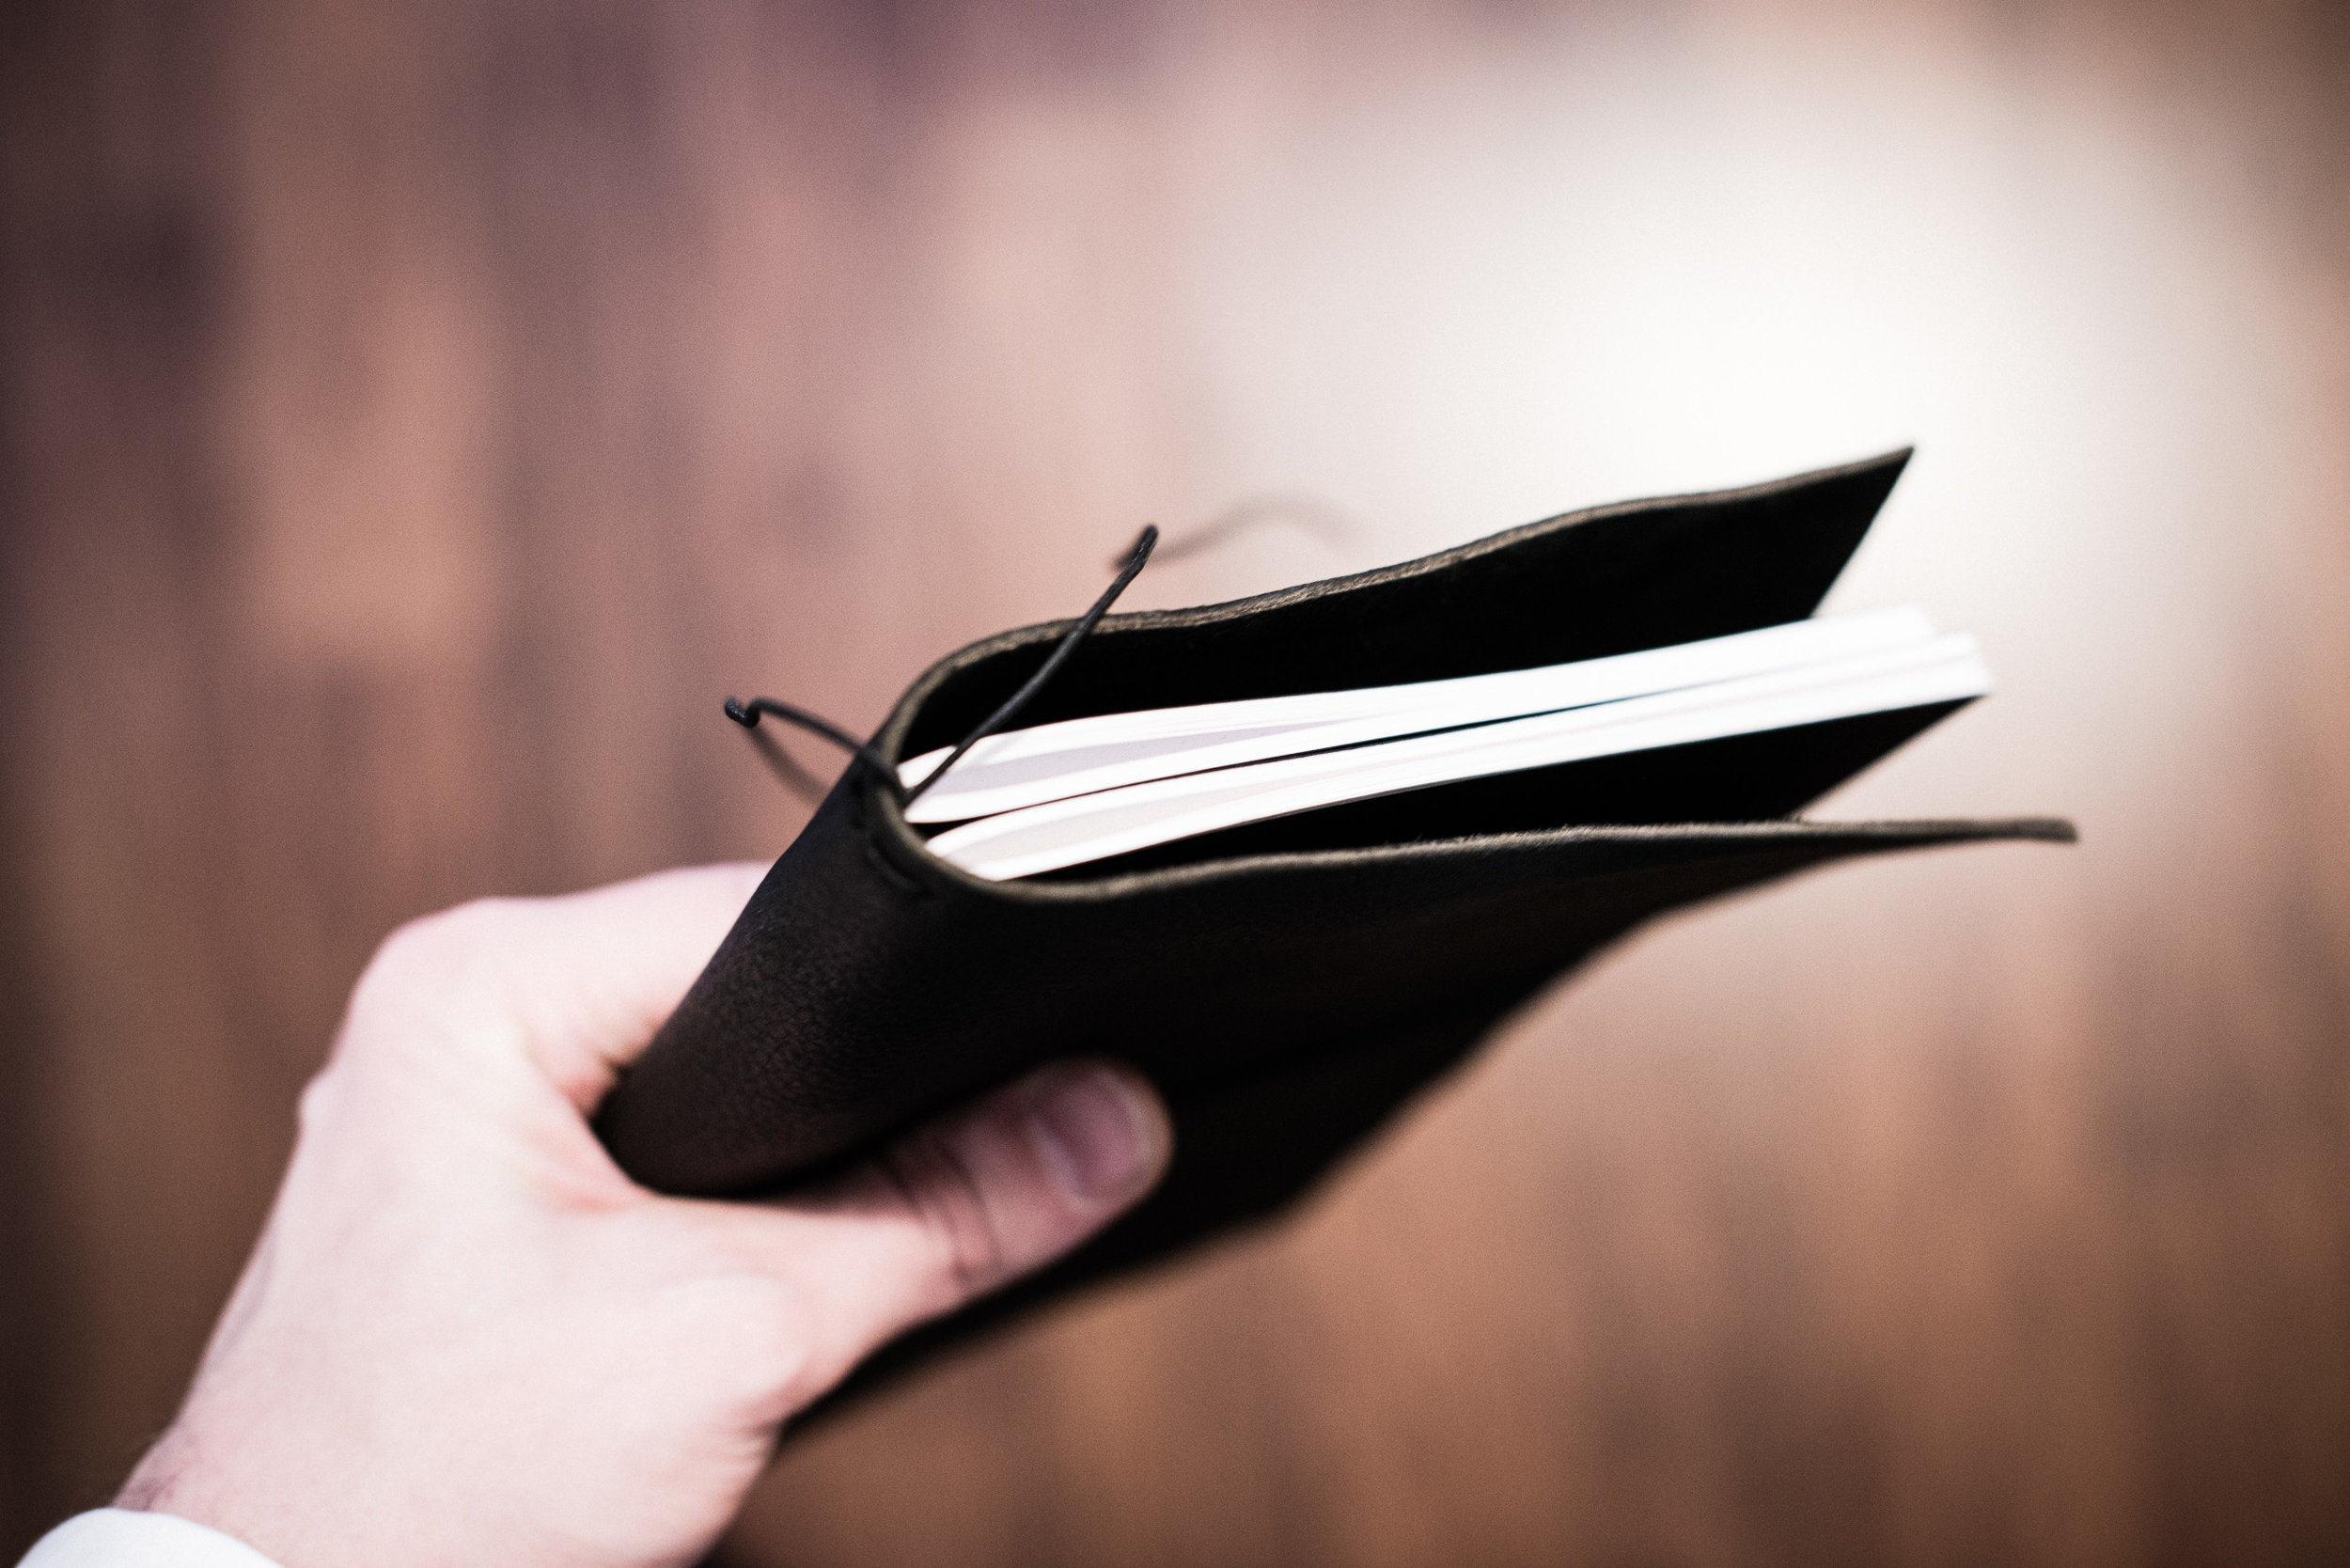
I decided to solve this “problem” by making my own notebook cover in which I could put any A5 notebook or even just loose papers. It is essentially just a piece of leather with some carefully placed holes where I can thread some rubber strings through. This book can actually hold three different small notebooks so that I can have different types of paper or both lined, dotted and blank paper.

The main plan was to use loose sheets of paper, but in the beginning I used cheap staple bound Rhodia notebooks and it worked great. I have however also made my own notebook with what I think is the best available fountain pen paper there is, Tomoe River. But more on that another time!

Ps. The hunt for the perfect notebook still continues and I still buy way to many of them.

A quick drip tip

FullSizeRender.jpg

Here is a quick tip for avoiding that wine runs down the bottle and leave stains on your table when you pour straight from the bottle. Of course you could use a good, fancy decanter or buy a drip stop, but where’s the fun in that?

Instead, do this:  

  1. Take a piece of paper towel
  2. Fold it into a strip
  3. Wrap it around the bottleneck 
  4. fasten it with a toothpick

Now you don’t need to worry about wine stains on the table, in your sofa or on you floor!