bts

A Music Video

Lately I’ve been getting more into music videos. I’ve been watching a ton of them from different eras, reasearching trends and styles. I’ve been watching as many behind the scens videos about how they where created and now all I want to do is do music videos.

One fun finding was that I found a new favorite director without even knowing. I looked for inspiration in many places and after a while something hit me, for many of the things I liked there was a common denominator, Paul Thomas Anderson. He is the director of an old favorite, Magnolia, which is almost a feature length music video (look at this scene!). After using an amazing film makers tool called Shotdeck to look at movie stills I ended up saving a lot from the film The Master which happened to be by him and for music videos I saved almost all of Haim’s videos. All of the ones I saved where by, you guessed it, PTA.

Now my head is full of ideas and I wanted to try out one of the easier ones just to see if you could do a nice video without too much preparation, just going with feeling. I messaged a friend named Mattias Larsson who I know makes music but haven’t really released his own stuff to ask if he would be my test subject. He said yes, I decided on a location and just him and me went out shooting with no more planning than that.

This is the result:

I am pretty happy with the video, especially the location and the lighting. Swedish summer is amazing for things like this as the sun stays low for so many hours. One thing I did want to do and that was the plan from my part was to shoot everything on a tripod. Last minute though, when I realized it was 30 degrees that day was that I did not want to walk around with my big video tripod on my back. Call me lazy, I do, and that actualy is the one reason why I am not a 100% happy with the result even though I like it. I really wanted to do completely locked down, well composed shots for this and now there is some shake instead. The shake goes well with the 8mm feel of the video but I should haved leaned even more into that instead if that was the case. Another idea that I was a bit too stupid to remeber in the heat of the moment was that I could have just brought my monopod and stabilzed the horisontal movement in post. But you live and you learn, for a first test of this style I am very happy!

Next time I want to do a rock video that is completely different from this.

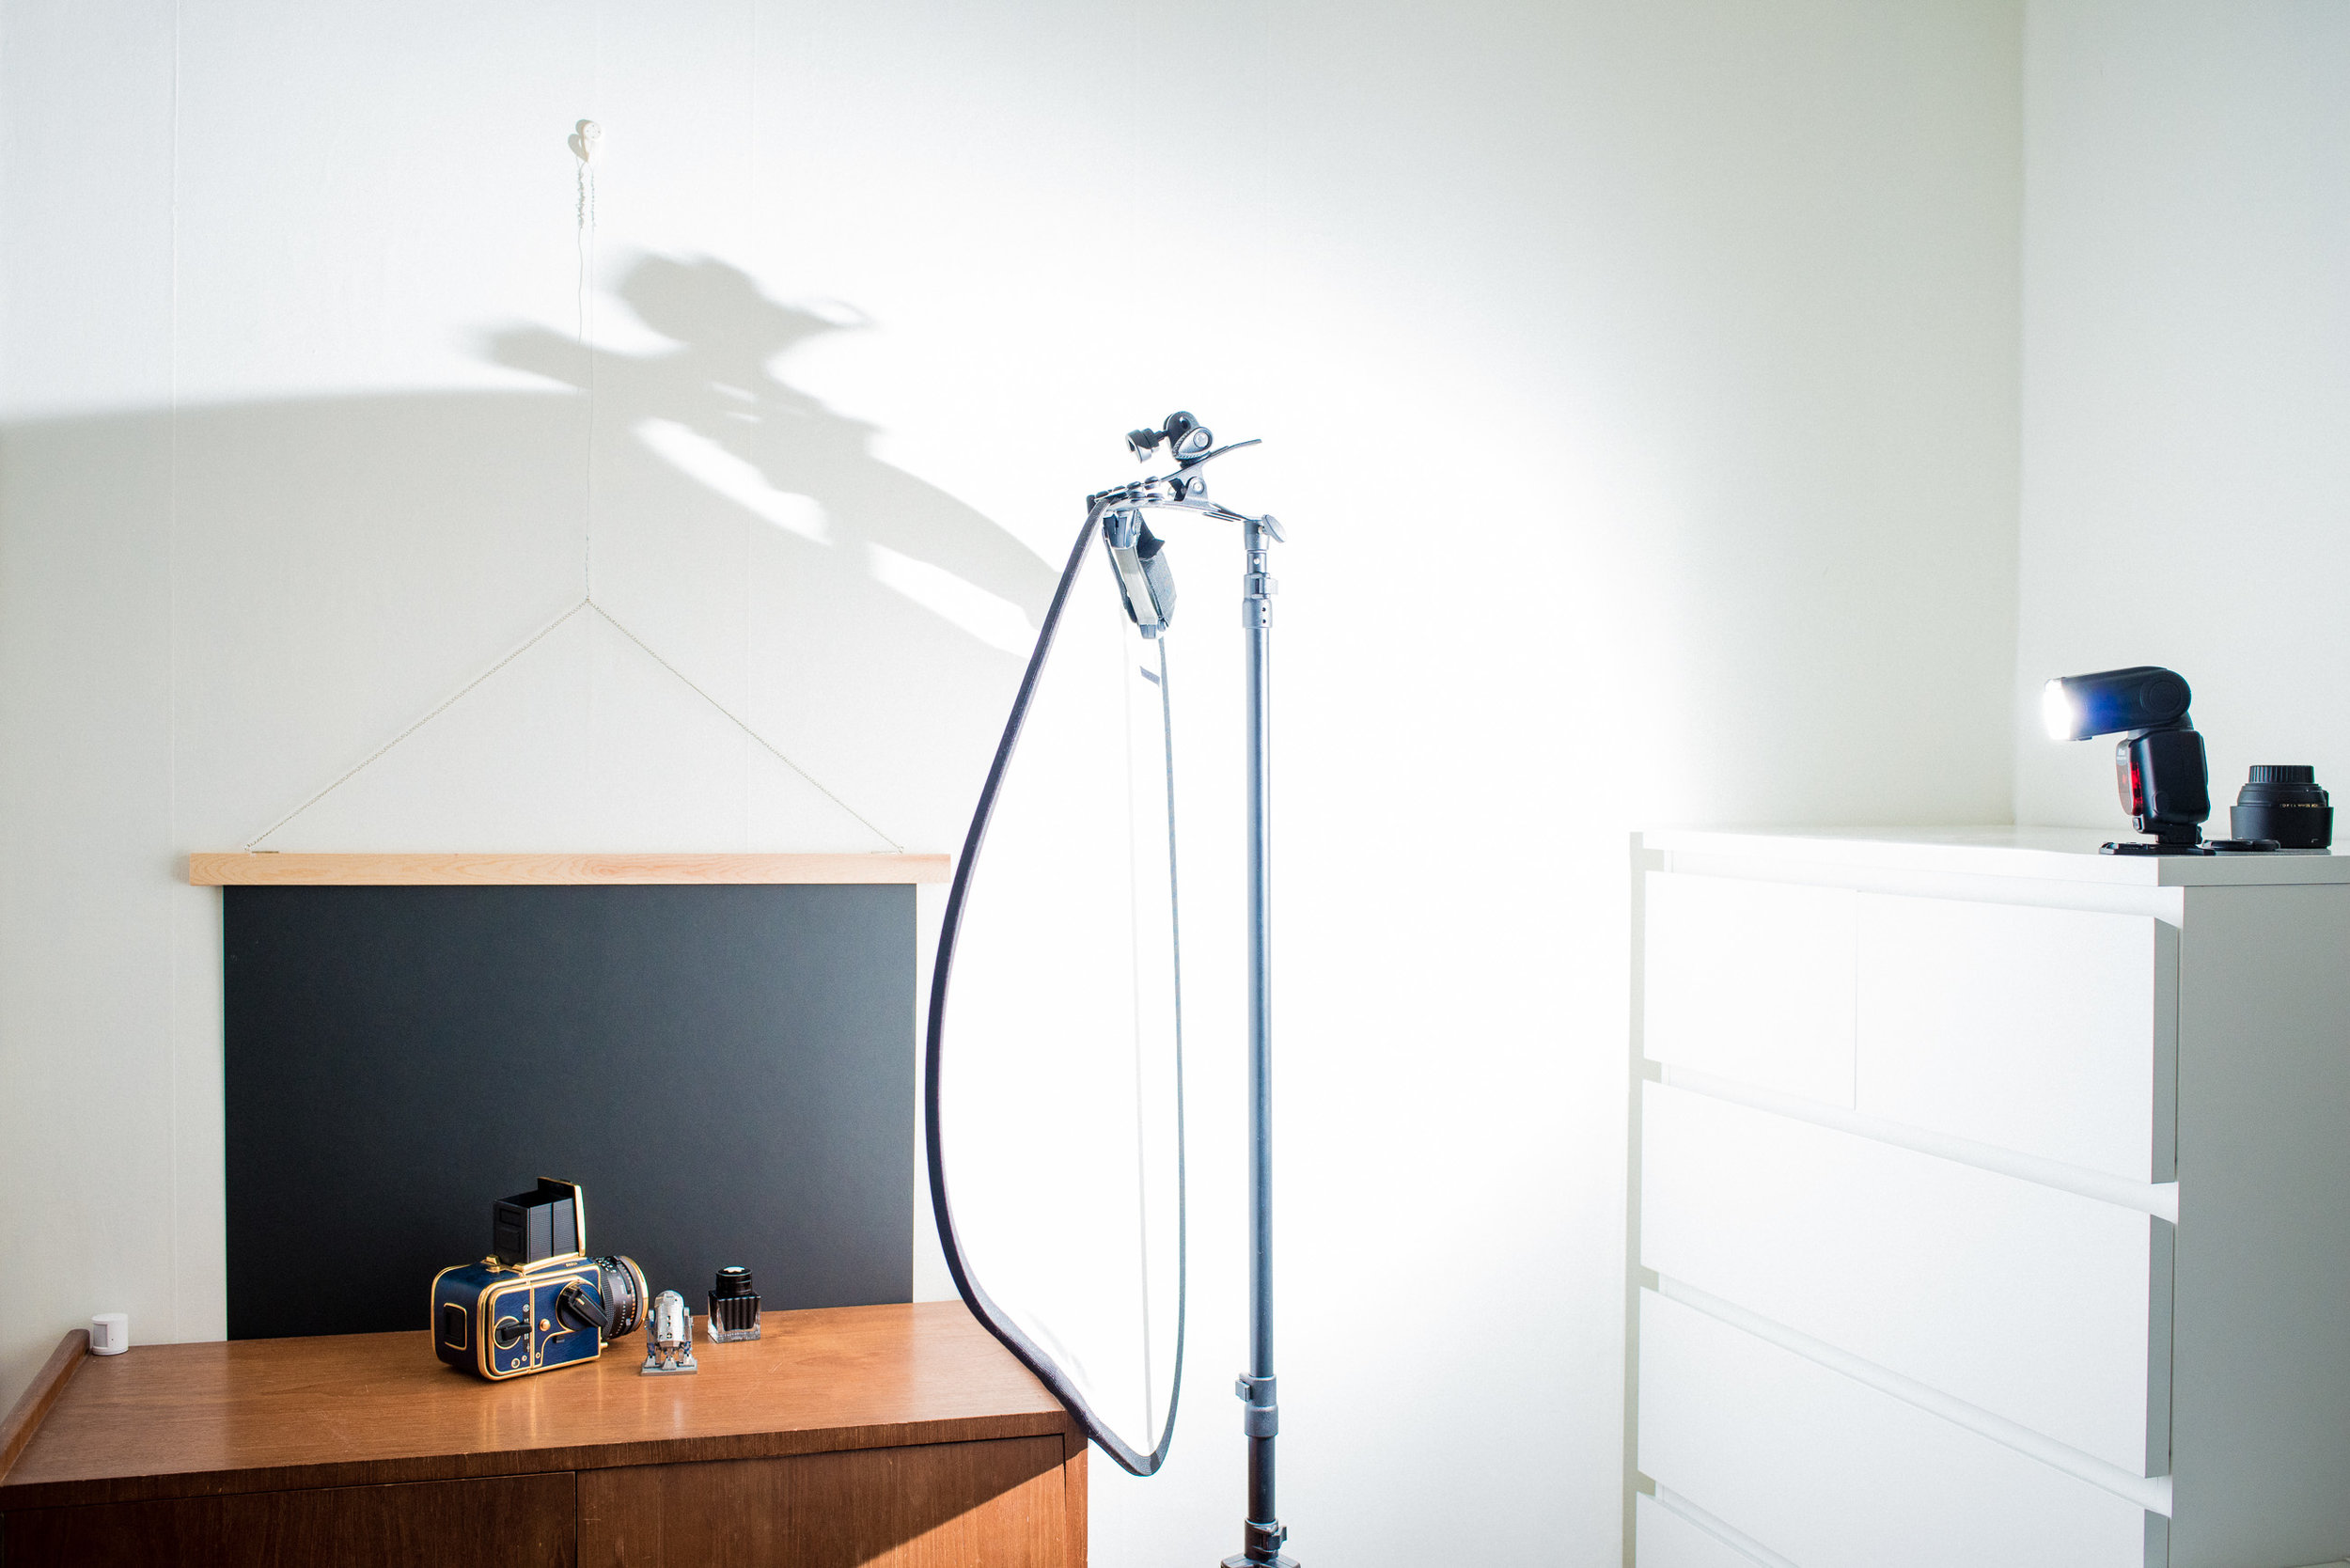
My still life photo setup

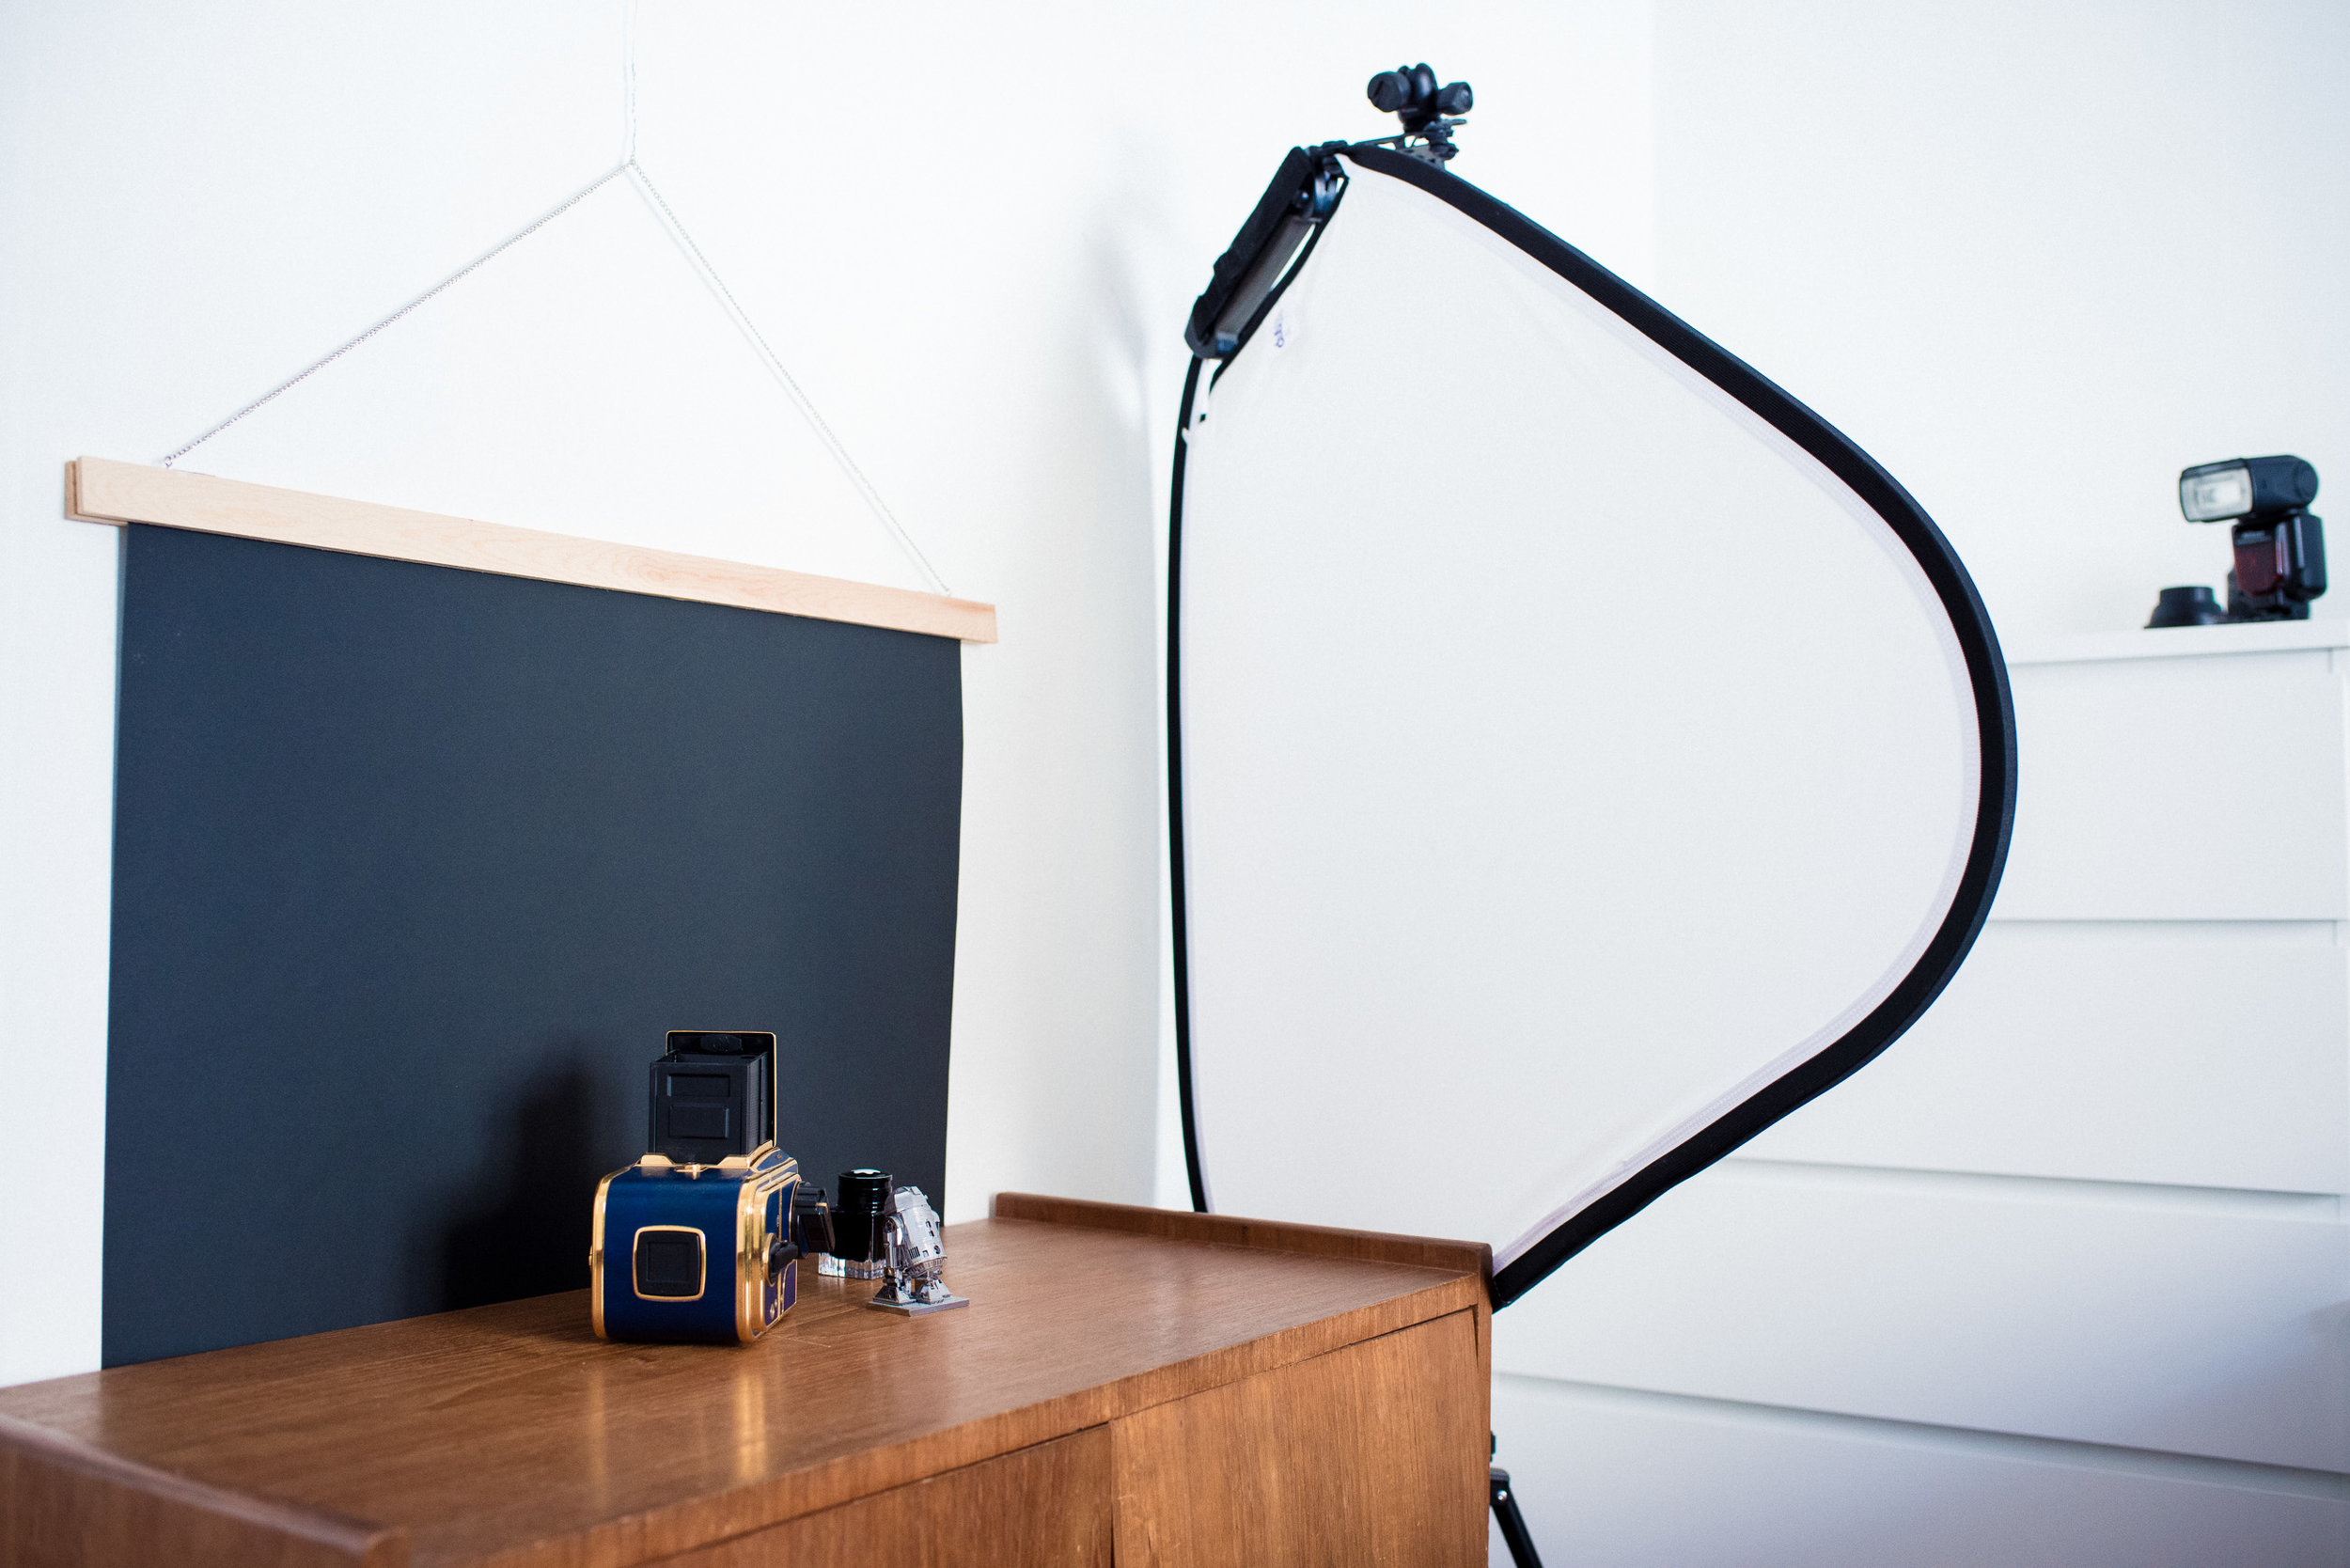
One thing that was important for me when I started blogging was to have nice pictures. At least for most posts, the ones I can put a bit of time into. Many of the things I write are about stuff and things so I set up a table with a small photography studio so that I easy and fast could take some nice pictures of the stuff and things.

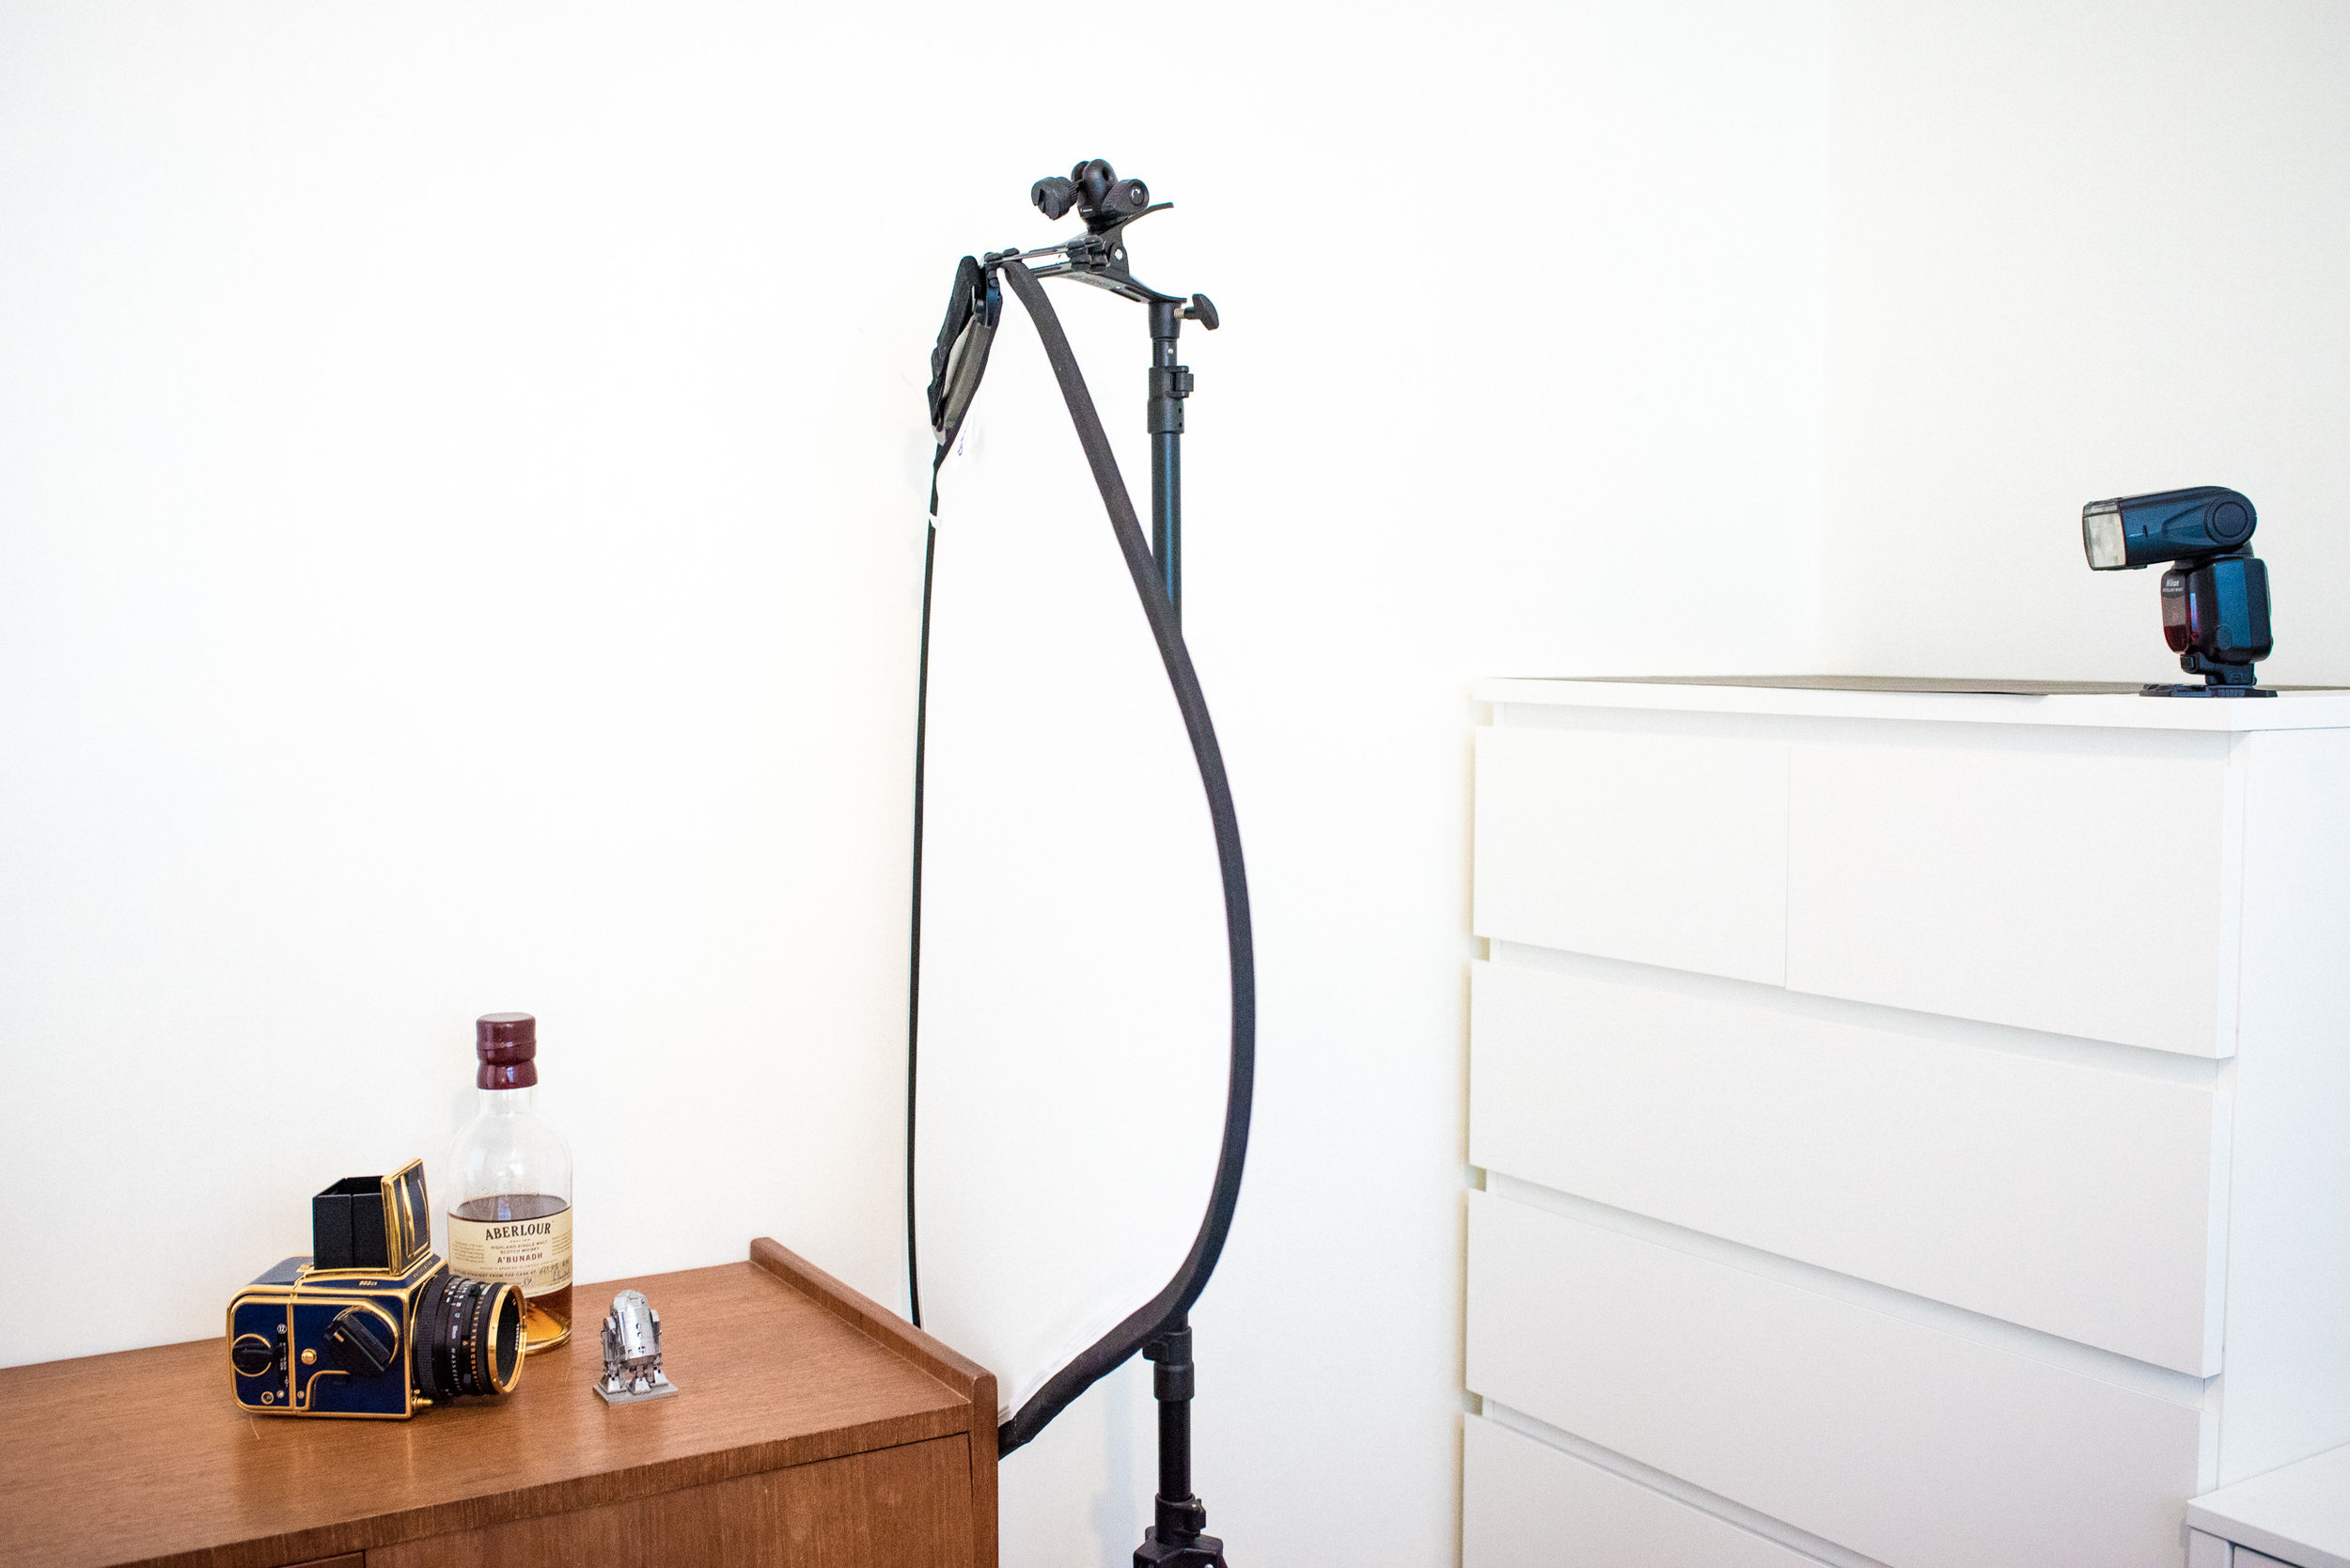
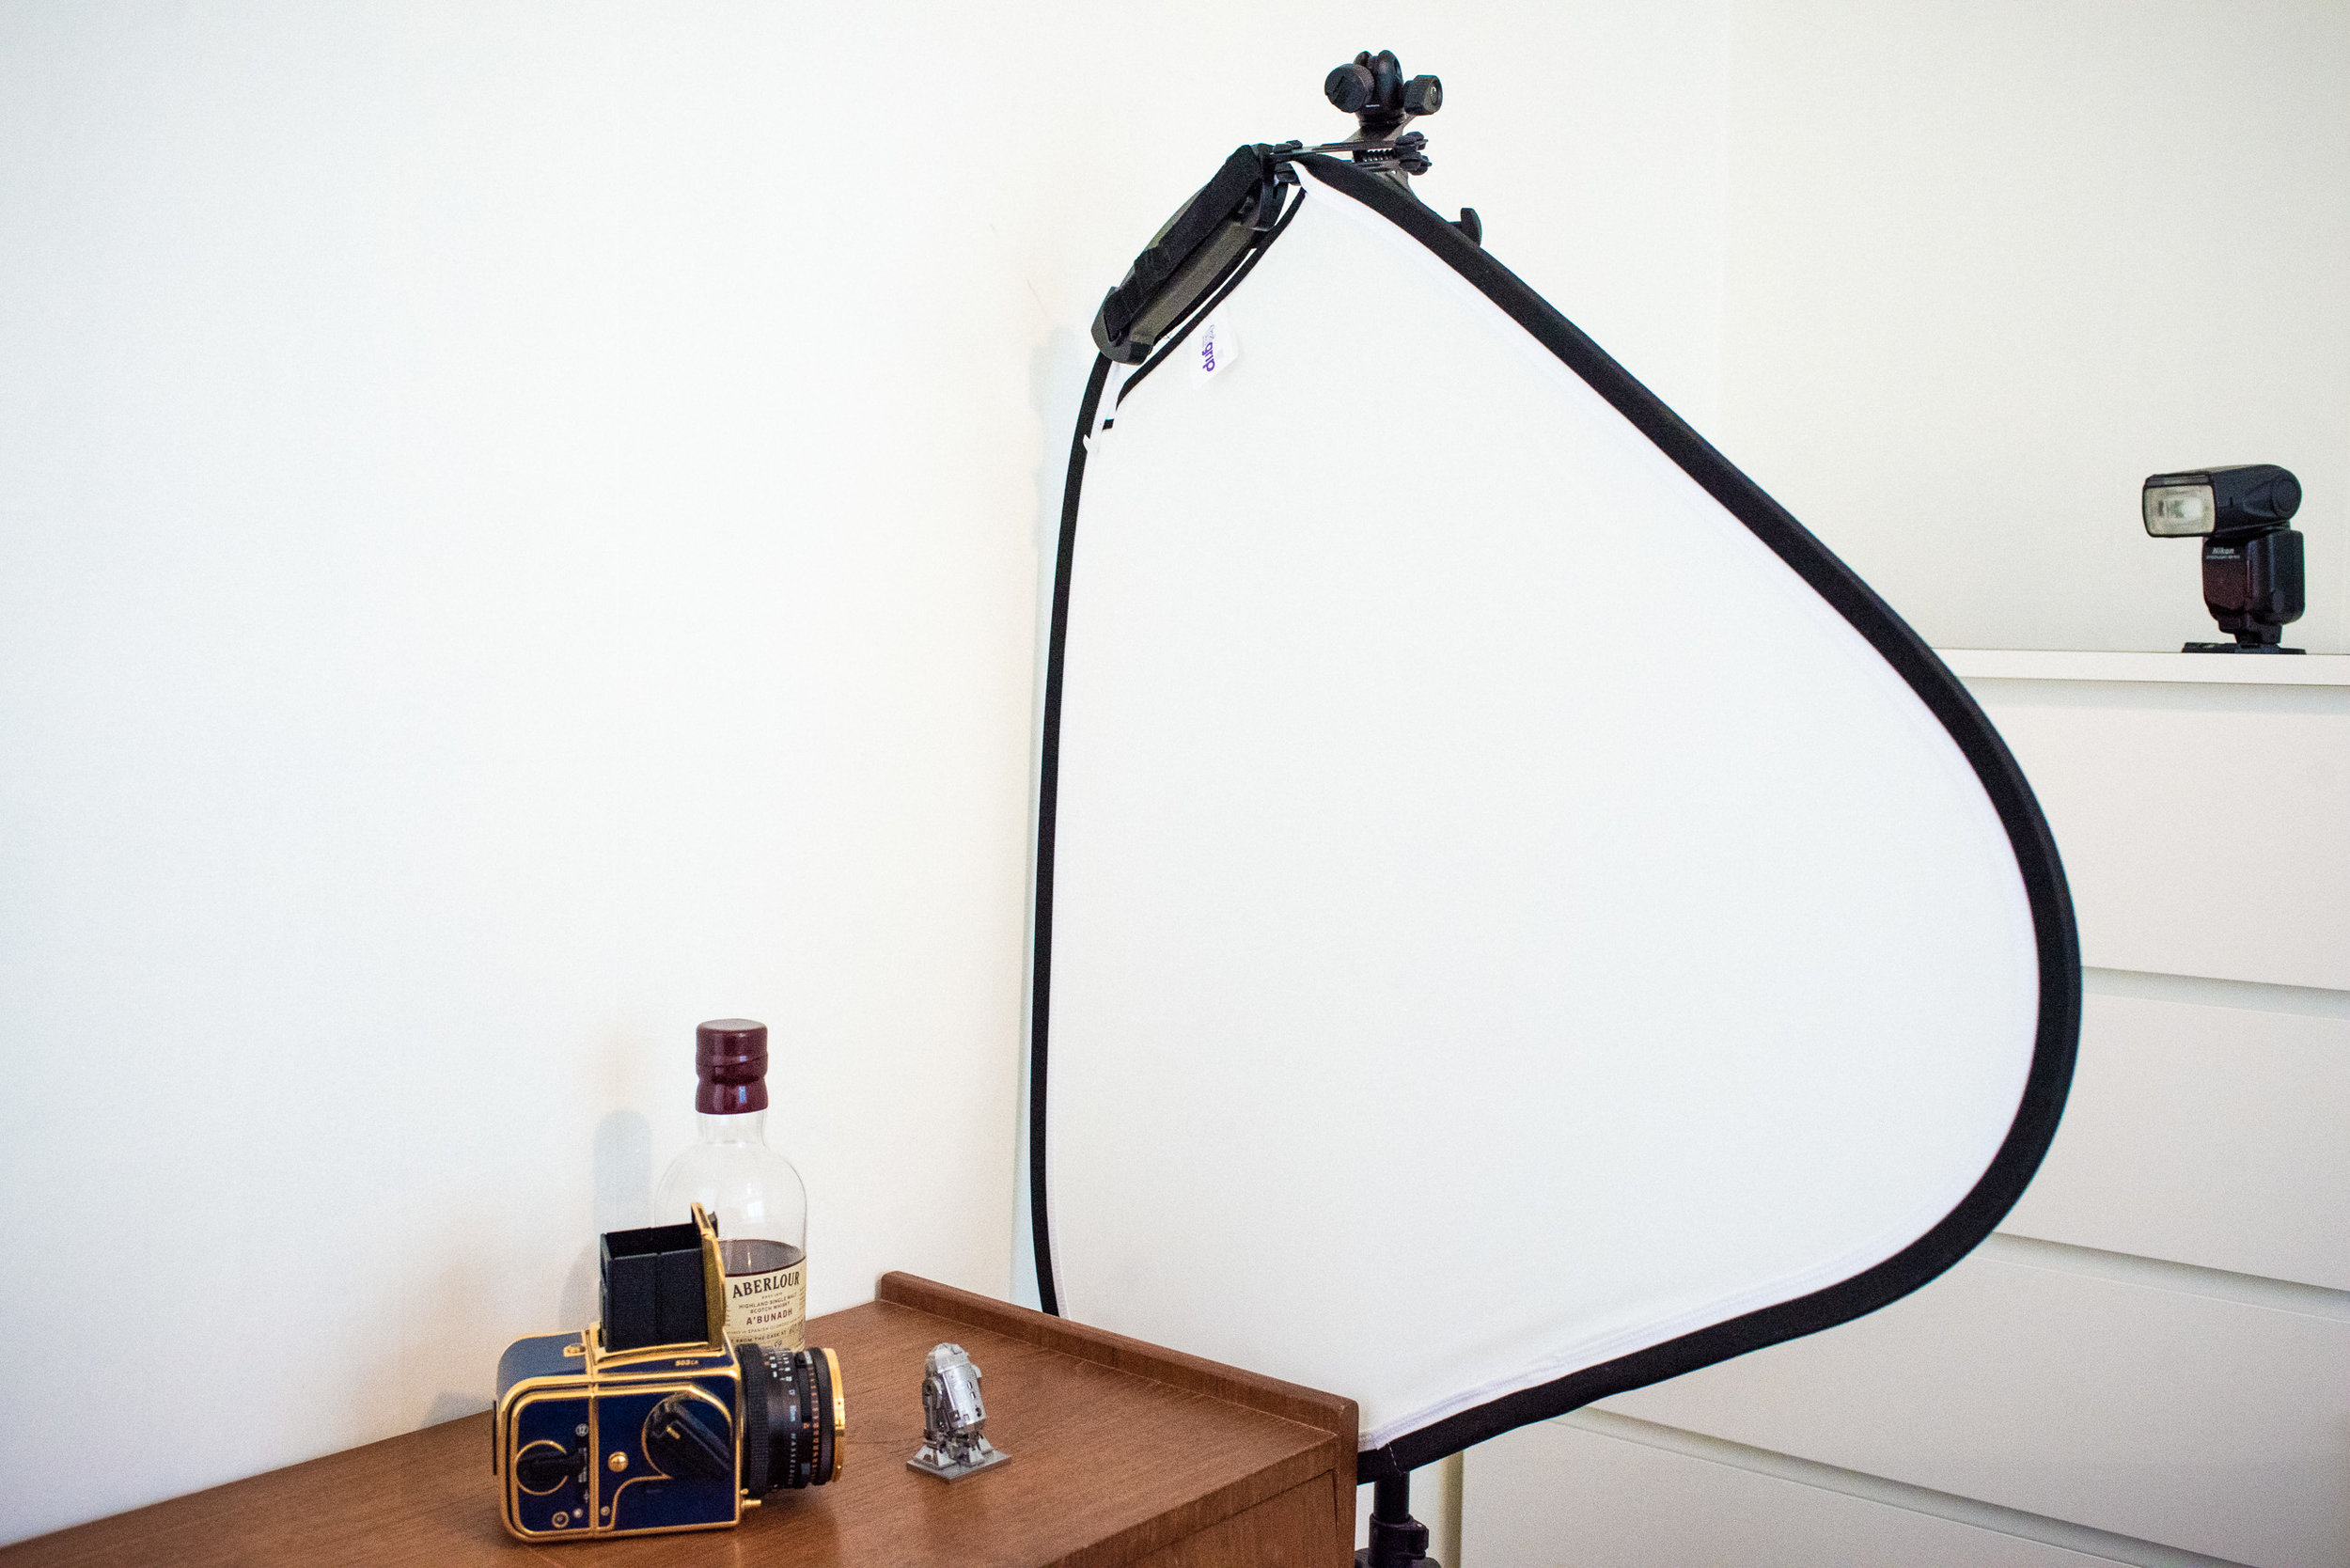
Today I wanted to show you that setup and also maybe say a word or two about the lighting and techy part. I use a Nikon D800 with multiple different lenses, mostly a 50 mm, an 85 mm and a 45 mm tilt/shift macro lens for the close ups. For lighting I use a Nikon SB-910 camera flash which I use of camera with Nikon’s own wireless system. As a flash like that makes quite a harsh light I need one more thing to be able to take nice photos, and that is a Lastolite diffuser.

The reason why people associate flashes with harsh and hard light is because the light source is small relative to the subject being photographed. Without going into the details and physics to much I’ll try to explain how a diffuser fixes this, and where it should be positioned, all a bit simplified to keep it easy to understand.

First of all, if the size of your light source is bigger than the object you are photographing you are going to get a soft light. The bigger the source, the softer the light. If you photograph someone with the flash on your phone or camera the shadows become hard and more often than not this is not what you want. If you instead turn of the flash and put your subject by a window you get a much nicer light. This is because the whole window acts like the light source, and it’s probably bigger than your subject. Maybe you’re thinking “But the window isn’t the light source, the sun is?” right now, and of course you are right, but in practise that isn’t how it works. The sun hits the window and the window diffuses and spreads the light around, this is when the window in practise “becomes” a light source. This is also exactly what happens with the flash (the sun) and the diffuser screen (the window).

Now the next important thing, it’s all about relativity. That means, the light sources size relative to the subject you are photographing. If the source is further away it “becomes” smaller and the light harder. With that said, the closer you put the diffuser to the subject you are photographing, the softer your light will be.

Lastly let’s talk about why the flash is so far away from the diffuser and light depth. We’ll skip the physics here and I hope you will just trust me instead of going through that part. If you put the light source close to your subject the light will rapidly fall off so you get one light side, and one dark side. If you put the light source further away you get a greater light depths and therefore can photograph something and an even light level in the whole image. And this is when you maybe ask “Wasn’t the diffuser the light source and didn’t we want it as close as possible to get the light soft? How can I then also put the light source far away to get a even light in the whole picture?”. Fear not, in this regard it is actually still the flash that acts as the light source and as that one is further away than the diffuser you can get a good light depth while still having a soft light.

So to conclude, put your flash “far” away and your diffuser close to the subject. This is because you want the closest thing the light passes through to be big relative to your subject, but you want the light source far away if you want even lighting.


edit:  if you want to dive abit deeper into window light, there is a good comment in the comment section.